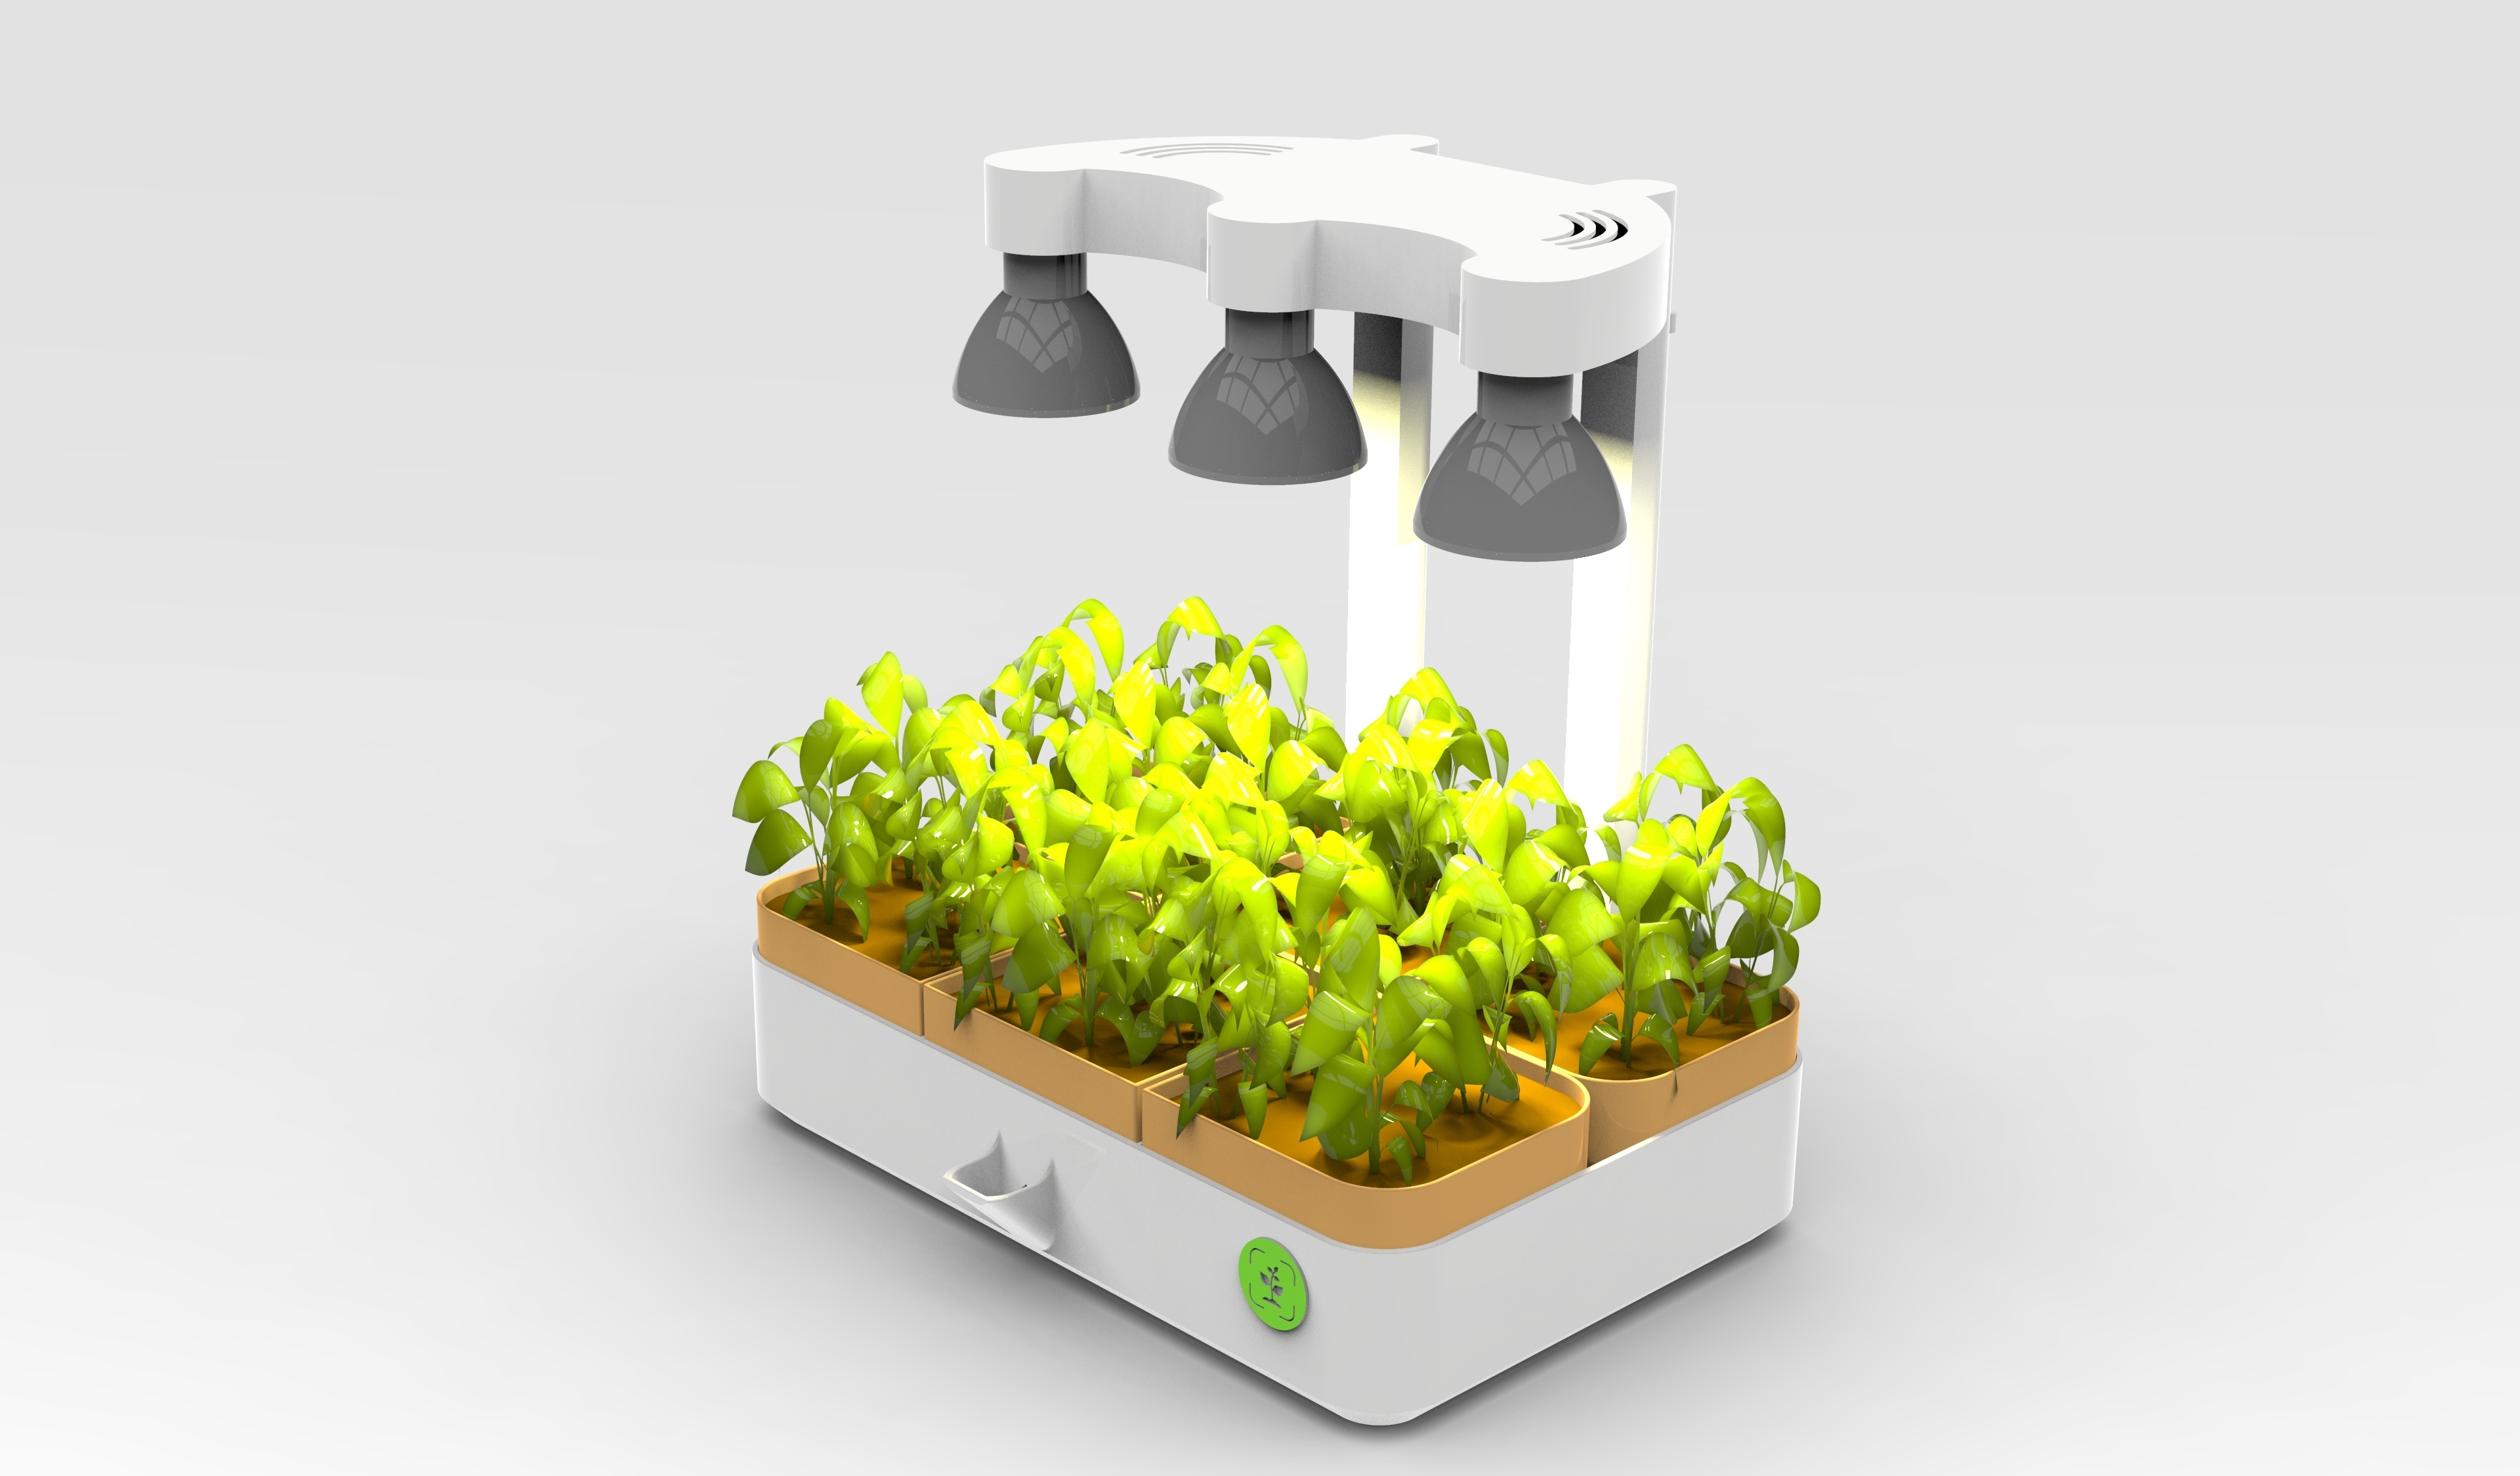
Features and specification:
- Size: 250 x 207 x 274(+)mm
- Power: 21 W
- Capacity: 6 pcs plants
- The roots are constantly accessing water through the water reservoir
- Automatic lighting schedule
- Set the timer via smartphone app (smart switch)
- Quiet operation
The purpose of this Growbox is to grow microgreens and small to medium size plants in coconut fibre as a growing medium.
What you can grow as microgreens (or let it grow a bit more):
- Basil
- Wheat-grass
- Coriander
- Mustard
- Sunflower
- Radish
- Rocketsalad
- Green pea
- Cress
- Any kinds of salad
Assembly:
The assembly of the unit is straight forward. Please refer to the uploaded photos. For the wiring please refer to the attached wiring diagram.
Please use only GU10 LED bulbs as they will not generate too much heat to damage the printed electronics case on the top. Max temperature with 7,5W LED bulbs is 36°C on the case itself. Even PLA is a good choice for every component. If you intend to use higher power bulbs, it is recommended to use PETG or ABS for both the electronics case and the electronics cover.
How to prepare the GrowBox for the first plants:
- Pair your smart switch module with your wifi network, install the app on your smartphone
- Fill the water tank with 0,8 liters of fresh tap water until the marking line on the fill-opening.
- As coconut fibre has the ideal pH value of 5,8, you dont need to adjust the water pH level.
- Optionally add some fertilizer to the water. It is not needed if you plan to grow microgreens. For salad or bigger plants it is recommended to use a nutrient solution made for coconut growing medium (tips below in the shopping list section)
- Prepare the coco fibre brick by submerging it into water. The amount of water depends on the size of the brick, please refer to the sellers recommendation. To fill the 6 pots, you will need 60-70g of dry coco fibre brick.
- Fill the prepared coco substrate into the printed pots. Press it down only gently, roots need oxygen as well for optimal growth.
- Disperse the seeds on the top of the coco fibre. For microgreens you will need an almost dense layer of seeds on the top of the coco substrate. Press the seeds slightly down with your hands so they have a good contact with the coco substrate.
- For bigger seeds like peas, sunflower, keep some coco substrate to cover the seeds with a 5mm layer.
- Use a water sprayer to wet the seeds.
- In case you want to grow full-size plants for the leaves, like basil or salad, you should only put maximum 5-6 pcs of seeds into the coco-soil. Otherwise the plants will be only fighting for room to sprout.
- Cover the pots with the germinating covers, they will prevent the seeds from drying out. For optimal result, spray water on the seeds once a day.
- After 3-4 days, when the germs begin to grow, remove the germinating cover. In this stage you dont have to spray them with water any more, they will take the water from the roots.
- Turn on the lights and let the timer switch on and off the lights. Plants need a stable day-night cycle to stay healthy.
- The coco fibre will suck up the water and evaporate it quickly, check the level regularly to have a constant water supplement to the roots. In the grow phase it is recommended to fill the water reservoir only until the bottom of the filling opening, in this way the roots will access oxygen as well.
- If the microgreens reached the “two-leaves” state, the are ready for harvesting.
- Timer settings:
Set Channel 1 - LED lamps, for every day:
ON = 08:00
OFF = 20:00
What you can do, to improve the growing results (based on personal experiences):
- Do not place the GrowBox above a radiator, a constant warm air flow will dry out the leaves.
- Regularly adjust the LED bar height 50mm above the top of the plant
- Instead of tap water you can try collected rain water or water from your garden well. But keep in mind, with those you can bring unwanted bacteria or other harmful substances into the system.
When the plant has reached the LED bulbs, increase the heigth by adding the printed extension profiles. If you think, the plant is high enough, cut off the top 70mm of the plant. This will make the plant to concentrate the growth to the side branches and leafs.
- Do not overdose the nutrients, it will have an opposite effect.
- Do not let the LED bulbs continuously on, it will not help the plant to grow faster. Plants need the night cycle to stay healthy.
- The optimal temperature for the growth is between 18-25°C. In colder rooms the growth will be considerably slower.
- If you plan to grow microgreens, do not turn on the lamps until they reach a heigth of 30-40 mm. Otherwise the stems will be too short for cutting.
- If you see “hairs” around the seeds, don't be scared, it is not moldy. For some plants it is the normal way of the development process.
- Dont use flower soil as a growing medium. They consits dung, which is a good base for fungus and all kinds of bacteria. They might damage your microgreens.
Your shopping list: is provided in the download section. Nothing, what you could not buy in the hardware store.
Safety hints:
If you are not experienced in electrical wiring, please ask a competent electrician for help. Electricity is hazardous.
The surface of the LED bulb can heat up to 60-70°C. The LED chips can handle it, your skin cannot.
Take extra care if you are mixing the water with the nutrient solutions. Always close the bottles securely and store them in a safe place, where children cannot reach them.
:format(webp)/https://fbi.cults3d.com/uploaders/24935665/illustration-file/6295dd5c-551b-456b-9781-f7e072b3f0d3/GreenGrowBox-Contest.jpg)


/https://preview3d-images.cults3d.com/mu69pgikl9qppe9nimh80h500pct)
/https://preview3d-images.cults3d.com/48f7g4fy29mib94z2yd898zlhu0r)
/https://preview3d-images.cults3d.com/z9ty9eeemeaggoocfvatcqctwixf)
/https://preview3d-images.cults3d.com/4gvr4fk4vfsldhqd4s4byru4ha76)
/https://preview3d-images.cults3d.com/nrstw9xuvp6xqnm7p6eubnw2ap10)
/https://preview3d-images.cults3d.com/75prw5nsbg7ij40eadrgr5pp0n7m)
/https://preview3d-images.cults3d.com/ojqr8kuv0s9yabivl2s6k81nzqyw)
/https://preview3d-images.cults3d.com/ze77qnvzv7pvrjcjdeanm23mwj08)
/https://preview3d-images.cults3d.com/5tcw65lsi3hhoykm8t7zytkm4u3j)
/https://preview3d-images.cults3d.com/1ylwlkjcy3wdeidbt5tj38sco3ls)
/https://preview3d-images.cults3d.com/vnj7v3cuwuhu8pzw8iuz2vmten8m)
/https://preview3d-images.cults3d.com/t6easqe72w2v529m7gduj0841frt)
/https://preview3d-images.cults3d.com/o0v5nfyl2k6rf68rysx4xtmbopck)
/https://preview3d-images.cults3d.com/zea1md2zstm9uqu82lohfs192whb)
/https://preview3d-images.cults3d.com/bqwryadprj6goplx5orh5ckvp04n)
/https://preview3d-images.cults3d.com/64xzt1s0fl1du6r4ljpzmtavrkws)


