Skip to content

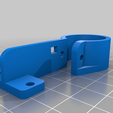
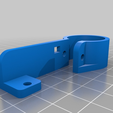
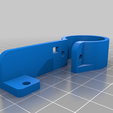
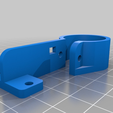
Mostly Printed CNC Optical End Stop Mount

Advertising
Advertising
?
Creation quality: 5.0/5 (1 vote)
Evaluation of members on the printability, utility, level of detail, etc.

  • 545 views
  • 3 likes
  • 7 downloads

License
3D design format
Folder details Close
  • MPCNC_Light_Barrier_Bolt_On.stl
  • MPCNC_Light_Barrier_Screw_In.stl
  • MPCNC_Optical_End_Stop_IE_Long_v2.stl
  • MPCNC_Optical_End_Stop_IE_Short_v2.stl
  • MPCNC_Optical_End_Stop_US_Long_v2.stl
  • MPCNC_Optical_End_Stop_US_Short_v2.stl

Learn more about the formats

Publication date 2023-03-08 at 15:43
?
Published to Thingiverse on: 2016-02-12 at 03:18
Design number 1104419

3D printer file info

3D model description

UPDATE Dec 3 2016: My end stop cracked where the bolt tightened onto the conduit, so I made an updated version that is thicker and stronger. Also fixed a problem with the IE version where the bolt hole was in the wrong position.


NOTE FOR MPCNC 525: This was designed to support the original MPCNC. I expect the end stop holders themselves to work fine on the 525, but the light barriers likely don't mount on the new design. I plan on upgrading my MPCNC and plan to update this design once I have the CNC working.

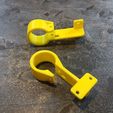
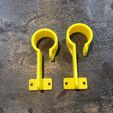
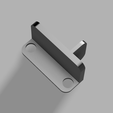
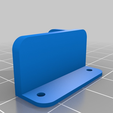
Remixed Allted's end stop mount for the Mostly Printed CNC to work with an optical end stop. This design has two end stop sizes, one for X and one for Y ("Short" and "Long"). I place these on the outer rails instead of the moving X and Y to keep the wires from moving. There is also a small opening to allow for a wire wrap to help keep the wires clean. These are clamped on with the same #6-32 3/4" bolt and nut that are commonly used in the MPCNC. Note that these are designed to be min end stops for X and Y, and will not work as max end stops without further refinement.

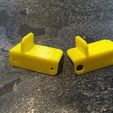
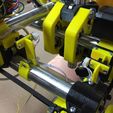
Also included are two light barriers to intersect with the optical sensors. One of these (the "Bolt On" version) is designed to use the existing bolts on the "Roller_F" unit (though you may need longer bolts, but I've tried to keep the material thin so it can just squeeze on), and the other (the "Screw In" version) is for directly screwing onto the "Roller_Lock" (which doesn't have any hardware on it to use). For this, I use a couple of short (1/4 to 3/8) #4 pan-head screws and pre-drill the holes.

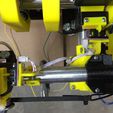
You likely will need to print four files - one short and one long end stop (both US and IE are included), and one of each of the light barriers. See my pics to get an idea of how I am using these.

I designed this to be printed without any supports. There is very little infill used, but 20% works just fine.

Advertising


Issue with this design? Report a problem.

Would you like to support Cults?

You like Cults and you want to help us continue the adventure independently? Please note that we are a small team of 3 people, therefore it is very simple to support us to maintain the activity and create future developments. Here are 4 solutions accessible to all:

  • ADVERTISING: Disable your banner blocker (AdBlock, …) and click on our banner ads.

  • AFFILIATION: Make your purchases online by clicking on our affiliate links here Amazon.

  • DONATE: If you want, you can make a donation via Ko-Fi πŸ’œ.

  • WORD OF MOUTH: Invite your friends to come, discover the platform and the magnificent 3D files shared by the community!


Sharing and downloading on Cults3D guarantees that designs remain in makers community hands! And not in the hands of the 3D printing or software giants who own the competing platforms and exploit the designs for their own commercial interests.

Cults3D is an independent, self-financed site that is not accountable to any investor or brand. Almost all of the site's revenues are paid back to the platform's makers. The content published on the site serves only the interests of its authors and not those of 3D printer brands who also wish to control the 3D modeling market.

100% secure payment by credit card, PayPal, Apple Pay, Google Pay, etc.
View all payment options.