German
!Attention. This component has not been tested nor approved under the Highway Code.
The manufacture, installation and use are the responsibility of the buyer!
No testing by TüV or other authorities has been carried out.
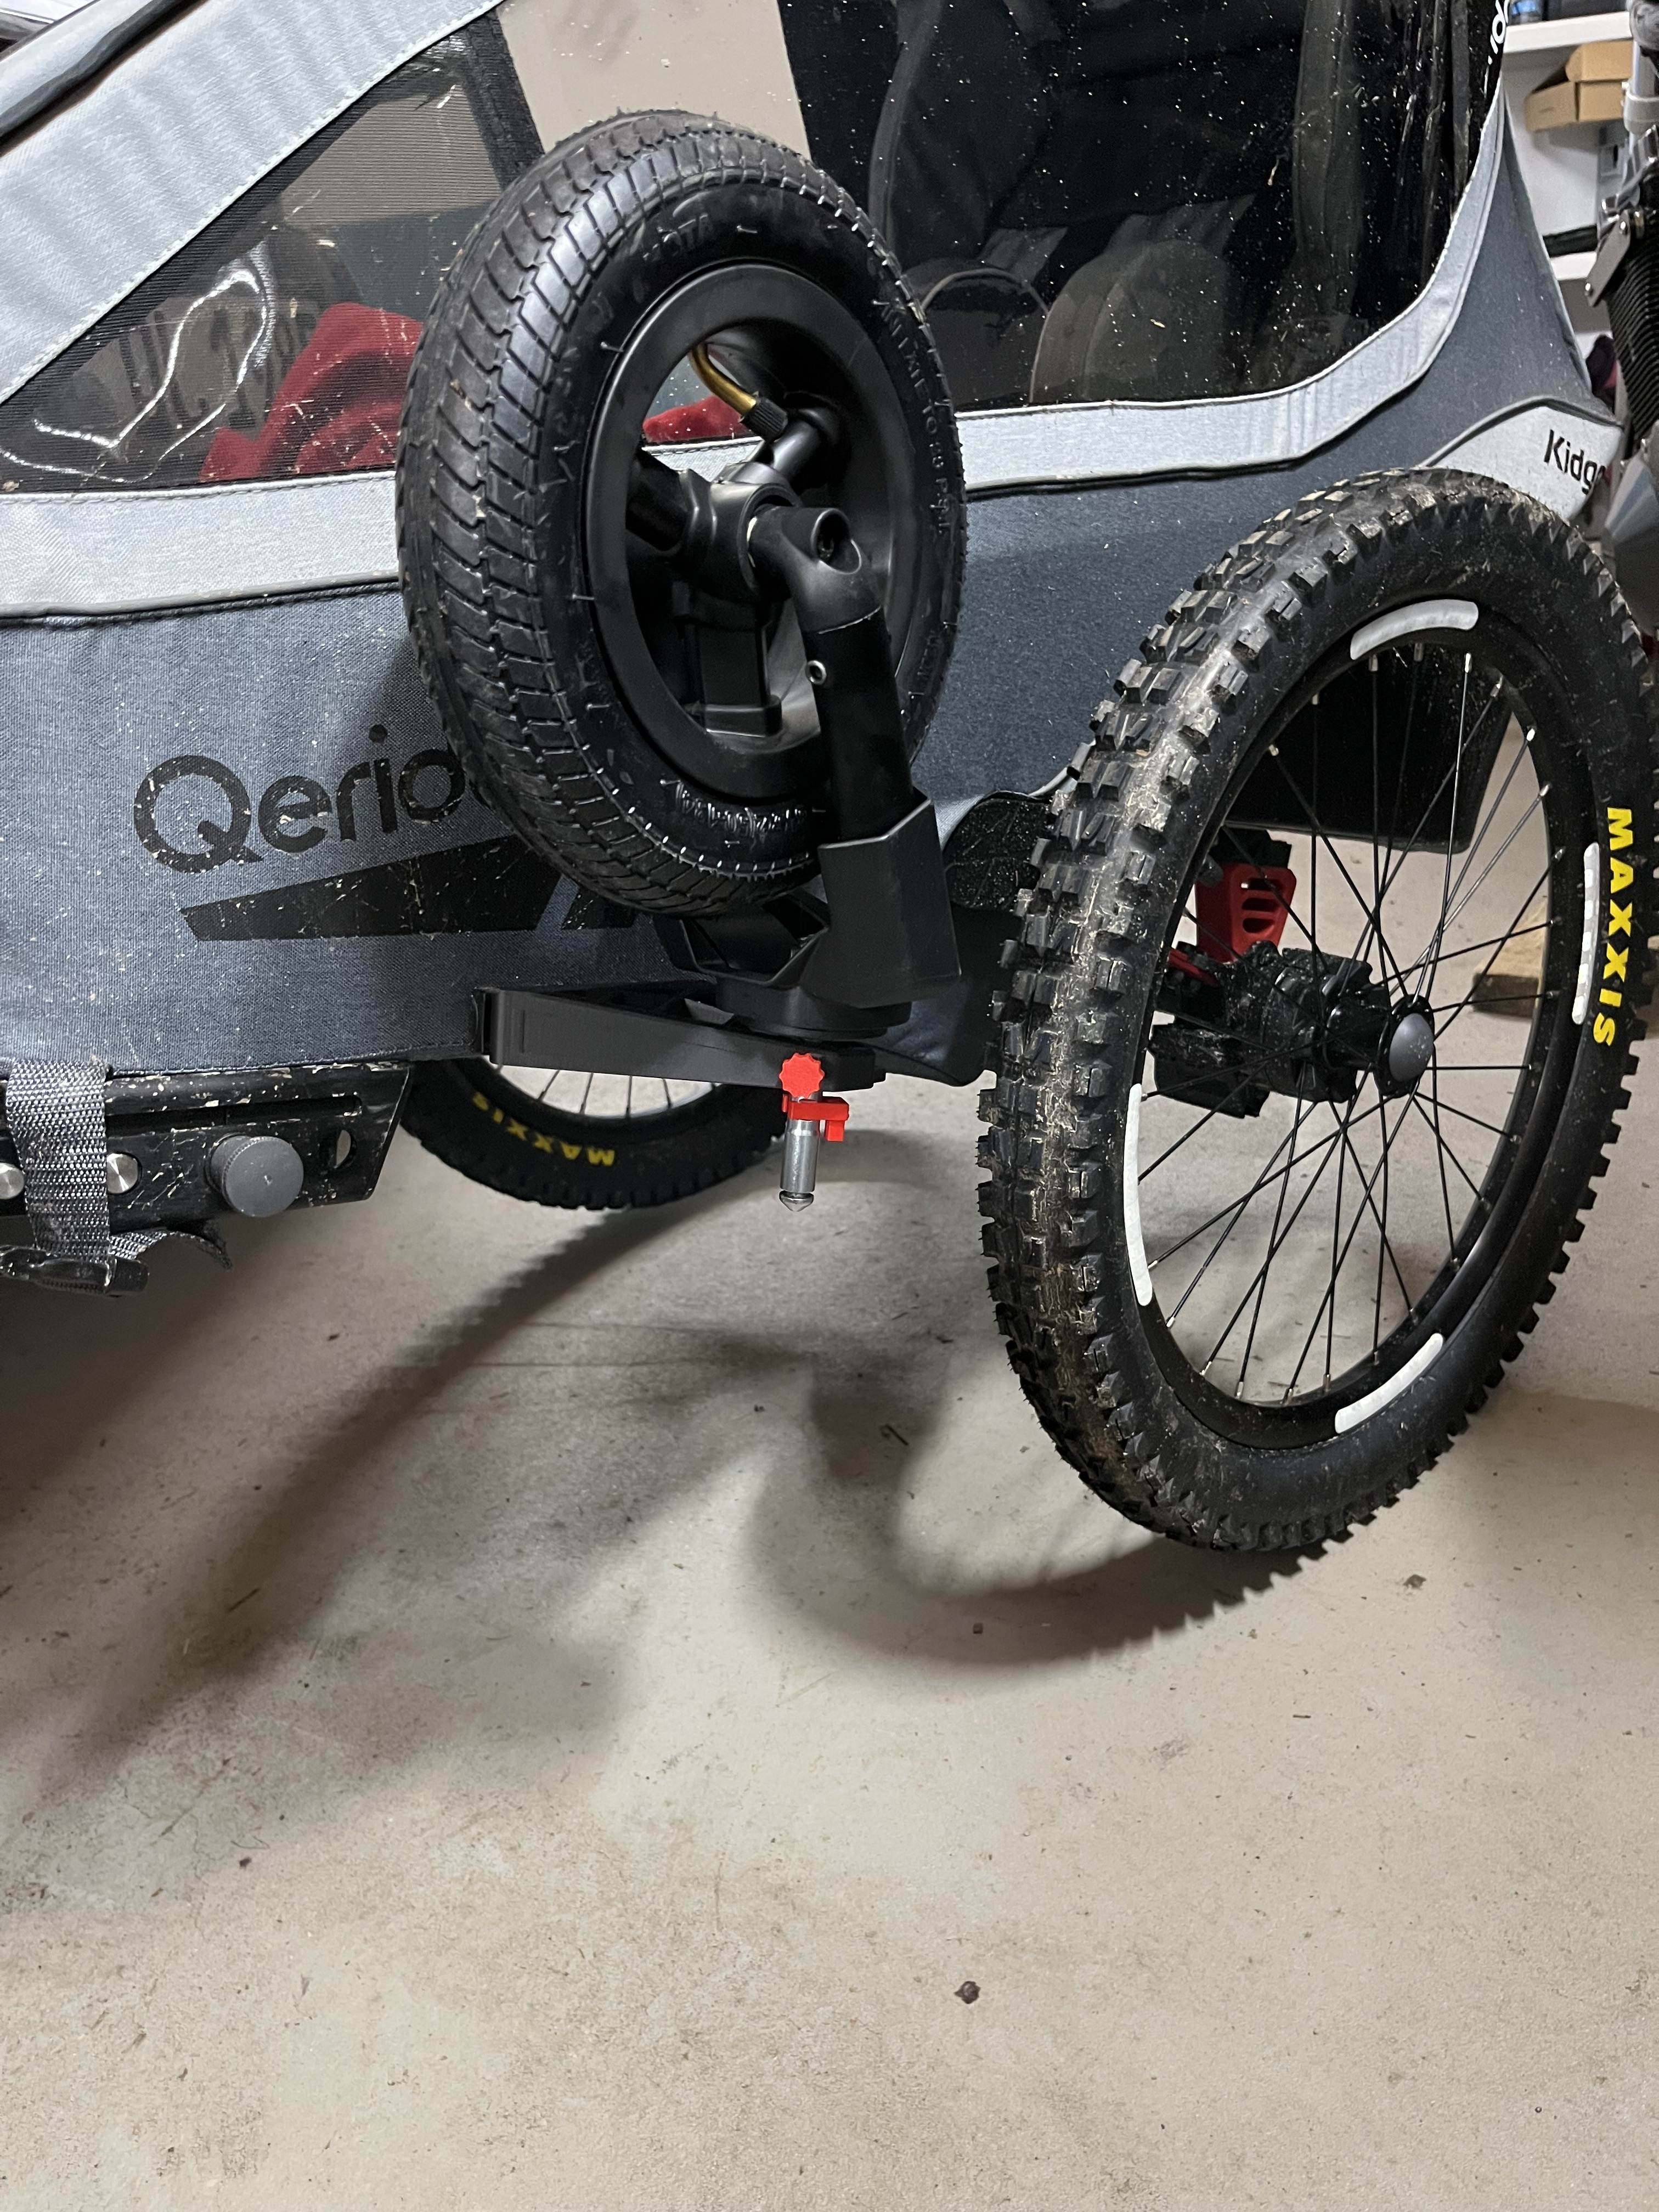
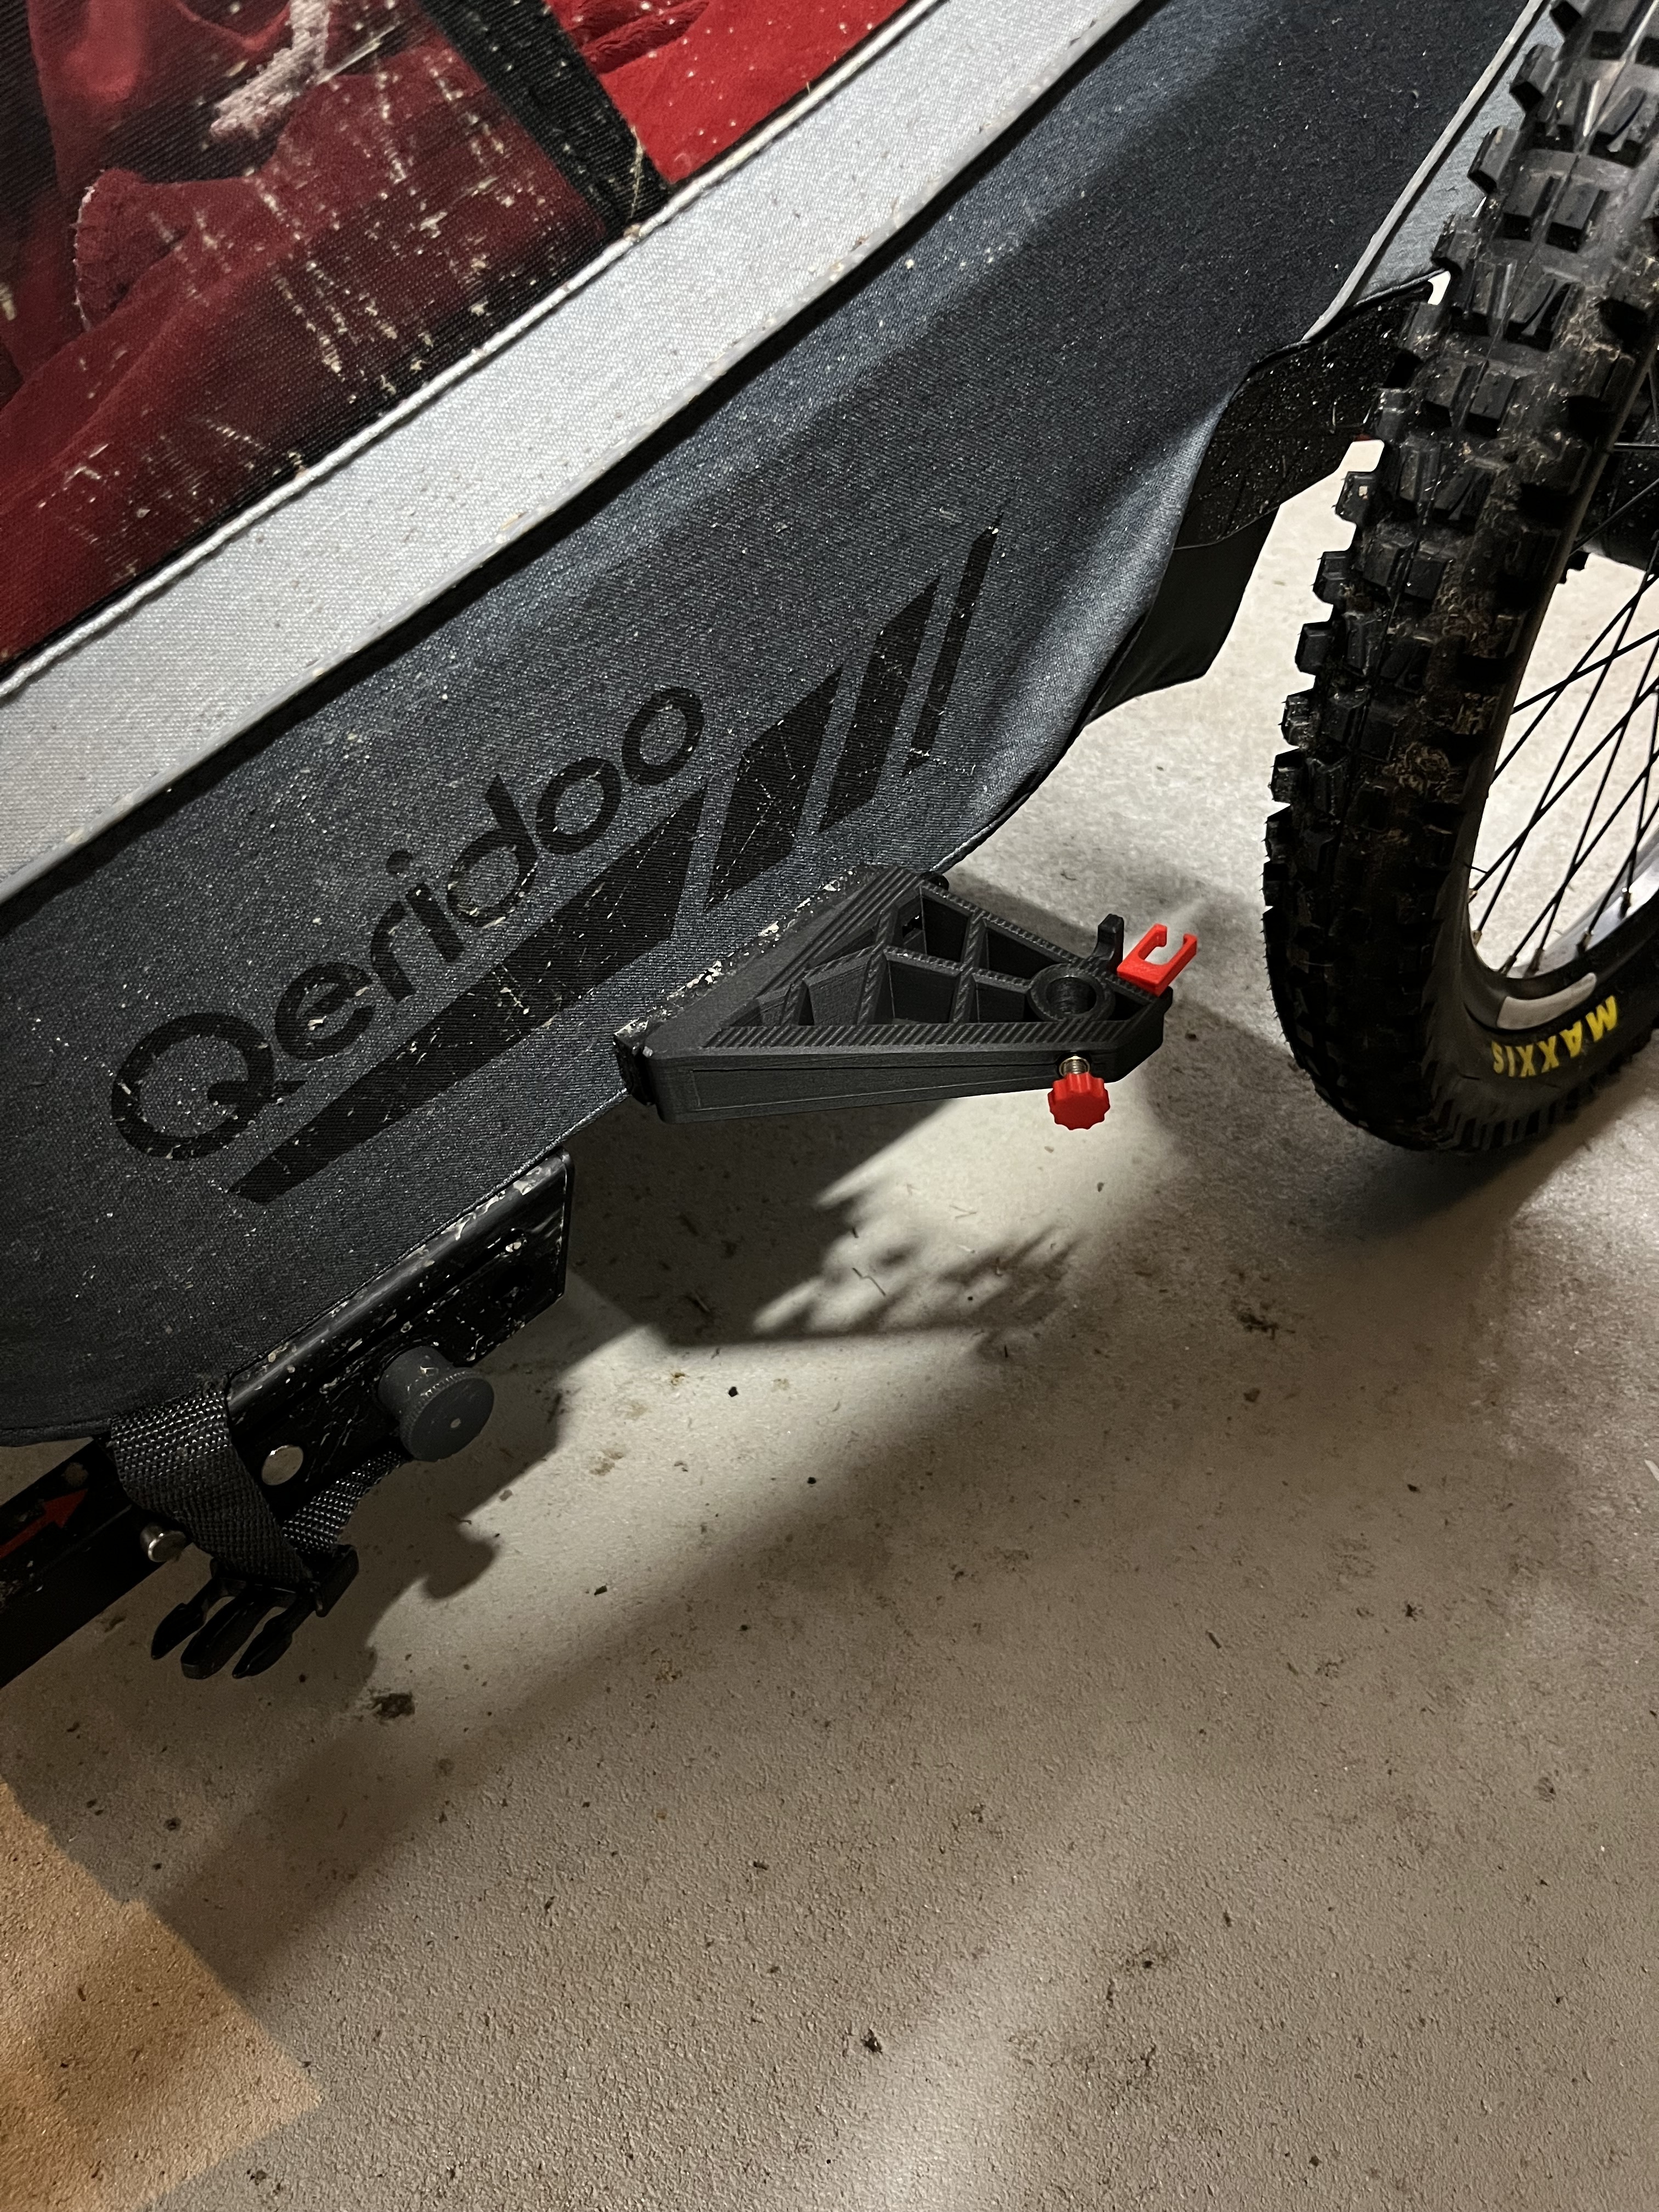
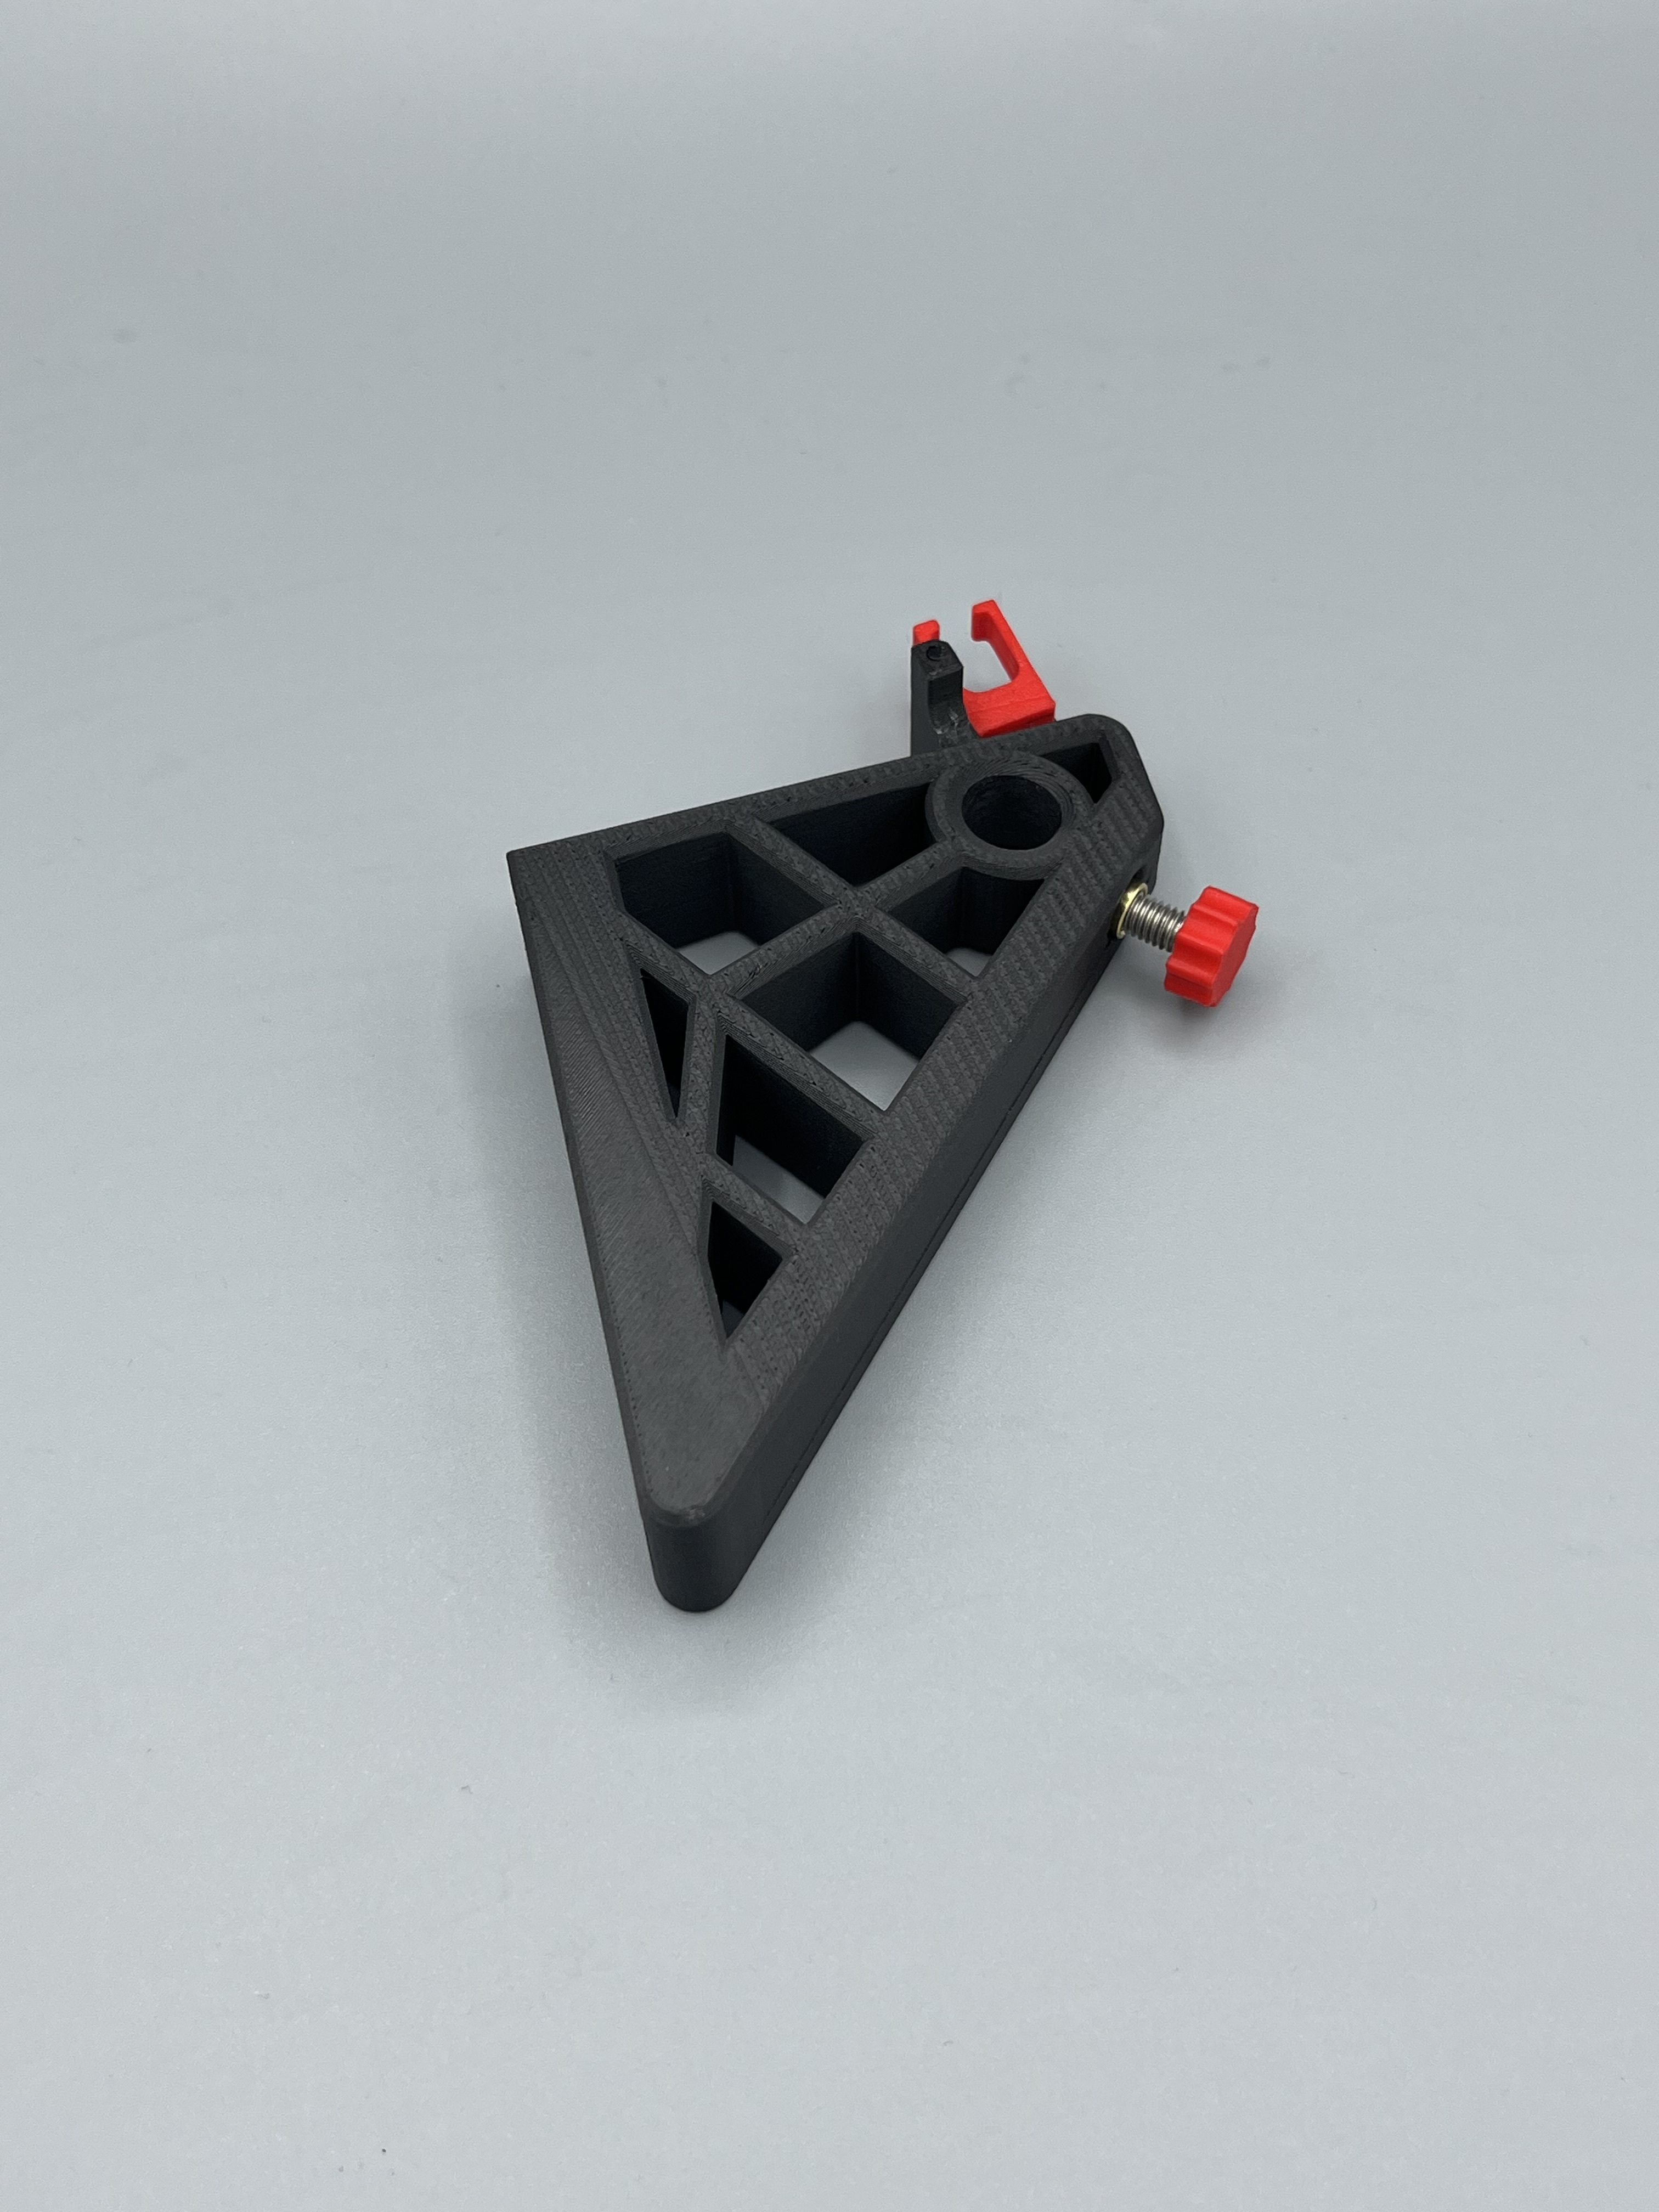
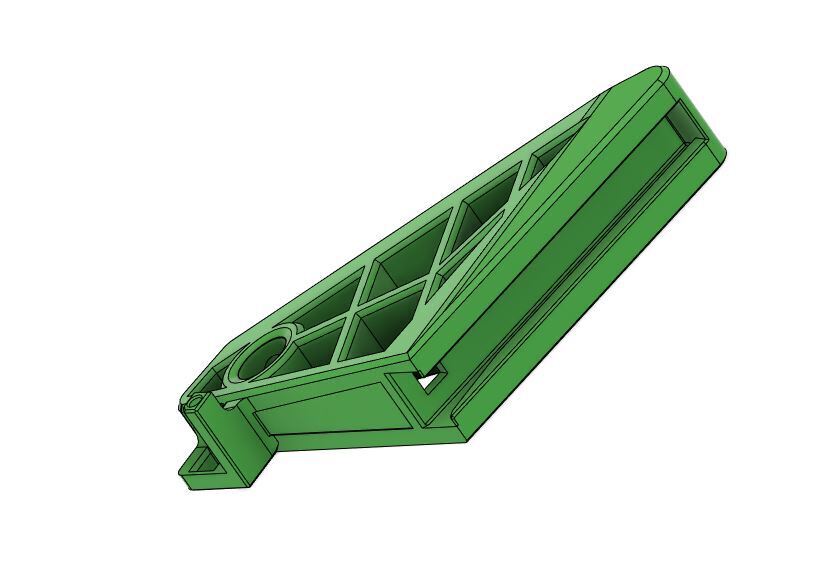
This is a device for storing the buggy wheel.
The part is used to hold the buggy wheel on the Qeridoo Kidgoo (2022). Whether it also fits on other Qeridoo models I can not say unfortunately. The original triangle is dismantled.
For the following standard parts / purchased parts can also be used alternatives that you may have at home. I attach links to the parts I used below.
But as I said, you can also get creative yourself and use other parts.
Needed:
1 x M6 melt-in sleeve (12.7mm or shorter)
1 x M6 x 16 hex head bolt (stainless steel or zinc plated)
1 x dowel pin Ø3 x 18
1 x superglue or similar adhesive (Watch out! Protect eyes, No skin contact!).
Tools:
1 x soldering iron or alternatively lighter
if necessary, something to be able to press in the sleeve when it is hot.
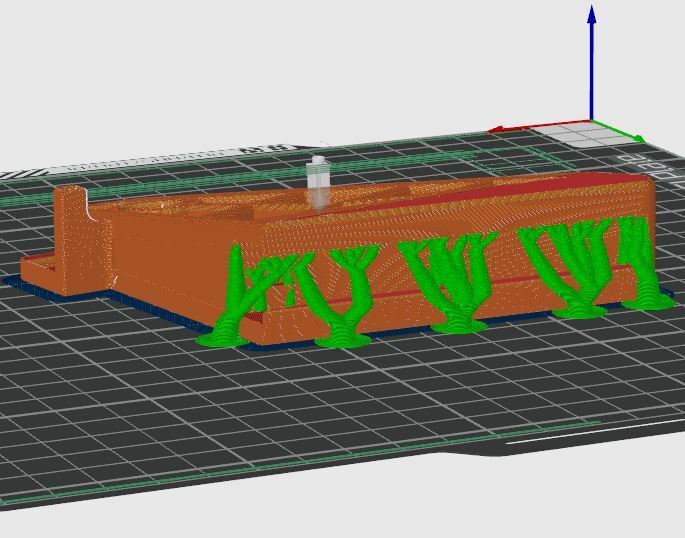
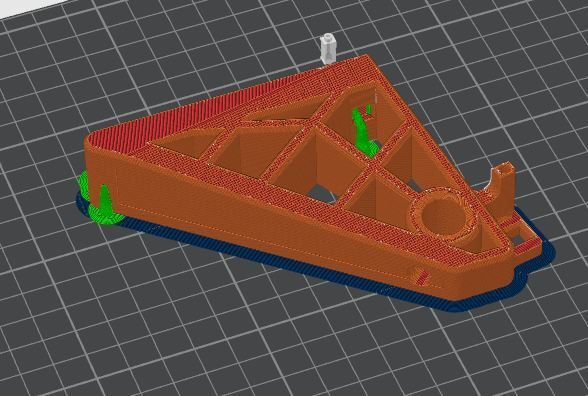
Assembly:
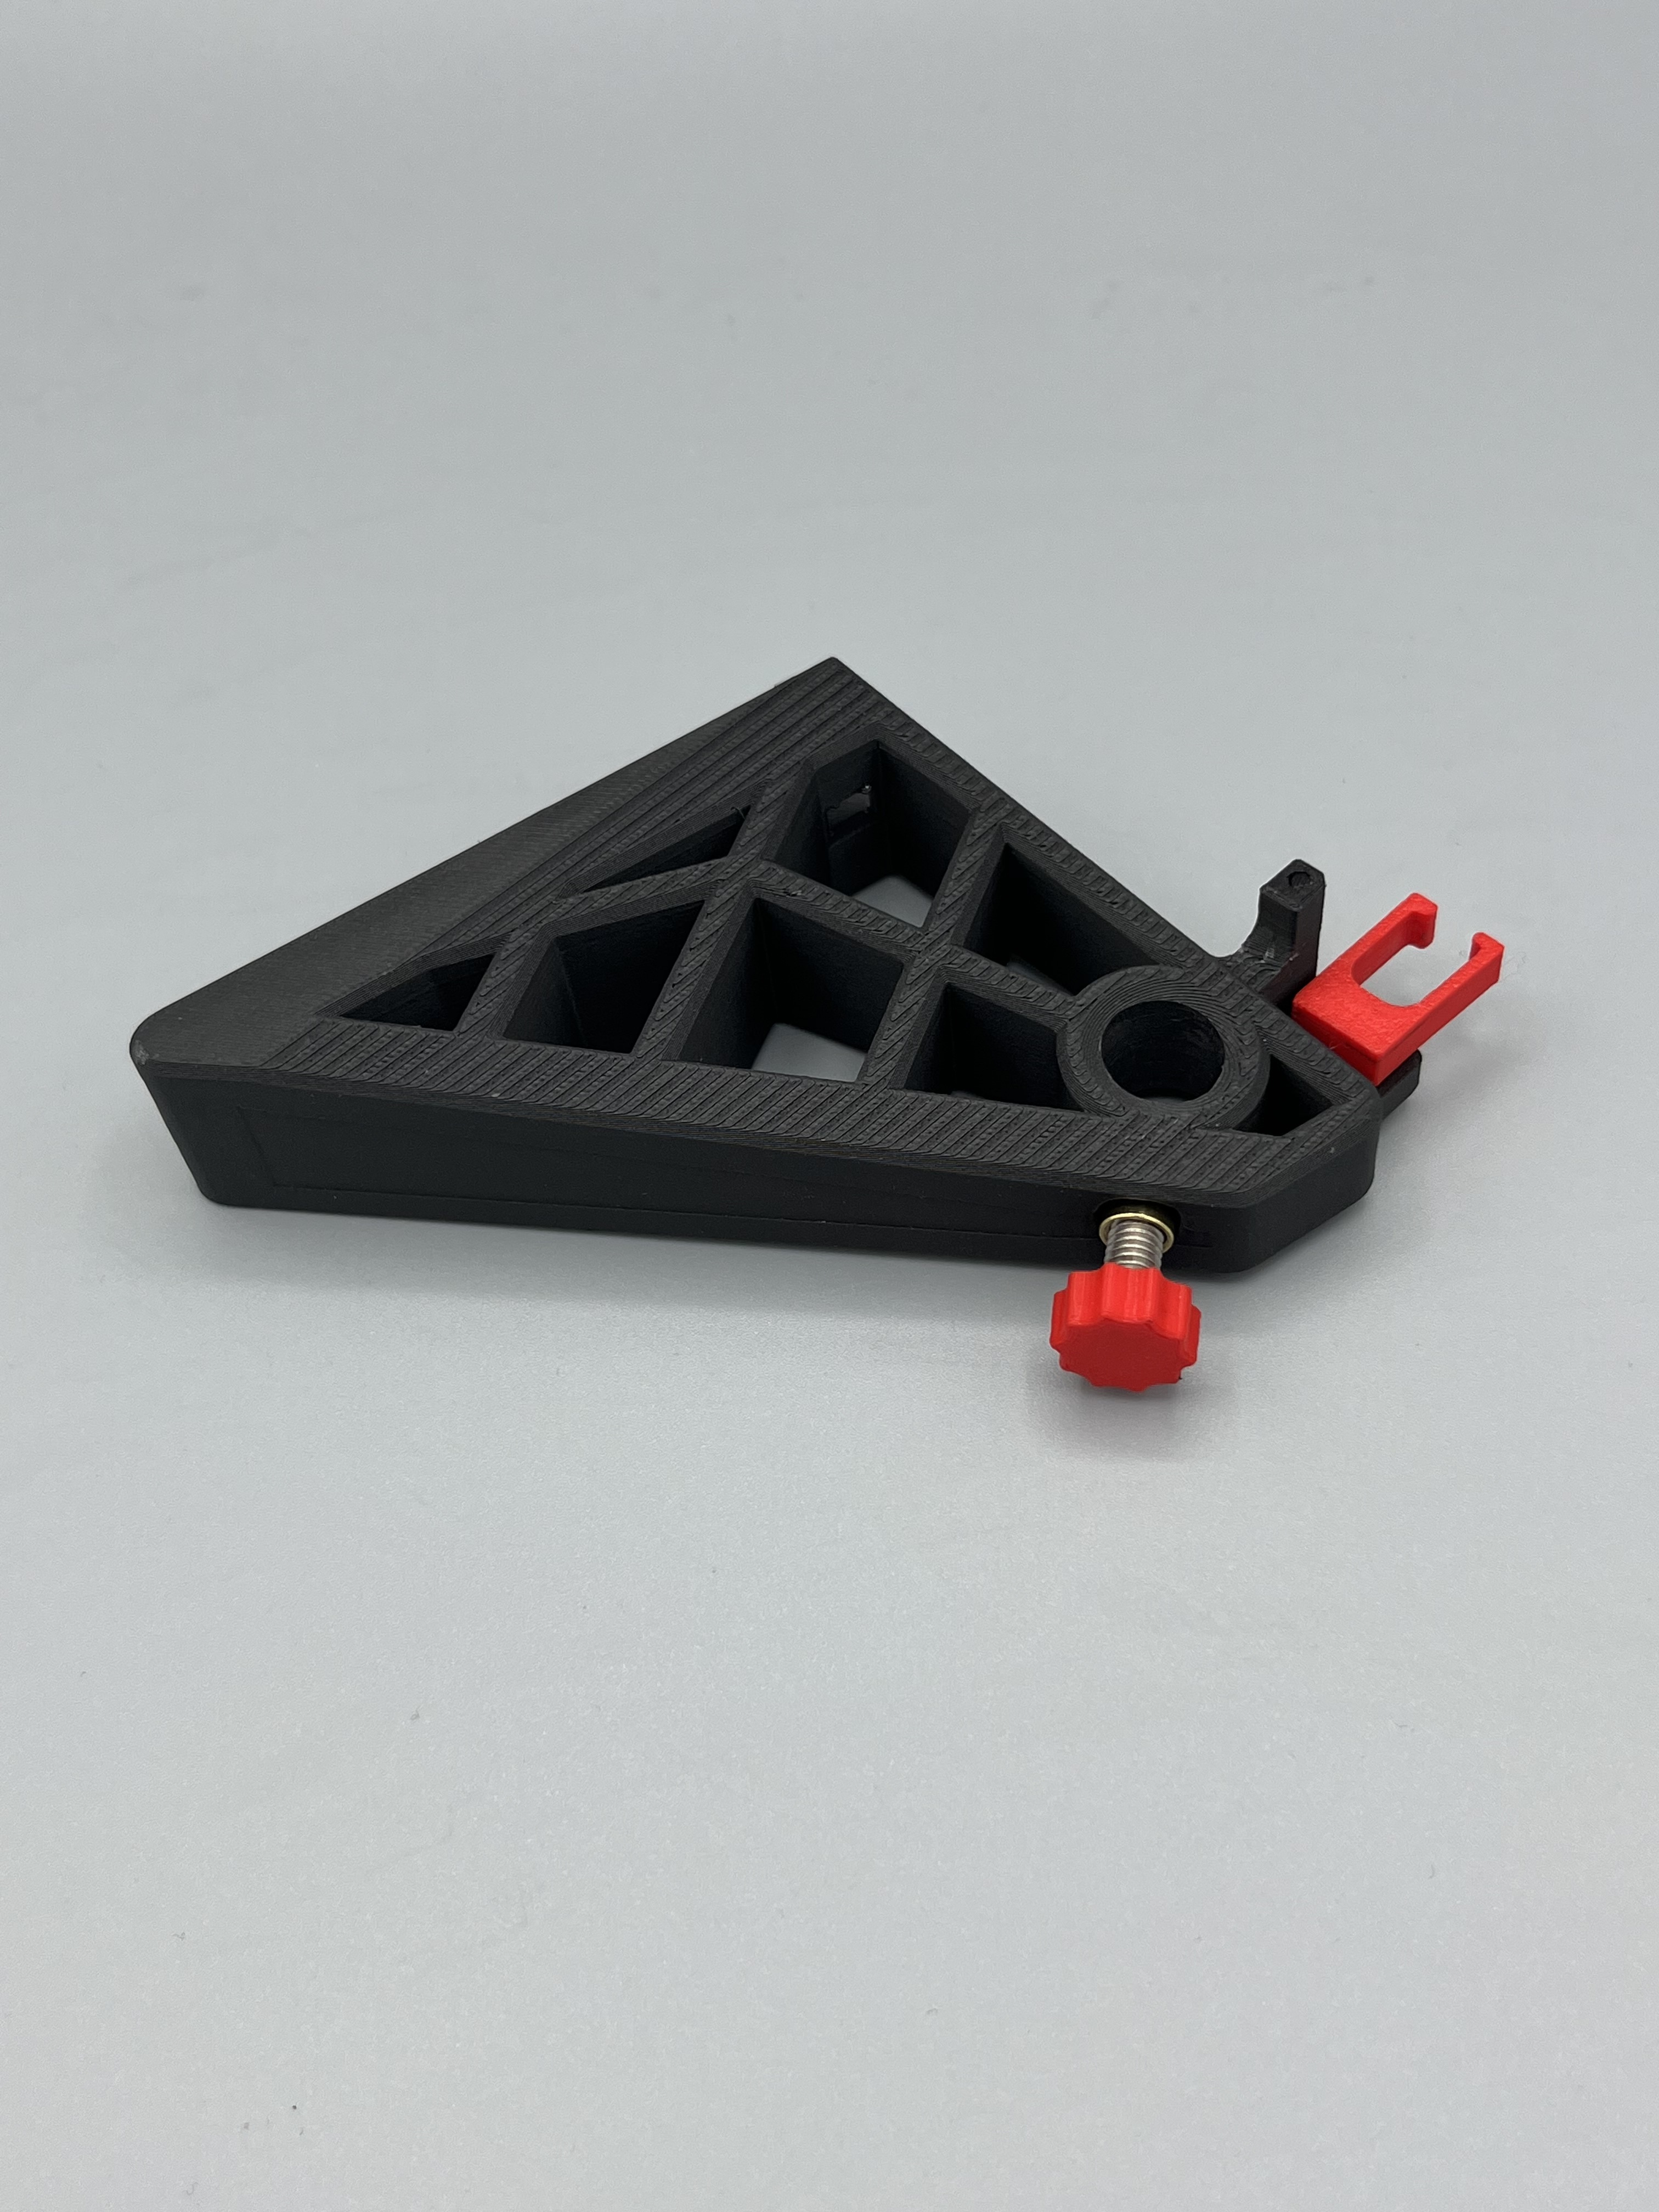
Once all three components are printed, assembly can begin.
The fusible link is heated with a soldering iron or lighter.
Attention, hot!
How you press the sleeve in is up to you. It is important that the sleeve follows the course of the bore. In other words, it must point to the center of the locating hole. For example, I simply put two sleeves on the soldering iron (one sleeve as a spacer) and then pressed/melted them in.
If you want, you can fix the sleeve with a drop of glue on the outside after pressing it in.
Subsequently, one or two drops of glue can be dribbled onto the screw head.
Then press this as cleanly as possible into the printed head with the knurling.
Take care that the adhesive does not splash out. Protect skin and eyes!
Allow to dry.
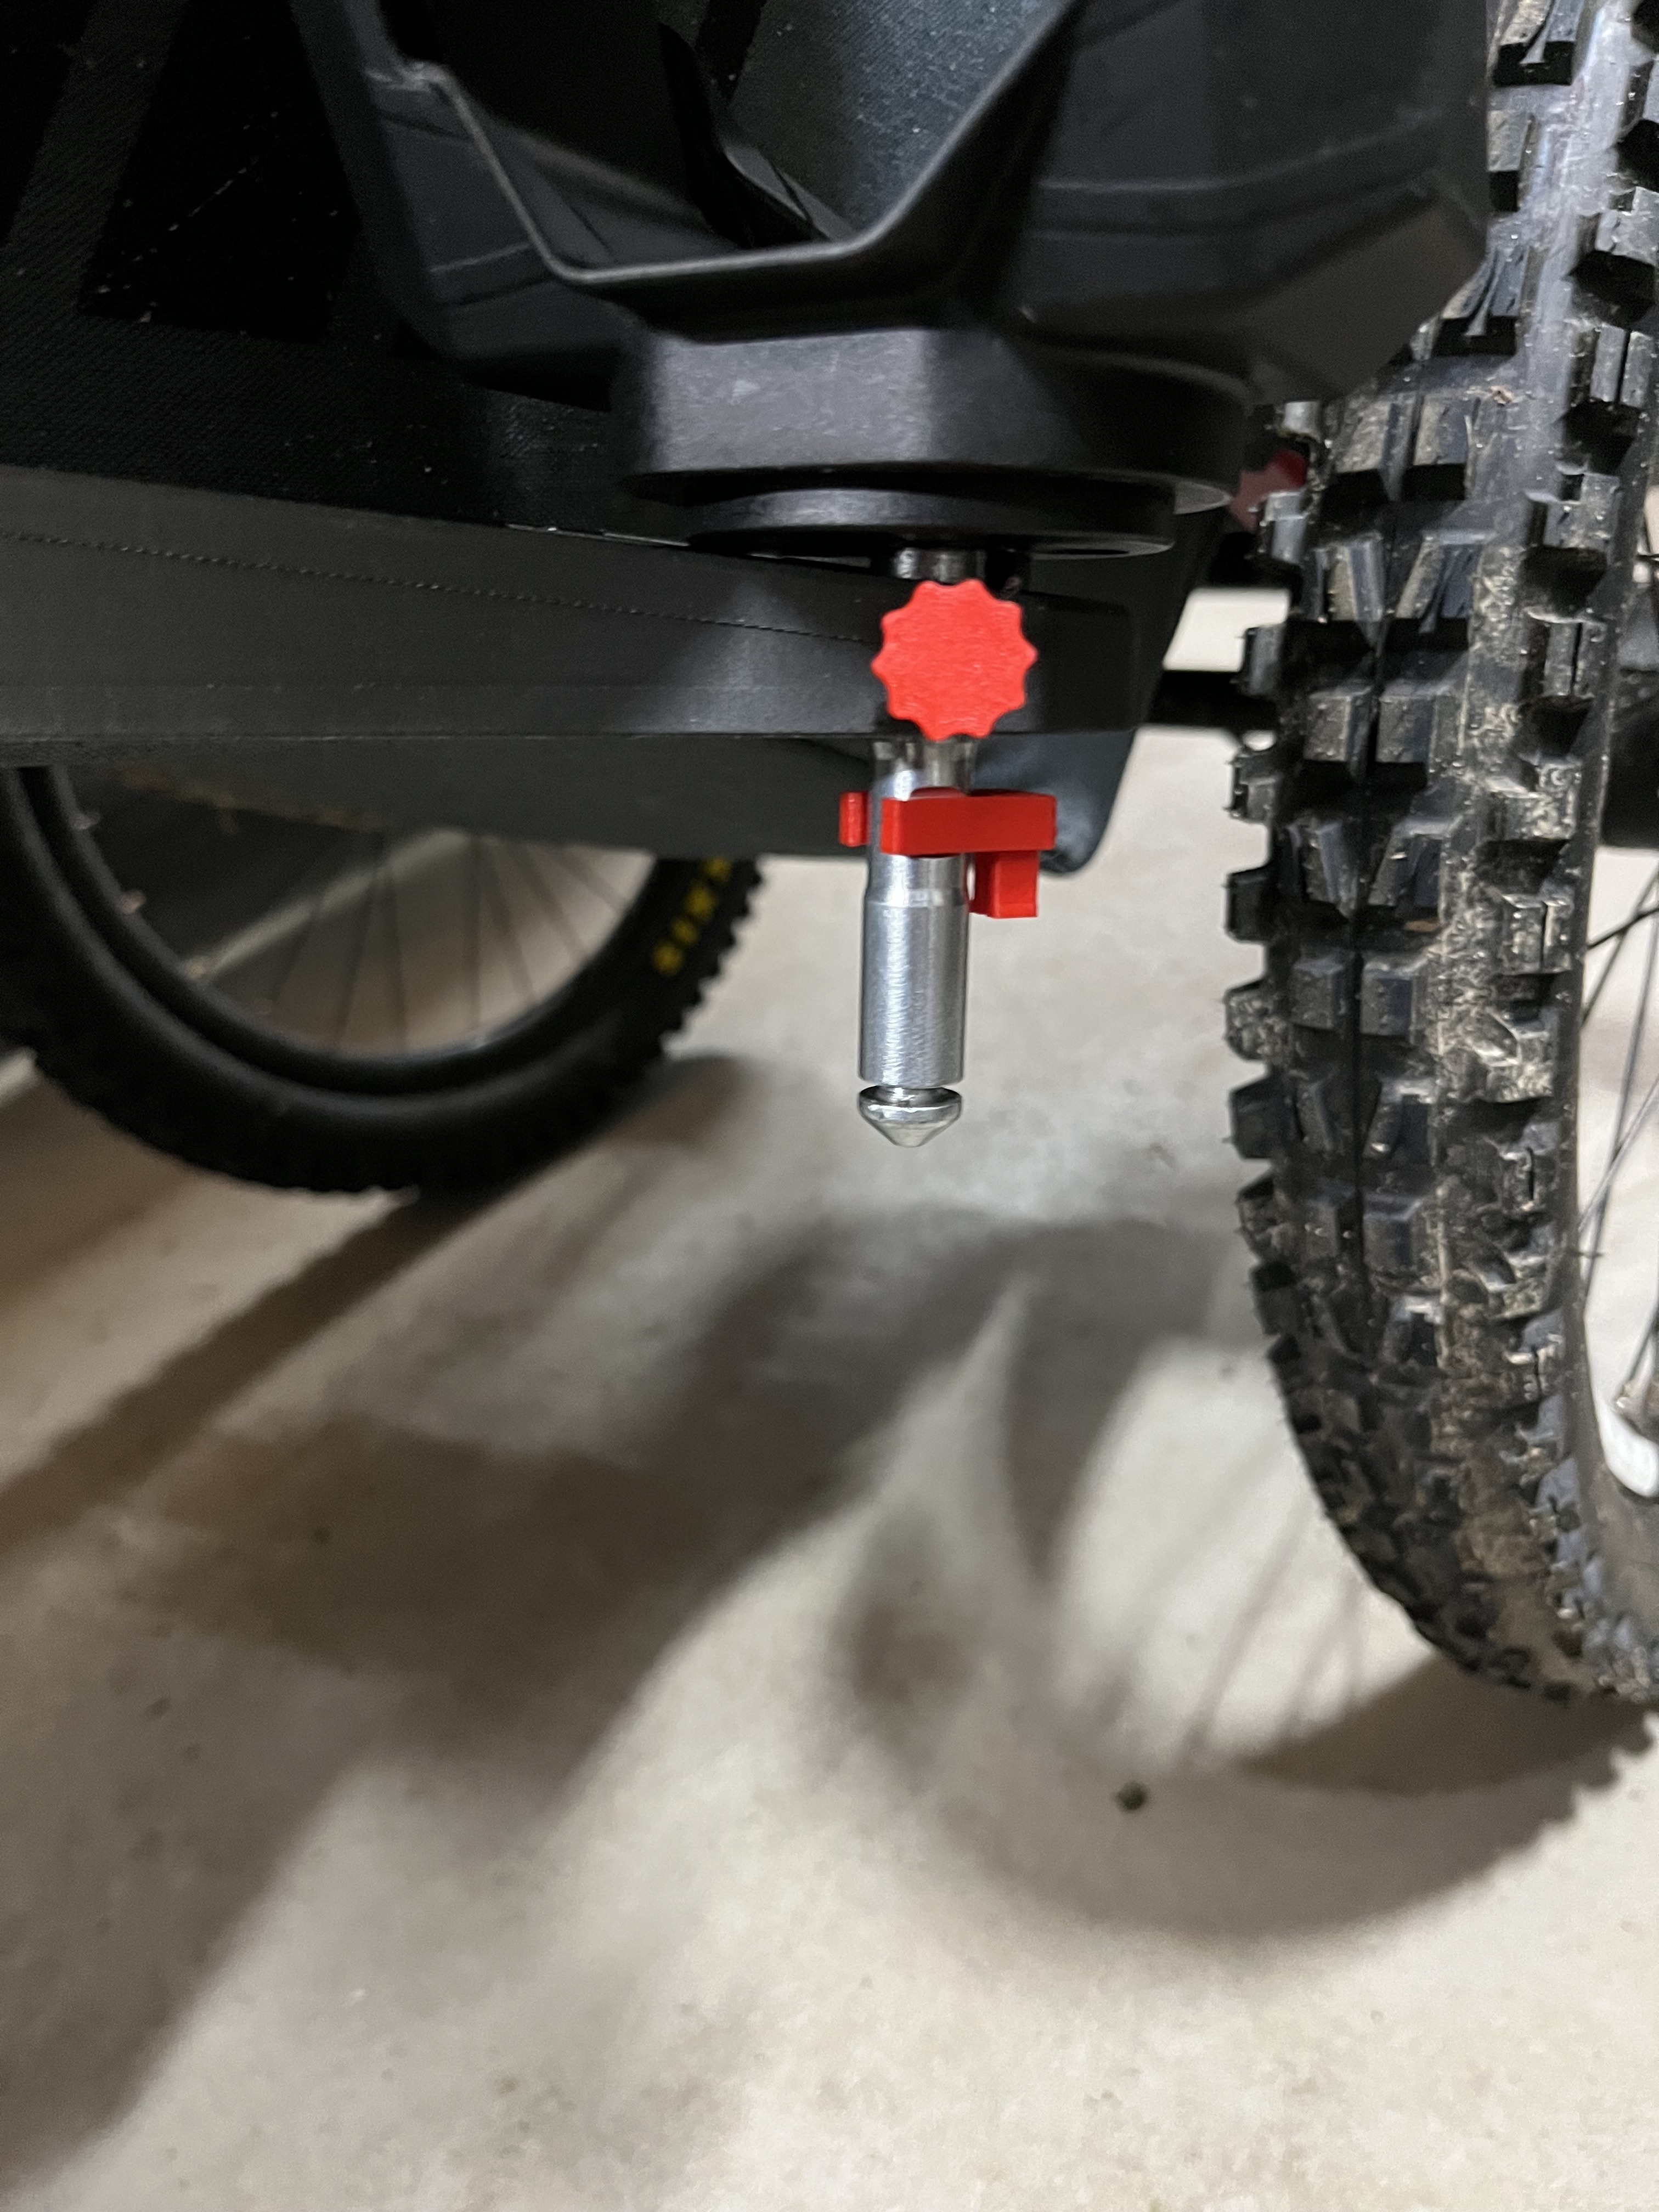
Now comes the final step.
Drip some glue into the hole where the cylinder pin will go and press the pin in all the way to the bottom. Be careful that the glue does not squirt out. Protect skin and eyes!
Allow to dry, ready.
Sample link to purchase parts:
ruthex M6 threaded insert - 25 pcs RX-M6x12.7 threaded brass bushings - sturdy press-in nut for plastic parts - can be used in plastic 3D printing parts by heat or ultrasound : Amazon.com: hardware store)
10 hexagon head screws stainless steel M 10 x 16 mm fully threaded screws screws DIN 933 A2 : Amazon.de: Baumarkt
20 pieces dowel pins 3x18 DIN 7 stainless steel V1A dowel pin tolerance M6 : Amazon.de: Baumarkt
UHU superglue blitzschnell Minis gel, 3x original sealed tubes superglue gel, 3 x 1 g : Amazon.de: Baumarkt
And as with all my designs - use at your own risk!
I design as a hobby and put things online for a small donation.
Everyone himself left whether he prints the things, builds, considered safe and used, or just not.
English
Attention! This component is neither tested nor approved under the Road Traffic Act.
The manufacture, installation and use are the responsibility of the buyer! No test by TüV or other authorities.
It is a device for storing the buggy wheel.
The part is used to hold the buggy wheel on the Qeridoo Kidgoo (2022). Unfortunately, I can't say whether it also fits on other Qeridoo models. The original triangle is dismantled.
Alternatives that you may have at home can also be used for the following standard/purchased parts. I've attached links below to the parts I used. But as I said, you can also get creative yourself and use other parts.
What is needed:
1 x M6 melt-in sleeve (12.7mm or shorter)
1 x M6 x 16 Hex Head Bolt (Stainless Steel or Zinc Plated)
1 x cylinder pin Ø3 x 18
1 x superglue or similar glue (watch out! protect your eyes, no skin contact!)
Tools:
1 x soldering iron or alternatively lighter
if necessary something to be able to press in the sleeve when it is hot.
Assembly:
When all three components are printed, assembly can begin.
The sealing sleeve is heated with a soldering iron or lighter.
Caution! Hot!
How you press the sleeve is up to you. It is important that the sleeve follows the course of the bore. So it points to the center of the mounting hole. For example, I simply put two sleeves on the soldering iron (one sleeve as a spacer) and then pressed/melted them in.
If you want, you can fix the sleeve with a drop of glue on the outside after pressing it in.
A drop or two of glue can then be dripped onto the screw head.
Then press this as cleanly as possible into the printed head with the knurling. Be careful not to squirt the glue. Protect skin and eyes!
Let dry.
Now comes the last step.
Drip some glue into the hole where the cylinder pin goes and press the pin in all the way down. Be careful not to squirt the glue. Protect skin and eyes!
Let dry, done.
Example link to the purchased parts:
ruthex M6 threaded insert - 25 pieces RX-M6x12.7 threaded brass bushings - sturdy press-in nut for plastic parts - can be used by heat or ultrasound in plastic 3D printing parts : Amazon.com: hardware store)
10 hexagon head screws stainless steel M 10 x 16 mm fully threaded screws screws DIN 933 A2 : Amazon.de: Baumarkt
20 pieces dowel pins 3x18 DIN 7 stainless steel V1A dowel pin tolerance M6 : Amazon.de: Baumarkt
UHU superglue blitzschnell Minis gel, 3x original sealed tubes superglue gel, 3 x 1 g : Amazon.de: Baumarkt
And as with all my designs, the same applies here - use at your own risk!
I construct as a hobby and put things online for a small donation.
Everyone is free to decide whether they print, build, consider and use things as safe, or not.
:format(webp)/https://fbi.cults3d.com/uploaders/23833621/illustration-file/66cbfc30-3df2-4655-bc5a-af36599b6214/IMG_8527.jpg)

/https://preview3d-images.cults3d.com/pv60u0kaml34gpfgj1usrr4vailg)
/https://preview3d-images.cults3d.com/dwziw9kz2p5vd0t89yt7l7rbhxda)
/https://preview3d-images.cults3d.com/kk5ii213zko0peagty5llkymy3m8)


