Skip to content

BK LED Dimmer Controller 12-24V

Advertising
Advertising
?
Creation quality: 5.0/5 (1 vote)
Evaluation of members on the printability, utility, level of detail, etc.

  • 651 views
  • 1 like
  • 13 downloads

License
3D design format
Folder details Close
  • BK_LED_Dimmer_Box.stl
  • BK_LED_Dimmer_Box_B.stl
  • BK_LED_Dimmer_Lid.stl
  • BK_LED_Dimmer_Lid_B.stl

Learn more about the formats

Publication date 2023-03-15 at 20:18
?
Published to Thingiverse on: 2022-09-21 at 22:18
Design number 1117026

3D printer file info

3D model description

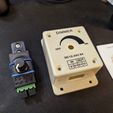
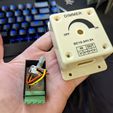
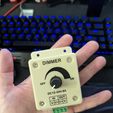
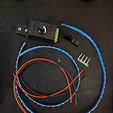
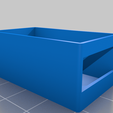
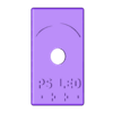
This is a dimmer control box for 12-24v LEDs installed on your 3D printer (or elsewhere). It was made to house the circuit board and potentiometer found within this comically large unit I purchased on Amazon. https://www.amazon.com/dp/B09W9L3MZW?psc=1&ref=ppx_yo2ov_dt_b_product_details

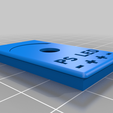
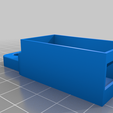
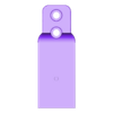
This will allow you to reduce the footprint of that behemoth box to be around 75% smaller/more compact. I designed it to mount on and Ender 3 V2 (all E3's) with two possible mounting options. The standard mount uses the vertical v-slot behind the screen... Basically it mounts on the opposite side of the z-stop in roughly the same location using two t-nuts. The second version (B) is intended to be mounted under the screen on an ender 3/pro and secured with 3M VHB (or similar double-sided mounting tape) to the backside of the metal screen mounting plate or anywhere else you may want to stick/install it.

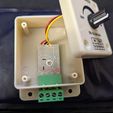
The lids are a bit loose fitting and may/may not snap/hold into place when installed. A couple of drops of CA/super glue should do the trick. The only other trick is removing the screw terminals off of the board to make installation into the new enclosure possible. You simply use a flathead screwdriver to pry up the green tabs that are holding them, then half of that green block/mount will slide out. You can then insert the board into the box and reattach the screw terminals afterwards.

Wiring is pretty straightforward, but assumes you do know what you are doing... And, planning your wire lengths in advance is pretty helpful.

Anyhow, I hope you enjoy the ability to dim your LEDS using a once ginormous dimming module. I would love to see how you incorporate yours.

Advertising


Issue with this design? Report a problem.

Would you like to support Cults?

You like Cults and you want to help us continue the adventure independently? Please note that we are a small team of 3 people, therefore it is very simple to support us to maintain the activity and create future developments. Here are 4 solutions accessible to all:

  • ADVERTISING: Disable your banner blocker (AdBlock, …) and click on our banner ads.

  • AFFILIATION: Make your purchases online by clicking on our affiliate links here Amazon.

  • DONATE: If you want, you can make a donation via Ko-Fi πŸ’œ.

  • WORD OF MOUTH: Invite your friends to come, discover the platform and the magnificent 3D files shared by the community!


Sharing and downloading on Cults3D guarantees that designs remain in makers community hands! And not in the hands of the 3D printing or software giants who own the competing platforms and exploit the designs for their own commercial interests.

Cults3D is an independent, self-financed site that is not accountable to any investor or brand. Almost all of the site's revenues are paid back to the platform's makers. The content published on the site serves only the interests of its authors and not those of 3D printer brands who also wish to control the 3D modeling market.

100% secure payment by credit card, PayPal, Apple Pay, Google Pay, etc.
View all payment options.