Skip to content

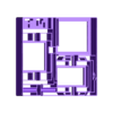
Turing Machine Board Game Insert Organizer

Advertising
Advertising
?
Creation quality: 5.0/5 (1 vote)
Evaluation of members on the printability, utility, level of detail, etc.

  • 1.3k views
  • 5 likes
  • 16 downloads

License
3D design format
Folder details Close
  • TM_Insert.stl
  • TM_Insert_Short.stl
  • TM_Insert_Short_Skeletonized.stl
  • TM_Insert_Skeletonized.stl
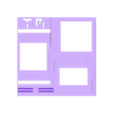
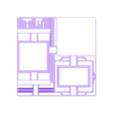
  • TurMach_Split1.stl
  • TurMach_Split2.stl
  • TurMach_Split3.stl
  • TurMach_Split4.stl

Learn more about the formats

Publication date 2023-03-28 at 21:31
?
Published to Thingiverse on: 2023-01-03 at 23:22
Design number 1139704

3D printer file info

3D model description

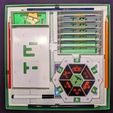
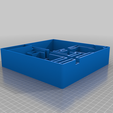
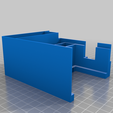
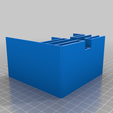
The game design in genius, yet the box design is garbage, so here's my solution.

Keeps everything tidy and fits plenty tight enough for bumpy car rides and vertical storage.

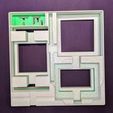
Remove the cardboard dividers from the original box, but keep the white perimeter piece and simply drop this in the center.

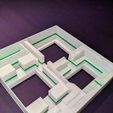
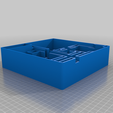
I included a slot to stack pencils and a bonus cubby on the top left for any other bobbits you may want in the box.

Four versions:
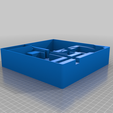
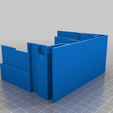
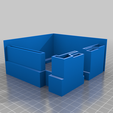
- TM Insert: As depicted in photos. For those of you who prefer a heavier look and love buying filament
- Short: removes 6 mm from the bottom that was pure filler. You can save filament by printing this, then make up that missing height by recycling some foam, cardboard, or whatever to put in the bottom of the box.
- Skeletonized: Removes as much plastic as is plausible to save about 50g of filament. One also could think it looks cooler.
- Short_Skeletonized: ought to be self-explanatory by now

A word on printing:

This is 220 x 220, so it takes up every bit of an ender 3 or other standard sized print bed. That means you have to take extra steps to get those corners of your build plate hot enough to stick or you're guaranteed to warp. Don't even try it if you're printing in a cold or drafty area. I recommend using an enclosure if possible, pre-heating your bed and letting it soak for several minutes, and probably turning your first layer bed temp up a bit higher than normal. I even wonder about setting the first layer to CONCENTRIC, heating up to 10-15 degrees more than I normally would, then slowly turning the bed heat down as the printer moves from the outside in. Please comment on what works for you.

Update
I have uploaded an updated split version for smaller print beds. This one moves the split planes allow larger surface for gluing the pieces together for a finished product.

Tags

Advertising


Issue with this design? Report a problem.

Would you like to support Cults?

You like Cults and you want to help us continue the adventure independently? Please note that we are a small team of 3 people, therefore it is very simple to support us to maintain the activity and create future developments. Here are 4 solutions accessible to all:

  • ADVERTISING: Disable your banner blocker (AdBlock, …) and click on our banner ads.

  • AFFILIATION: Make your purchases online by clicking on our affiliate links here Amazon.

  • DONATE: If you want, you can make a donation via Ko-Fi 💜.

  • WORD OF MOUTH: Invite your friends to come, discover the platform and the magnificent 3D files shared by the community!


Sharing and downloading on Cults3D guarantees that designs remain in makers community hands! And not in the hands of the 3D printing or software giants who own the competing platforms and exploit the designs for their own commercial interests.

Cults3D is an independent, self-financed site that is not accountable to any investor or brand. Almost all of the site's revenues are paid back to the platform's makers. The content published on the site serves only the interests of its authors and not those of 3D printer brands who also wish to control the 3D modeling market.

100% secure payment by credit card, PayPal, Apple Pay, Google Pay, etc.
View all payment options.