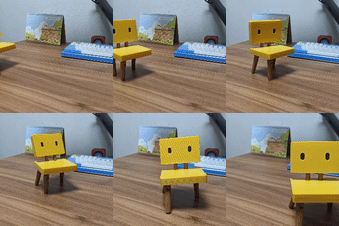
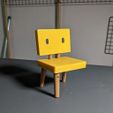
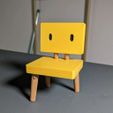
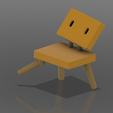
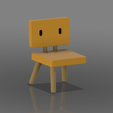
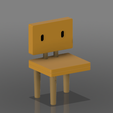
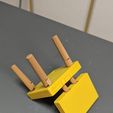
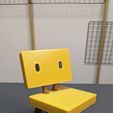
The chair from the movie "Suzume"
The assembly guide is in the video :
https://www.youtube.com/watch?v=UUpAmOtYFIY
!! Every parts doesn't need any supports !
Please check the layout directions below this page(quite important)
Also there is the assembly guide in text below (the video published!)
You should print like below :
Black
Gold
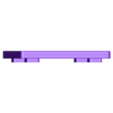
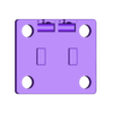
body_bot x1
body_top x1
head_back x1
head_front x1
LightBrown
leg_left x3
leg_right x3
thigh_left x3
thigh_right x3
neck_half x4
neck_spacer (up to you)
thigh_spacer (up to you)
DoesntMatter
Also you need :
Modeled with Fusion360
Printed with Twotree sp-5 and Creality ender-3
The filaments are eSun PLA+ Black, Gold and Light brown.
I hope you enjot the project!!!
Have a nice day!
//
How to assemble in text
I made the 2mm diameter holes on several parts so that they can put together with some pieces of 1.75mm fiament as pins. And don't forget to use glue. The pins are just guiding only.
Make 2 neck parts :
Put two of "neck_half" together to get the neck part.
Before glue it, please check the joints are loose or not in the head parts and body parts. If you need you can add the "neck_spacer" between the "neck_half" parts.
Make 3 thigh parts :
Put "thigh_left" and "thigh_right" together to get the thigh part.
Before glue it, please check the thighs are loose or not in the body holes. If you need you can add the "thigh_spacer" between "thigh_left" and "thigh_right" parts.
Make 3 leg parts :
Put "leg_left" and "leg_right" together to get the leg parts.
Put in two "leg_joint" parts to the octagonal hole of leg parts one by one. The thick sides of joint have to be inserted to the hole of leg parts.
Now you can see the two holes between the "leg_joint" parts you inserted. Insert a couple of 1.75mm filament pieces as pins.
It is very tight to insert the pins so watch out your hands and use the pliers.
Cut the filament that comes out of the joint parts. we need to make the end flat.
Make 3 hole legs :
Put together the thigh parts from #2 and leg parts from #3 together. We can see the octagonal holes on thigh parts and octagonal prism on the leg parts. It is super hard to assemble those two so PLEASE BE CAREFULL with your hands.
It is hard to bend the hole leg with the joint so that we can set the chair in the position that we want. That's what I mean :D
Assemble the body parts
We have two cylinderical holes in a half on both body parts. Please put the neck parts' cylinder sides on that holes and then close the other side with glue. Don't forget to clip the body right after glue.(If you don't clip, the joint may not work well)
CAUTION: Be careful not to glue on the holes for joint sides. There are many joint holes on the body parts.
Assemble the head parts
We have circular holes in a half on both head parts. Just put the ball shape of the neck parts in and then glue the head parts together. Also please clip right after glue and again do not glue on the joint.
CAUTION: Really careful not to assemble the head flipped!!! Once we glue them, we can not turn it back...
Assemble body and legs
You are ready to put your legs under the body! Just put in!
The final step: put the eyes on.
With just little bit of glue, put the eyes on the head.
Congratulations! the chair is yours!

/https://fbi.cults3d.com/uploaders/15368550/illustration-file/108c29fb-b847-4968-8a79-5e3b0f826d5e/ba9c6927-83df-4369-85eb-753622de4485.gif)
