Robo 3D Z-Axis Limit Switch Fine Adjustment


Robo 3D Z-Axis Limit Switch Fine Adjustment
Published 2015-06-16T13:45:42+00:00
**note, this is only applicable to fairly early Kickstarter Robo3D model. Later Kickstarter shipments and the R1 have a solution already in place.
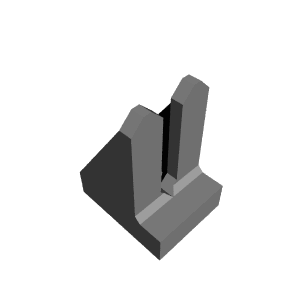
This thing is a bracket to attach a screw to the z-axis motor mount of the robo3D to facilitate fine adjustment of the z-axis home position.
It is actually a remix to a mod posted by another Robo3D forum member, Cambo3D. Here is the link to the oritingal mod.
http://forums.robo3dprinter.com/index.php?threads/better-z-height-adjustment-mod.838/
The original mod is a great idea, but I wanted to avoid drilling into the injection molded part, so I created a bracket to use the same concept without permanently altering anything.


-Print part -Screw 6-32 2" lg screw into hole. If you have a 6-32 tap, you may want to tap it first, but not absolutely necessary. -Remove screw. -mount to lower right corner motor mount (may need to acquire a longer screw depending on what your machine shipped with) -raise z-axis -Push z-axis limit switch bracket down to the rod mounts and turn by about 45 degrees -Fasten bracket to lower right corner motor mount screw -Install 6-32X2" screw. -Adjust as needed to get a correct gap between the nozzle and the bed. Print at 0.2 mm layer height, with 10% infill. This uses 2 g of filament and takes 12 minutes.
| Date published | 16/06/2015 |
| Time to do | 12 - 22 minutes |
| Material Quantity | 2 g |
| Dimensions | 14 x 18 x 23 mm |
| Complexity | Very Easy |