Skip to content

Irrigation System for home plants

Advertising
Advertising
?
Creation quality: 5.0/5 (1 vote)
Evaluation of members on the printability, utility, level of detail, etc.

  • 4.7k views
  • 9 likes
  • 87 downloads

License
3D design format
ZIP Folder details Close
  • irrigation_system.zip

Learn more about the formats

Publication date 2018-03-18 at 15:31
Design number 22708

3D printer file info

3D model description

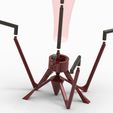
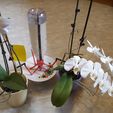
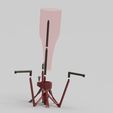
With this irrigation system you can water your home plants automatically during vacation.

Components:
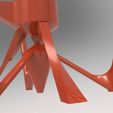
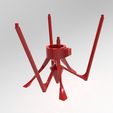
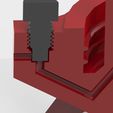
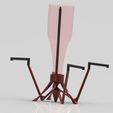
- base frame
- spout
- cover cap
- adjustment screw
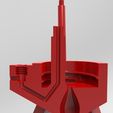
- airflow extension

What you need:
- empty Bottle
(- sealing material e.g. cellular rubber)

How it works:
Print the base frame, some airflow extensions and cover caps or spouts.
You can water up to three plants at the same time. If you only need this system for two plants just print one cover cap an two spouts.

Each airflow extension is about 80mm long and you can easily stick them together. It is urgently required that the upper end from the last airflow extension is above the water surface. So the number of needed extensions depends on the height of your water bottle.

You also have to print the adjustment screw. With this screw you can regulate the airflow into the bottle an therefore the water outflow from the spouts. Essential for this process is a non-deformable bottle like glas or hard plastic.
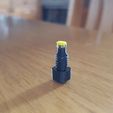
Itยดs possible that your screw will not seal the hole for the airflow completely (maybe because of improper printing) . So you have to glue some sealing material on the end of the screw (like i did...look at the pictures).

In the base frame is a thread which should fit to most bottles. So you can easily screw on all common bottles.

If your system is leaking between the joinings, just glue or melt the components together.

The Irrigation System will only work if everything is leakproof. But then it will work really fine.

#LIFEHACK3D

3D printing settings

I sliced it with cura and used the setting "Use adaptive layers". This setting used layers heights between 0.1 and 0.3mm and saved a lot of printing time but the result was a leaking irrigation system.
I fixed this issue by varnishing with clearcoat.

So donยดt do this.
All parts should be printed with a layer heigth of max. 0.1mm an thick walls. Otherwise the leakproofness is not guaranteed.

Print with Raft and without other supports.

Advertising


Issue with this design? Report a problem.

Would you like to support Cults?

You like Cults and you want to help us continue the adventure independently? Please note that we are a small team of 3 people, therefore it is very simple to support us to maintain the activity and create future developments. Here are 4 solutions accessible to all:

  • ADVERTISING: Disable your banner blocker (AdBlock, โ€ฆ) and click on our banner ads.

  • AFFILIATION: Make your purchases online by clicking on our affiliate links here Amazon.

  • DONATE: If you want, you can make a donation via Ko-Fi ๐Ÿ’œ.

  • WORD OF MOUTH: Invite your friends to come, discover the platform and the magnificent 3D files shared by the community!


Sharing and downloading on Cults3D guarantees that designs remain in makers community hands! And not in the hands of the 3D printing or software giants who own the competing platforms and exploit the designs for their own commercial interests.

Cults3D is an independent, self-financed site that is not accountable to any investor or brand. Almost all of the site's revenues are paid back to the platform's makers. The content published on the site serves only the interests of its authors and not those of 3D printer brands who also wish to control the 3D modeling market.
100% secure payment by credit card, PayPal, Apple Pay, Google Pay, etc.
View all payment options.