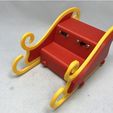
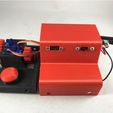
How I Printed and Assembled Santa's Sleigh.
Parts.
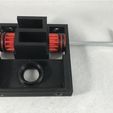
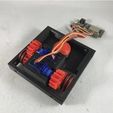
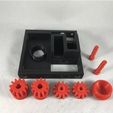
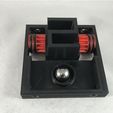
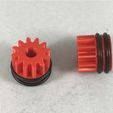
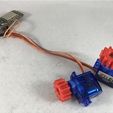
Start by printing and assembling the 3D parts for "Motorized WiFi Controlled Chassis" here: https://www.thingiverse.com/thing:2868005. No wiring, just mechanical assembly. You will also need the purchased parts as described in Motorized WiFi Controlled Chassis (battery, Feather Huzzah, servos, etc.). I've included some of the photos showing the mechanical assembly of motorized WiFi Controlled Chassis in this thing.
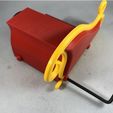
Next print the parts unique to "Santa's Sleigh". I printed all parts at 50% infill and .15mm vertical resolution. The parts and count include:
1) Bolt 6mm by 1, 6mm.stl, 4
2) Bolt 6mm by 1, 4mm.stl, 4
3) Seat.stl, 1
4) Sleigh Left.3mf (dual extrusion) or Sleigh Left.stl (single extrusion), 1
5) Sleigh Right.3mf (dual extrusion) or Sleigh Right.stl (single extrusion), 1
Note I've include the red and yellow components for the sleigh left and right side if you wish to print these parts individually then glue them together. I recommend slightly reducing the size of the red parts using your slicer in order to allow them to be inserted into the yellow parts.
I purchased the following parts in addition to those purchased for Motorized WiFi Chassis:
1) Slide Switch (SS-23D32G6, center off), 1
2) Micro USB extension cable (Adafruit 3258), 1
Wiring.
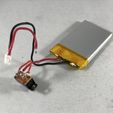
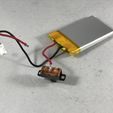
Carefully cut the positive (red) wire on the battery about 40mm from the connector end, then strip and tin the leads as shown.
Solder the portion of the red wire coming from the battery to the center two terminals of the switch as shown
Solder a red wire between the outer pairs of the switch terminals as shown.
Solder the portion of the red wire coming from the connector to either of the outer two switch terminals as shown.
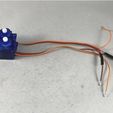
Cut off the servo connectors.
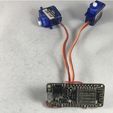
To power the servos, both servo positive (red) wires stripped, tinned then soldered to the "BAT" pin on the Feather Huzzah and both servo negative (brown) wires are stripped, tinned then soldered to the "GND" pin on the Feather Huzzah.
To control the servos, the left servo signal (orange) wire is soldered to the "12/MISO" pin on the Feather Huzzah, and the servo right signal wire (orange) is attached to the "13/MOSI" pin on the Feather Huzzah.
Assembly.
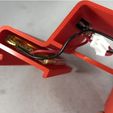
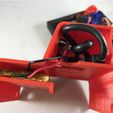
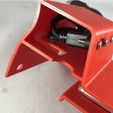
Once the battery and switch are wired, use double sided tape to secure the battery into the battery tray of "Seat.stl" as shown. Next, using 2 4x3/8" sheet metal screws or equivalent, secure the switch to the seat back of the seat as shown.
Attach the micro USB extension cable the seat back using the included screws as shown. There is far more cable than needed, so I carefully folded the excess cable a couple of times then used a wire tie to hold it.
Slide the Feather Huzzah ESP8266 into the seat from seat right side all the way through out the seat left side, then attach the battery plug and micro USB extension cable to the Feather Huzzah ESP8266 as shown.
Using double sided tape, secure the Feather Huzzah ESP8266 into the seat as shown.
Making sure that the wiring is not pinched, secure the seat assembly to the base using 4 "Bolt 6mm by 1, 6mm.stl", then secure "Sleigh Right.3mf" to the base using 2 "Bolt 6mm by 1, 8mm as shown.
Finally, attach "Sleigh Left.3mf" to the assembly using the remaining 2 8mm bolts as shown.
Operation.
I've included an Arduino IDE file "SantaSleigh.ino" containing a slightly modified version of the Motorized WiFi Controlled Chassis version.
The access point mode ssid is "santasleigh" and the ip address is "192.168.20.20" in this version. If using the sleigh in station mode (e.g. with a wireless router), don't forget to change "your_ssid" and "your_password" to your router settings before compiling and downloading the software to the sleigh.
In station mode, you may access the sleigh at "santasleigh.local" instead of a physical ip address, but if you want to use the physical ip address, remain connected to the Arduino IDE serial monitor during download and startup.
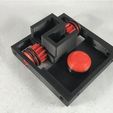
Santa Sleigh, WiFi Edition operates in the same manner as Motorized WiFi Controlled Chassis. Moving the red button towards the top of the display is forward, toward the bottom of the display is reverse, and to the left or right is left or right.
That's how I printed and assembled Santa's Sleigh!
Hope you enjoy it!

/https://fbi.cults3d.com/uploaders/13550170/illustration-file/e333dd99-3a7e-4a07-827e-f7dfddbe09e6/12c0bfd07d4dbe54ad97a73762a30f6a_preview_featured.jpg)


