Skip to content

Simple Secret Box II: Coin Bank.

Advertising
Advertising
?
Creation quality: 5.0/5 (1 vote)
Evaluation of members on the printability, utility, level of detail, etc.

  • 8.1k views
  • 28 likes
  • 402 downloads

License
3D design format
STL Folder details Close
  • Base.stl
  • Cam 1.stl
  • Cam 2.stl
  • Divider.stl
  • End, Lock.stl
  • End.stl
  • Side, Left.stl
  • Side, Right.stl
  • Top With Slot.stl

Learn more about the formats

Publication date 2018-09-02 at 20:43
Design number 31260

3D printer file info

3D model description

https://www.youtube.com/watch?v=PLkKVC_n0Go

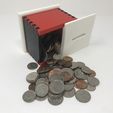
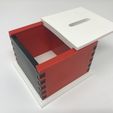
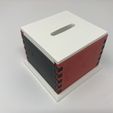
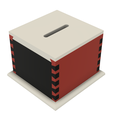
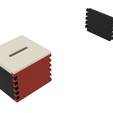
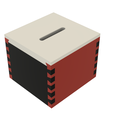
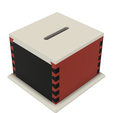
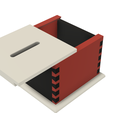
"Simple Secret Box II: Coin Bank" is a coin bank with a secret locking mechanism. Like my Apple Coin Bank design, this model was designed to teach the grandkids to save money, but includes an additional feature; if they change their minds and wish to make an "early" savings withdrawal, well, I didn't shown them how to open the bank. Featuring dovetail fixed joinery, and a sliding dovetail top, the trick to opening the box is, well, you'll figure it out eventually...

The locking mechanism is based on the German designed "Radbox" ("rad" in German translates to "wheel" in English) that incorporates two mirror image slotted wheels in an ingenious manner to keep the box closed. While the design of my locking mechanism is more "cam" shaped than "wheel" shaped, the principle of operation is the same. And as in the original design, the locking mechanism remains hidden from view, even when the box is opened. I could not locate the original designer for this mechanism, so if anyone has their name I would be grateful for it in order to give them proper credit for their ingenious design.

There are no batteries, power supplies, motors, springs, computers, wiring or any other hardware required to build this model, just 3D printed parts, which is one of the many reasons I truly enjoyed designing, printing, assembling and testing Simple Secret Box II: Coin Bank.

As usual, I probably forgot a file or two or who knows what else, so if you have any questions, please do not hesitate to ask as I do make mistakes in plenty.

Designed using Autodesk Fusion 360, sliced using Cura 3.4.1 and printed in PLA on both an Ultimaker 2+ Extended and an Ultimaker 3 Extended.

3D printing settings

Print and Prepare the Parts.

I printed one each of all parts at .15mm layer height with 20% infill.

Prior to assembly, test fit and trim, file, sand, etc. all parts as necessary for smooth movement of moving surfaces, and tight fit for non moving surfaces. Depending on the colors you chose and your printer settings, more or less trimming, filing and/or sanding may be required. Carefully file all edges that contacted the build plate, especially in and around the dovetail joinery, to make absolutely sure that all build plate "ooze" is removed and that all edges are smooth. I used small jewelers files and plenty of patience to perform this step.

Assembly.

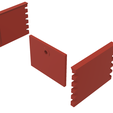
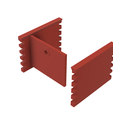
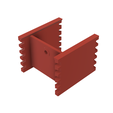
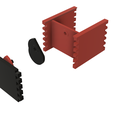
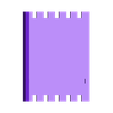
Start the assembly process with "Side, Left.stl", Side, Right.stl" and "Divider.stl". Orient these components as indicated in the photograph then press them together.

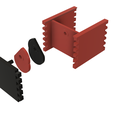
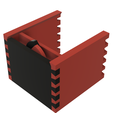
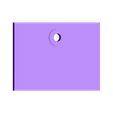
Next, using the "End, Lock.stl", "Cam 1.stl" and "Cam 2.stl" components, slide cam 2 onto the axle on end lock, followed by cam 1, in the orientation shown. The cams must pivot easily on the axle. While aligning the end lock axle with the hole in the divider, press this assembly onto the end of the sides and divider assembly as shown.

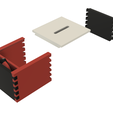
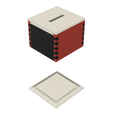
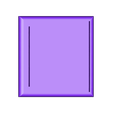
Rotate both cam 1 and cam 2 such that the flat sides of each cam are parallel with the divider then hold in place with a business card. Next, slide "Top With Slot.stl" into the assembly until it aligns with end lock, remove the business card, then secure the top in the assembly with "End.stl" as shown.

Finally, press "Base.stl" onto the bottom of the assembly as shown.

Using the Box.

With the box closed, you, your family, your friends, etc. should add coins or bills to supplement your retirement / retirement funding requirements! Or, you can simply add coins to the grandkids box.

In either event when the time comes where you or the grandkids need to withdraw funds, the box has a secret method of opening that, well, you'll figure it out eventually...

That's how I printed and assembled Simple Secret Box II: Coin Bank.

I hope you enjoy it!

Advertising


Issue with this design? Report a problem.

Would you like to support Cults?

You like Cults and you want to help us continue the adventure independently? Please note that we are a small team of 3 people, therefore it is very simple to support us to maintain the activity and create future developments. Here are 4 solutions accessible to all:

  • ADVERTISING: Disable your banner blocker (AdBlock, …) and click on our banner ads.

  • AFFILIATION: Make your purchases online by clicking on our affiliate links here Amazon.

  • DONATE: If you want, you can make a donation via Ko-Fi πŸ’œ.

  • WORD OF MOUTH: Invite your friends to come, discover the platform and the magnificent 3D files shared by the community!


Sharing and downloading on Cults3D guarantees that designs remain in makers community hands! And not in the hands of the 3D printing or software giants who own the competing platforms and exploit the designs for their own commercial interests.

Cults3D is an independent, self-financed site that is not accountable to any investor or brand. Almost all of the site's revenues are paid back to the platform's makers. The content published on the site serves only the interests of its authors and not those of 3D printer brands who also wish to control the 3D modeling market.

100% secure payment by credit card, PayPal, Apple Pay, Google Pay, etc.
View all payment options.