DJI Phantom 3 / Inspite 1 Antenna Range Extender


DJI Phantom 3 / Inspite 1 Antenna Range Extender
Published 2015-09-15T09:17:20+00:00
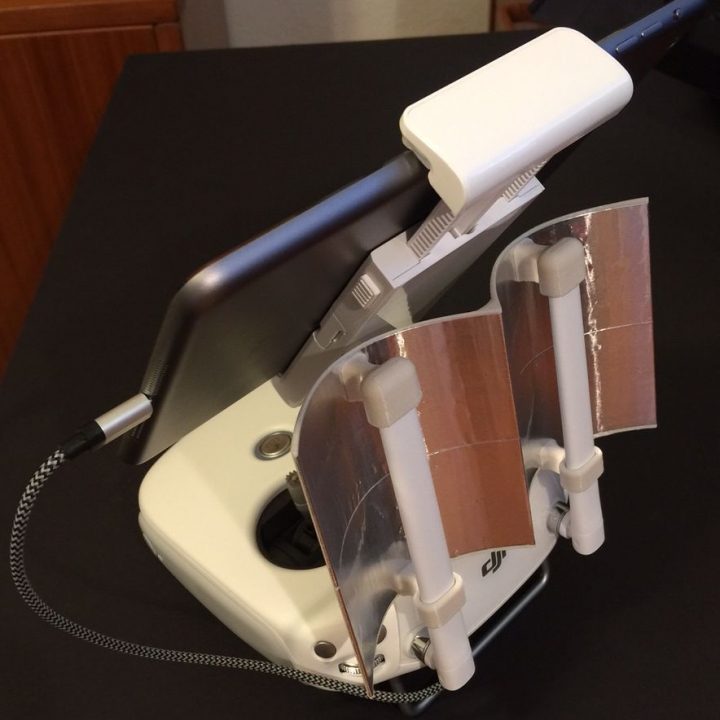
This easy-to-print Range Extender will extend the range of your DJI Phantom 3 or DJI Inspire 1 considerably. It slips easily onto the standard un-modified DJI Controller Antennas and can be quickly installed or removed with one hand – even when your quadcopter is airborne.
The Range Extender was created using accurate parabolic curves, and with the antenna mounts centered at the parabolic focal points to maximize signal gain.
The only consideration for using this parabolic reflector effectively (and any other high-gain antenna, for that matter) is that you ensure your antenna is squarely facing the quadcopter. Thanks to DJI, that’s very simple, even when your quadcopter may be out of your direct sight. Simply note the position of the green line that appears on your DJI Pilot or DJI GO application map that runs between where you are standing and where the quadcopter is currently located on the map, and turn your controller to face directly up that green line towards the quadcopter. That strategy will ensure maximum antenna gain and the longest possible communications range.
I’ve tested this DJI Phantom 3 / Inspire 1 Range Extender with my Phantom 3 Pro, and it works amazingly well, delivering substantial additional maximum range. Please note: No antenna range extender works well through heavy cover (such as through dense forests) or from behind large solid objects (such as behind hills or large buildings). Best performance will always be obtained with a line-of-sight signal path between the controller and quadcopter – even when the quadcopter is beyond your visual range. If you pay close attention to the Remote Controller Signal Strength Indicator and the HD Video Link Signal Strength Indicator, you’ll know exactly how strong your signal is, and when you are reaching the limits of your range.
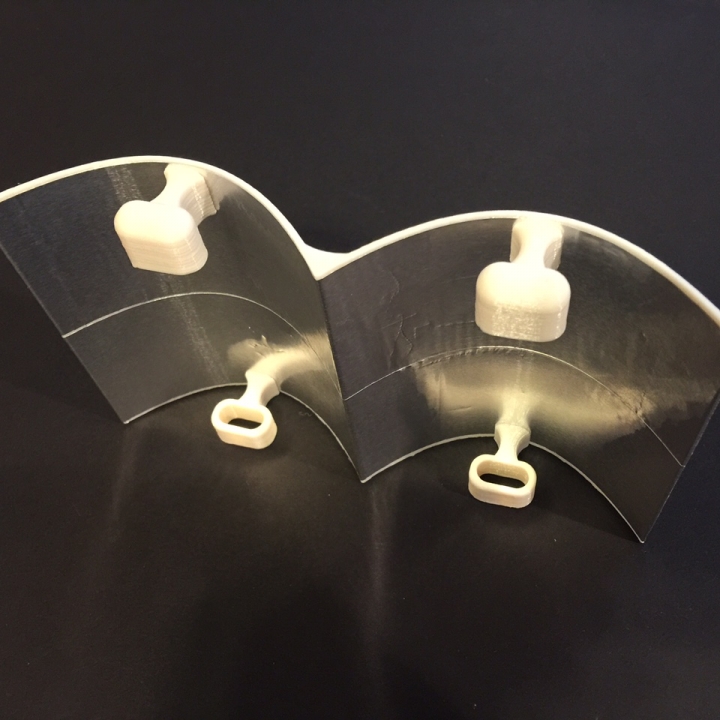
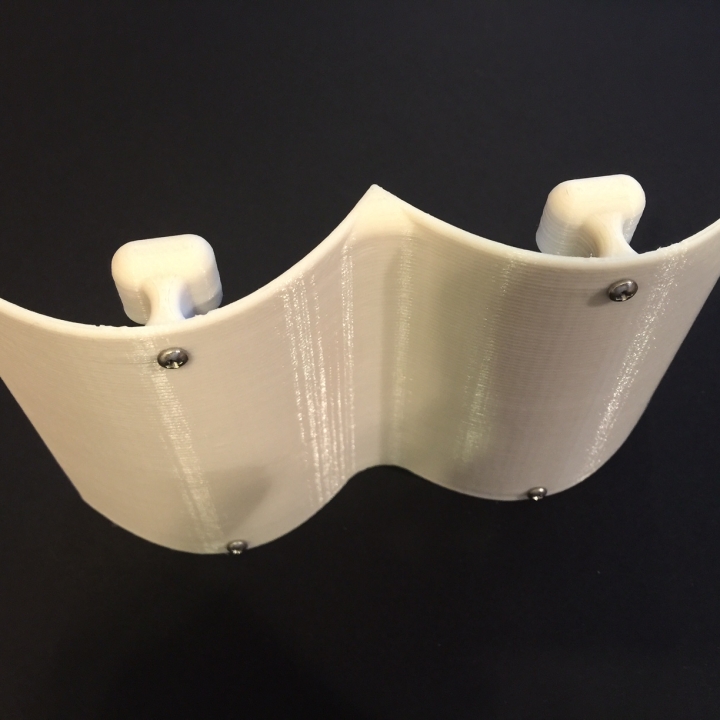
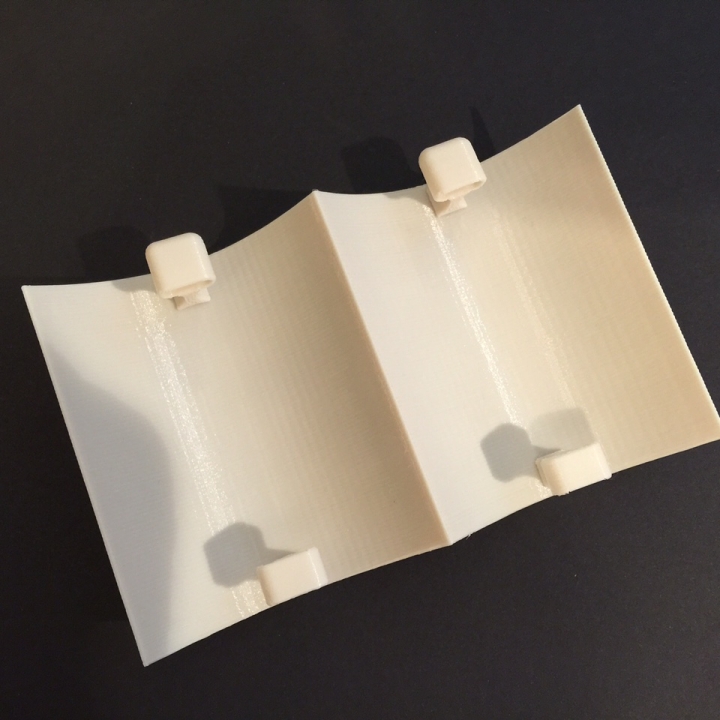
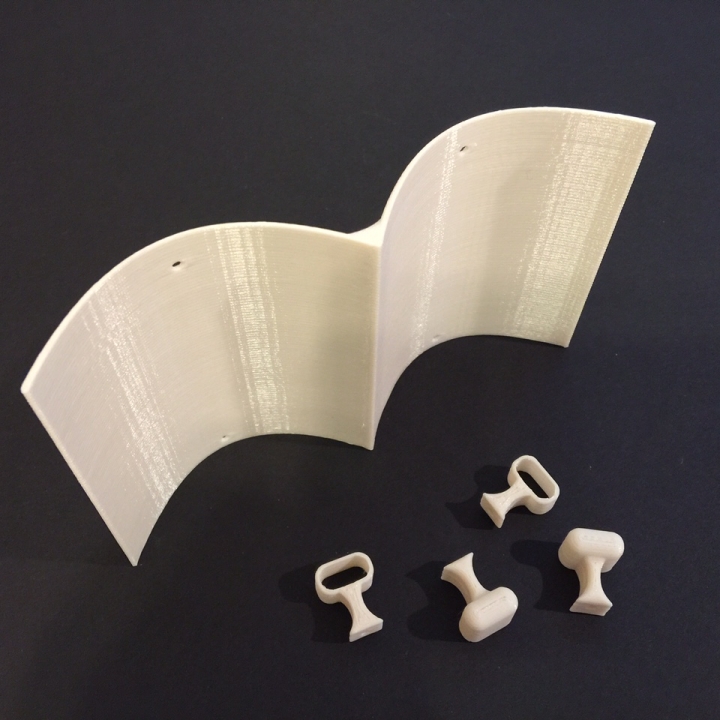
All parts print without support, and require very little post-print finishing. Both the Parabolic Reflector Shell and the Antenna Mounts have been designed to be as thin and lightweight as possible, while still ensuring adequate strength and durability. Total Finished Weight= 49.2grams.
-mike-


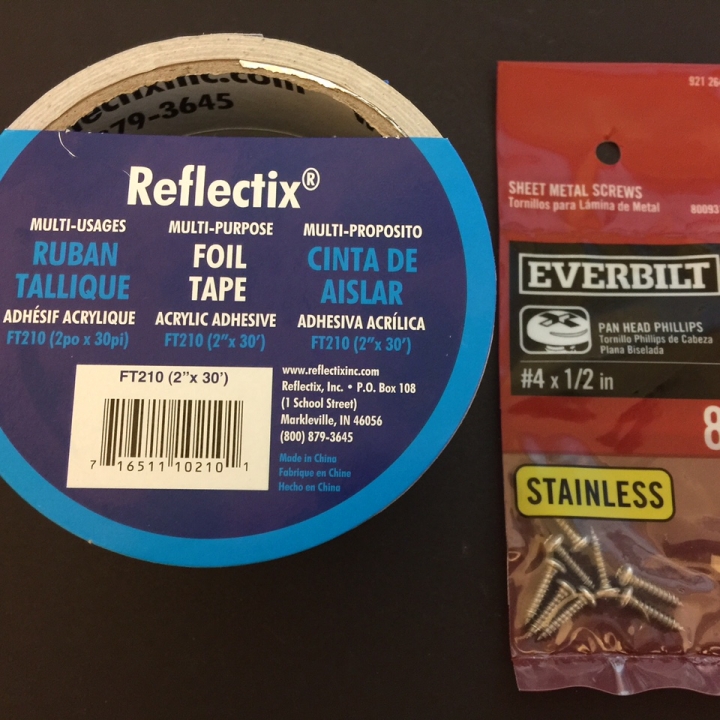
Printing and Assembly: Print all the parts: 1 Parabolic Base, and 2 each of the Top and Bottom Mounts. I used the following settings on my MakerBot Replicator 5th Generation: PLA; Standard Profile; Infill=25%; Layer Height=0.20mm; Infill Layer Height=0.20mm; Shells=3; Raft=Yes; Supports=No. Print times were approximately: 6.5 hours for the Parabolic Base and 1 hour for the Set of 4 Antenna Mounts Additional parts required for assembling the Range Extender (which I purchased at Home Depot): • 4 each #4x1/2” Pan Head Sheet Metal Screws (~$1.18 / 8) • 1 each Reflectix Multi-Purpose FOIL TAPE FT210 – 2” x 30’ Note: Another "myminifactory "contributor found 4” wide foil tape on Amazon which would be a perfect size for this project. You may want to consider that alternative although I thought I might have trouble working with such wide pieces. Assembly: First, cut two pieces of the Foil Tape, each slightly longer than necessary to cover the full width of the Parabolic Base (about 25cm each). Remove a little over half the backing on the first piece. Then, center the first piece near the top of the Base (about 1mm from the top edge); ensure that the top edge of the foil is ‘square’ with the top edge of the Parabolic Base. Then, working from the center towards one outside edge, slowly stick down and smooth the first foil piece side down and across to the outside edge. Make sure the foil wraps slightly around the outside edge and leave the excess attached for now. Try to avoid creases or ‘bubbles’ as you install the foil. Second, remove the backing from the other side of the first foil piece, and smooth it down over the second side, again taking care to keep it aligned about 1mm down from the top edge of the Parabolic Base. Again, make sure the foil wraps slightly around the outside edge and leave the excess for now. Third, follow the same general steps for the bottom half of the Parabolic Base. Try to have the top and bottom foils meet as close as possible, but not overlap. Forth, take some time to smooth the foil across the complete Parabolic Base, removing any bubbles or wrinkles, and sharpening the center spine as much as possible. The smoother the foil is, the better the reflector will perform. Fifth, take a razor blade or very sharp knife and cut off the excess foil along both outside edges, leaving just enough to smooth around the outside edges with your fingernail. Now, ‘punch’ out each hole from the front (foil) side of the Parabolic Base. You may also want to enlarge each of the 4 Parabolic Reflector holes slightly (to around 3mm) so that the Screws will barely barely fit through the holes smoothly. Then, set one Bottom Mount on a flat surface, with the smooth rounded side up, and push the Parabolic Base up to it on the foil side, right side up; push the first Screw through the back of the Base and into the Bottom Mount, carefully holding the parts together. I held the Mount down with my thumb and pushed it hard against the Base with my knuckle. It may help to turn the Screw forward half a turn, then back a little bit, then forward again, repeating as you go – this will reduce the effort required to install the screws. Assemble the second Bottom Mount in the same manner. Finally, turn the Parabolic Base upside down and install the 2 Top Mounts (upside down) in the same manner as above. Assembling the Mounts in this manner will ensure that they are aligned correctly. Take a look at the gaps between the Antenna Mounts and the foil tape and further tighten any screws which are not fully seated. Correct vertical alignment of the Antenna Mounts will ensure that the Range Extender will slide on and off the DJI Controller easily. Test the Range Extender on your DJI Controller, and make any necessary adjustments to the alignment of the Mounts. You may also need to file the inside of each mount slightly to clean up any stray filament or remove rough edges.
| Date published | 15/09/2015 |
| Dimensions | 160mm wide x 100mm tall x 30mm deep |
| Technology | FDM |
| Complexity | Very Easy |
| Support Free | YES |