Skip to content

iPad Camera Kit

Advertising
Advertising
?
Creation quality: 5.0/5 (1 vote)
Evaluation of members on the printability, utility, level of detail, etc.

  • 5.1k views
  • 9 likes
  • 69 downloads
  • 2 collections

License
3D design format
STL Folder details Close
  • H-iPad2-Base.stl
  • H-iPad4-Base.stl
  • V-Left-Shade.stl
  • V-Right-Shade.stl
  • V-iPad2-Base.stl
  • V-iPad2-Hood.stl
  • V-iPad4-Base.stl
  • V-iPad4-Hood.stl

Learn more about the formats

Publication date 2018-11-23 at 15:40
?
Published to Thingiverse on: 2013-09-23 at 18:10
Design number 38558

3D printer file info

3D model description

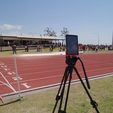
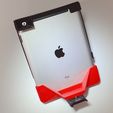
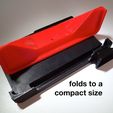
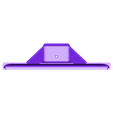
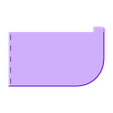
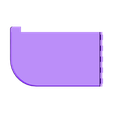
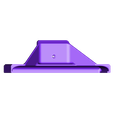
I designed this iPad camera kit to be used with the Sprint Timer App to record photo finishes at athletic meets. There are both vertical and horizontal mount designs, although Sprint Timer only supports vertical orientation. The kit supports iPad version 2, 3 and 4, and includes a lens hood, fold out screen shade, and tripod mount (with anti-twist pin support).

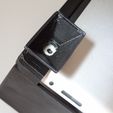
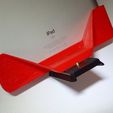
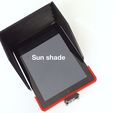
This design has gone through several iterations. The tripod mount features triangulated braces between the base plate and the device, providing a solid mount, free from flex and twist. The lens hood shades the lens from stray sunlight at the front, and the screen shade makes the screen easier to read in direct sunlight. The iPads version 3 and 4 are slightly thicker than the iPad 2, so there are two versions of the kit to accommodate these differences.

3D printing settings

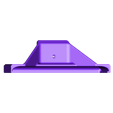
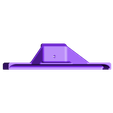
You need to print a base, hood and left and right shade panels, in either a vertical or horizontal orientation. These parts have tight tolerances for a snug fit, so best to print a bit lean if possible. The inside edged may need a light sand to fit to your iPad, but the idea is for it for fit like a glove, with no play, so there is no chance of your precious iPad falling out.

The shade panels are attached to the hood using a 100mm length of 1.75mm PLA filament as the hinge pin. Dip the filament in boiling water so that it goes soft, and roll it flat on a chopping board. Then insert it through the holes using needle nose pliers. Probably best to do a trial run first with a spare pin to clear out the holes, then join the pieces together. The bases should be printed with a 150 micron layer height to ensure the thread is printed properly. I used 3 shells and 25% infill.

Advertising


Issue with this design? Report a problem.

Would you like to support Cults?

You like Cults and you want to help us continue the adventure independently? Please note that we are a small team of 3 people, therefore it is very simple to support us to maintain the activity and create future developments. Here are 4 solutions accessible to all:

  • ADVERTISING: Disable your banner blocker (AdBlock, …) and click on our banner ads.

  • AFFILIATION: Make your purchases online by clicking on our affiliate links here Amazon.

  • DONATE: If you want, you can make a donation via Ko-Fi πŸ’œ.

  • WORD OF MOUTH: Invite your friends to come, discover the platform and the magnificent 3D files shared by the community!


Sharing and downloading on Cults3D guarantees that designs remain in makers community hands! And not in the hands of the 3D printing or software giants who own the competing platforms and exploit the designs for their own commercial interests.

Cults3D is an independent, self-financed site that is not accountable to any investor or brand. Almost all of the site's revenues are paid back to the platform's makers. The content published on the site serves only the interests of its authors and not those of 3D printer brands who also wish to control the 3D modeling market.

100% secure payment by credit card, PayPal, Apple Pay, Google Pay, etc.
View all payment options.