Skip to content

Grid Clock v2

Advertising
Advertising
?
Creation quality: 5.0/5 (2 votes)
Evaluation of members on the printability, utility, level of detail, etc.

  • 15.9k views
  • 75 likes
  • 347 downloads
  • 3 collections
  • 1 make

License
3D design format
STL and ZIP Folder details Close
  • GCv2_Cable-Cover_v1.stl
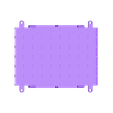
  • GCv2_Elec-Case_v1.stl
  • GCv2_Feet_v1.stl
  • GCv2_Front_XT_v1.stl
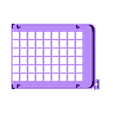
  • GCv2_Front_v1.stl
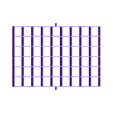
  • GCv2_Grid_Base_v1.stl
  • GCv2_Grid_v1.stl
  • GCv2_Sketches.zip
  • GCv2_XT-Connector_v1.stl

Learn more about the formats

Publication date 2019-03-03 at 20:45
Design number 49200

3D printer file info

3D model description

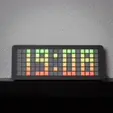
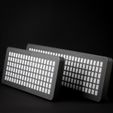
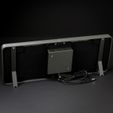
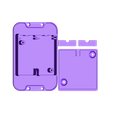
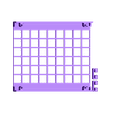
This is a Grid for led strips with 60 leds/meter. It can be built in a 18x6 or 27x6 configuration. Of course one could build it as 36x6 or even bigger but that's soon getting out of reach for most Arduinos.

ClockSketch v7, I highly recommend reading that one before building any of my designs:
https://www.instructables.com/ClockSketch-V7-Part-I/

Supplied sketches/instructions are for Arduino Pro Mini/Nano, DS3231 RTC modules and WS2812B LEDs.

Instructions and printing tips (video) can be found here.

Features:
- 12/24h format selectable
- Different color palettes/modes
- LDR support (automatic brightness reduction, sample code for gl5516 included in sketch v4)
- Settings stored to eeprom (once set using the buttons)

Sketches:
Basics_v1
This one shows the basics of how to use the grid. It's a regular "horizontal zig zag" starting with data in at the bottom left corner (x/y 0,0).

Sketch_v4
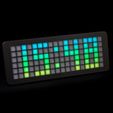
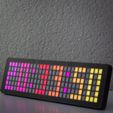
The clock sketch as it can be seen in the pictures. Sketch_v4 supports 18x6 and 27x6 grids. Adjust RESX/RESY inside the INO sketch accordingly.

Sketch_v4 is based on the Retro 7 Segment Clock (https://www.thingiverse.com/thing:3014572), further informations can be found there.

Usage instructions:
Button A
short press: Select brightness level
long press (3 sec): Switch color mode (gradient / solid)

Button B
short press: Select color palette
long press (3 sec): Switch 12h / 24h mode
Press Button A and Button B at the same time to enter setup mode. There you can use Button A to change values (hours/minutes) and Button B to proceed to the next (hours first, minutes, done).

If setup is run in 12h mode a dot in the upper left corner will indicate AM, lower left corner will indicate PM.

3D printing settings

Walls are multiples of 0.6mm. So I recommend printing using a extrusion width/wall width of 0.6mm/1.2mm. Link to a video showing this in Cura can be found in the instructions.

Advertising


Issue with this design? Report a problem.

Would you like to support Cults?

You like Cults and you want to help us continue the adventure independently? Please note that we are a small team of 3 people, therefore it is very simple to support us to maintain the activity and create future developments. Here are 4 solutions accessible to all:

  • ADVERTISING: Disable your banner blocker (AdBlock, …) and click on our banner ads.

  • AFFILIATION: Make your purchases online by clicking on our affiliate links here Amazon.

  • DONATE: If you want, you can make a donation via Ko-Fi πŸ’œ.

  • WORD OF MOUTH: Invite your friends to come, discover the platform and the magnificent 3D files shared by the community!


Sharing and downloading on Cults3D guarantees that designs remain in makers community hands! And not in the hands of the 3D printing or software giants who own the competing platforms and exploit the designs for their own commercial interests.

Cults3D is an independent, self-financed site that is not accountable to any investor or brand. Almost all of the site's revenues are paid back to the platform's makers. The content published on the site serves only the interests of its authors and not those of 3D printer brands who also wish to control the 3D modeling market.

100% secure payment by credit card, PayPal, Apple Pay, Google Pay, etc.
View all payment options.