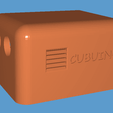
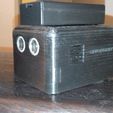
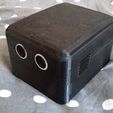
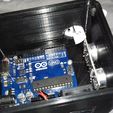
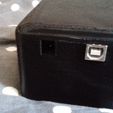
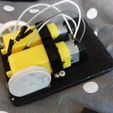
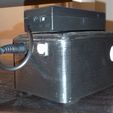
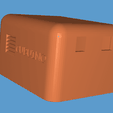
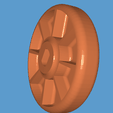
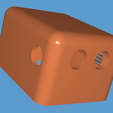
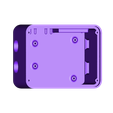
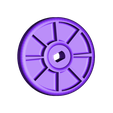
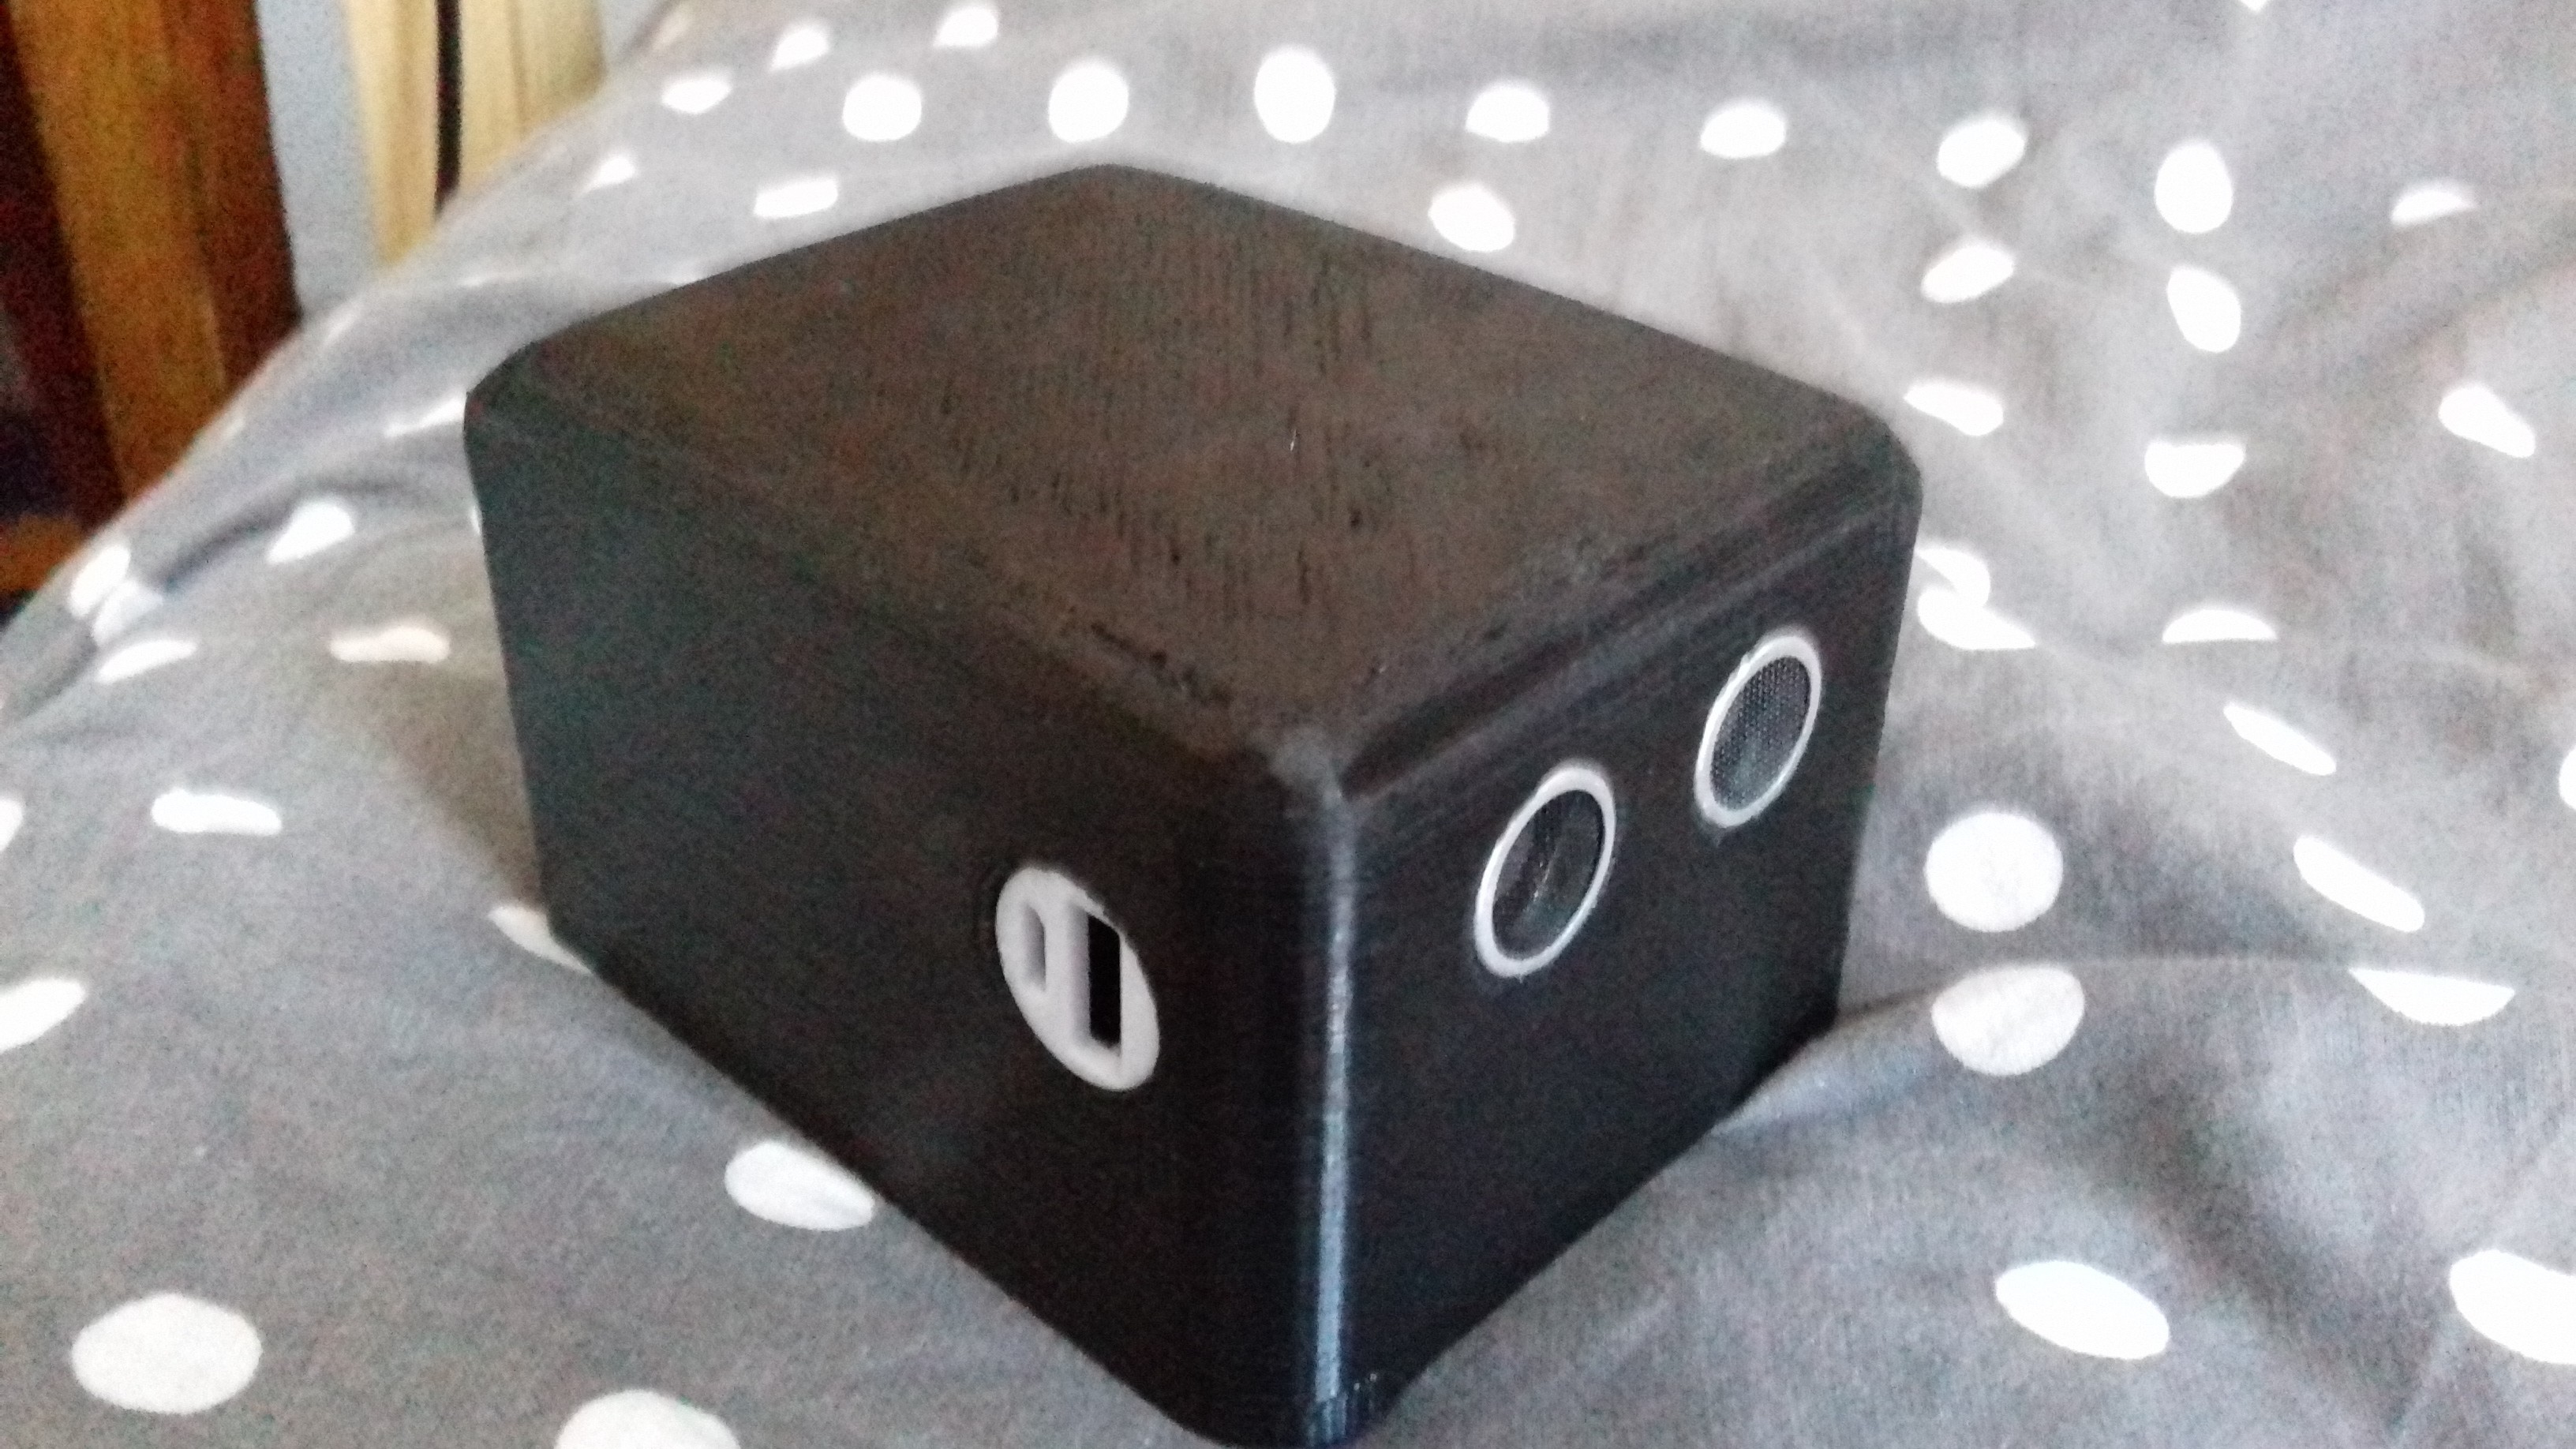
This is the chassis of my robot CUBUINO. This robot is very compact and solid. All the links are in the description. I modeled it so that you can easily put the different components into the chassis. However, the ultrasonic sensor must be glued to the frame so that it does not move. The main quality of this robot is that the wheels are integrated into the robot so that it does not get blocked by a table or chair leg. When the robot advances and is at a distance of 20 cm from an object, the robot moves back, rotates at 90° and continues its path. This robot is an autonomous robot.
First of all, you have to put a wheel on each motor. You still have a fixing cap on each motor; you have to cut them off or you will not be able to fix them properly. Glue the engines in the dedicated location on the part2 chassis with neoprene glue and attach the attached part as shown in the pictures with suitable screws.
Then put an 8mm diameter metal ball in the location provided at the front of the part2 frame and fix it over the ball holder with 4 screws of suitable size on the part2 frame.
Then take the arduino r3 and fix it in the location of the part1 chassis. Do the same for the ultrasonic sensor. ( looked at the pictures carefully).
Take the seamless plate and cut the sides so that the seamless plate can be placed on the arduino; if it fits on the card without any problem, glue it with hot glue or fixed paste.
Also attach the small fan and slide it to the intended location (when ordering, choose the 25mm*25mm*10mm*10mm fan). As for the power supply box, you must remove the small plastic part and remove the cables with a soldering iron and you must solder a cable with a suitable plug. You fix the box whose link I put in the description on the top of the robot.
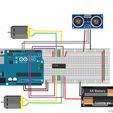
You must make the different connections between the seamless plate (l293d) and the arduino and the ultrasonic sensor and motors (provide a soldering iron. I also made the location to insert a charging circuit for an external battery. You are not obliged to put it on because you can remove the batteries and recharge them in another way, once you have done all this you can fix part2 to part1.
The protype of the photos does not have the same name. But don't worry, you'll get the robot with the name CUBUINO.
List of parts to be printed:
1*attachment
1*part1
2*wheel
1*part2
1*ball holder
Code:
#define
A 600
#define
B 2400
#define
trigPin 9
#define
echoPin 10
int motor_pin1 = 4;
int motor_pin2 = 5;
int motor_pin3 = 6;
int motor_pin4 = 7;
void setup () {
pinMode (trigPin, OUTPUT);
pinMode (echoPin, INPUT);
pinMode(motor_pin1,OUTPUT);
pinMode(motor_pin2,OUTPUT);
pinMode(motor_pin3,OUTPUT);
pinMode(motor_pin4,OUTPUT);
delay(700);
}
void loop() {
long duration, distance;
digitalWrite(trigPin, LOW);
delayMicroseconds(2);
digitalWrite(trigPin, HIGH);
delayMicroseconds(10);
digitalWrite(trigPin, LOW);
// calculation of the distance:
duration = pulseIn (echoPin, HIGH);
distance = duration*340/(2*10000);
if(distance >=15){
digitalWrite(motor_pin1,LOW);


digitalWrite(motor_pin2,HIGH);


digitalWrite(motor_pin3,HIGH);


digitalWrite(motor_pin4,LOW);
}
else {
digitalWrite(motor_pin1,HIGH);


digitalWrite(motor_pin2,LOW);


digitalWrite(motor_pin3,LOW);


digitalWrite(motor_pin4,HIGH);


delay(A);


digitalWrite(motor_pin1,LOW);


digitalWrite(motor_pin2,HIGH);


digitalWrite(motor_pin3,LOW);


digitalWrite(motor_pin4,HIGH);


delay(B);
}
}
The links:
https://fr.aliexpress.com/item/Power-Metal-Banque-DIY-Kit-Bo-te-De-Rangement-Case-Livraison-de-soudage-Costume-1X18650-Batterie/32849543544.html?spm=a2g0s.9042311.0.0.0.27426c37VMigx0
https://fr.aliexpress.com/item/2510-3010-4010-5010-6015mm-With-2Pin-Dupont-Wire-3D-Printer-Cooler-Multiple-options-DC-5/32808803635.html?spm=a2g0s.9042311.0.0.0.27426c37v6YOco
https://fr.aliexpress.com/item/Ultrasonic-Module-HC-SR04-Distance-Measuring-Transducer-Sensor-for-Ard-uino/32372099628.html?spm=a2g0s.9042311.0.0.0.27426c37YO9WGg
https://fr.aliexpress.com/item/1pcs-UNO-R3-CH340G-MEGA328P-for-Arduino-UNO-R3-NO-USB-CABLE/32556087234.html?spm=a2g0s.9042311.0.0.0.27426c37j0GchG
https://www.amazon.fr/gp/product/B071XNTQFS/ref=ppx_yo_dt_b_asin_title_o05_s00?ie=UTF8&psc=1
https://www.amazon.fr/gp/product/B01GKSUQR2/ref=ppx_yo_dt_b_asin_title_o06_s00?ie=UTF8&psc=1
https://www.amazon.fr/gp/product/B00K67WDB6/ref=ppx_yo_dt_b_asin_title_o05_s00?ie=UTF8&psc=1
https://www.amazon.fr/gp/product/B078Y67Z2V/ref=ppx_yo_dt_b_asin_title_o06_s00?ie=UTF8&psc=1

/https://fbi.cults3d.com/uploaders/13500916/illustration-file/477d94d0-3795-415e-8329-479c4fee5e2f/Screenshot_2019-03-26-13-08-51-1.png)


