[ENGLISH]
BEFORE DOWNLOADING - Please read the full license. This is a free model, and you can share it. But you must give appropiate credit and may not use it for commercial purposes, NO REMIX is allowed (absolutely no exceptions). If you find this model elsewhere and somehow breaks any of the stated license conditions you can send me a message so I can take appropriate measures. All rights are exclusively of the designer.
BEFORE PRINTING - I recommend to do a fine calibration of your printer before starting printing the mask and its parts. Check your horizontal expansion to ensure your pieces will fit properly (tutorial): https://www.thingiverse.com/thing:1662342
This 3D model has not been approved by any regulatory agency and has not passed any laboratory tests. It is a prototype designed by Giovanni Becchina (bgiovanny), created with the aim of providing emergency protective material to medical professionals who need it, given the current global shortage of supplies. It is not intended to replace any homologated mask, but to provide minimal protection. We cannot guarantee its operation, so use it at your own risk.
Update 18/04/20:
Someone told me that it is difficult to find rubber bands.
I made rubber bands to print in TPE.
I made a buckle for the baffles.
Update 09/04/20:
I made some improvements in the Cover_Filter_Box
I made some improvements in the Filter_Box
Update 03/04/20:
Some people were unable to make the membranes because they were too thin.
I changed the thickness of the membranes and the Cap_Valve.
If you have problems with membranes, print the new membranes and the new Cap_Valve.
I made some improvements in the mask.
Update 02/04/20:
Some people have reported to me that they have difficulty mounting the filter on the mask.
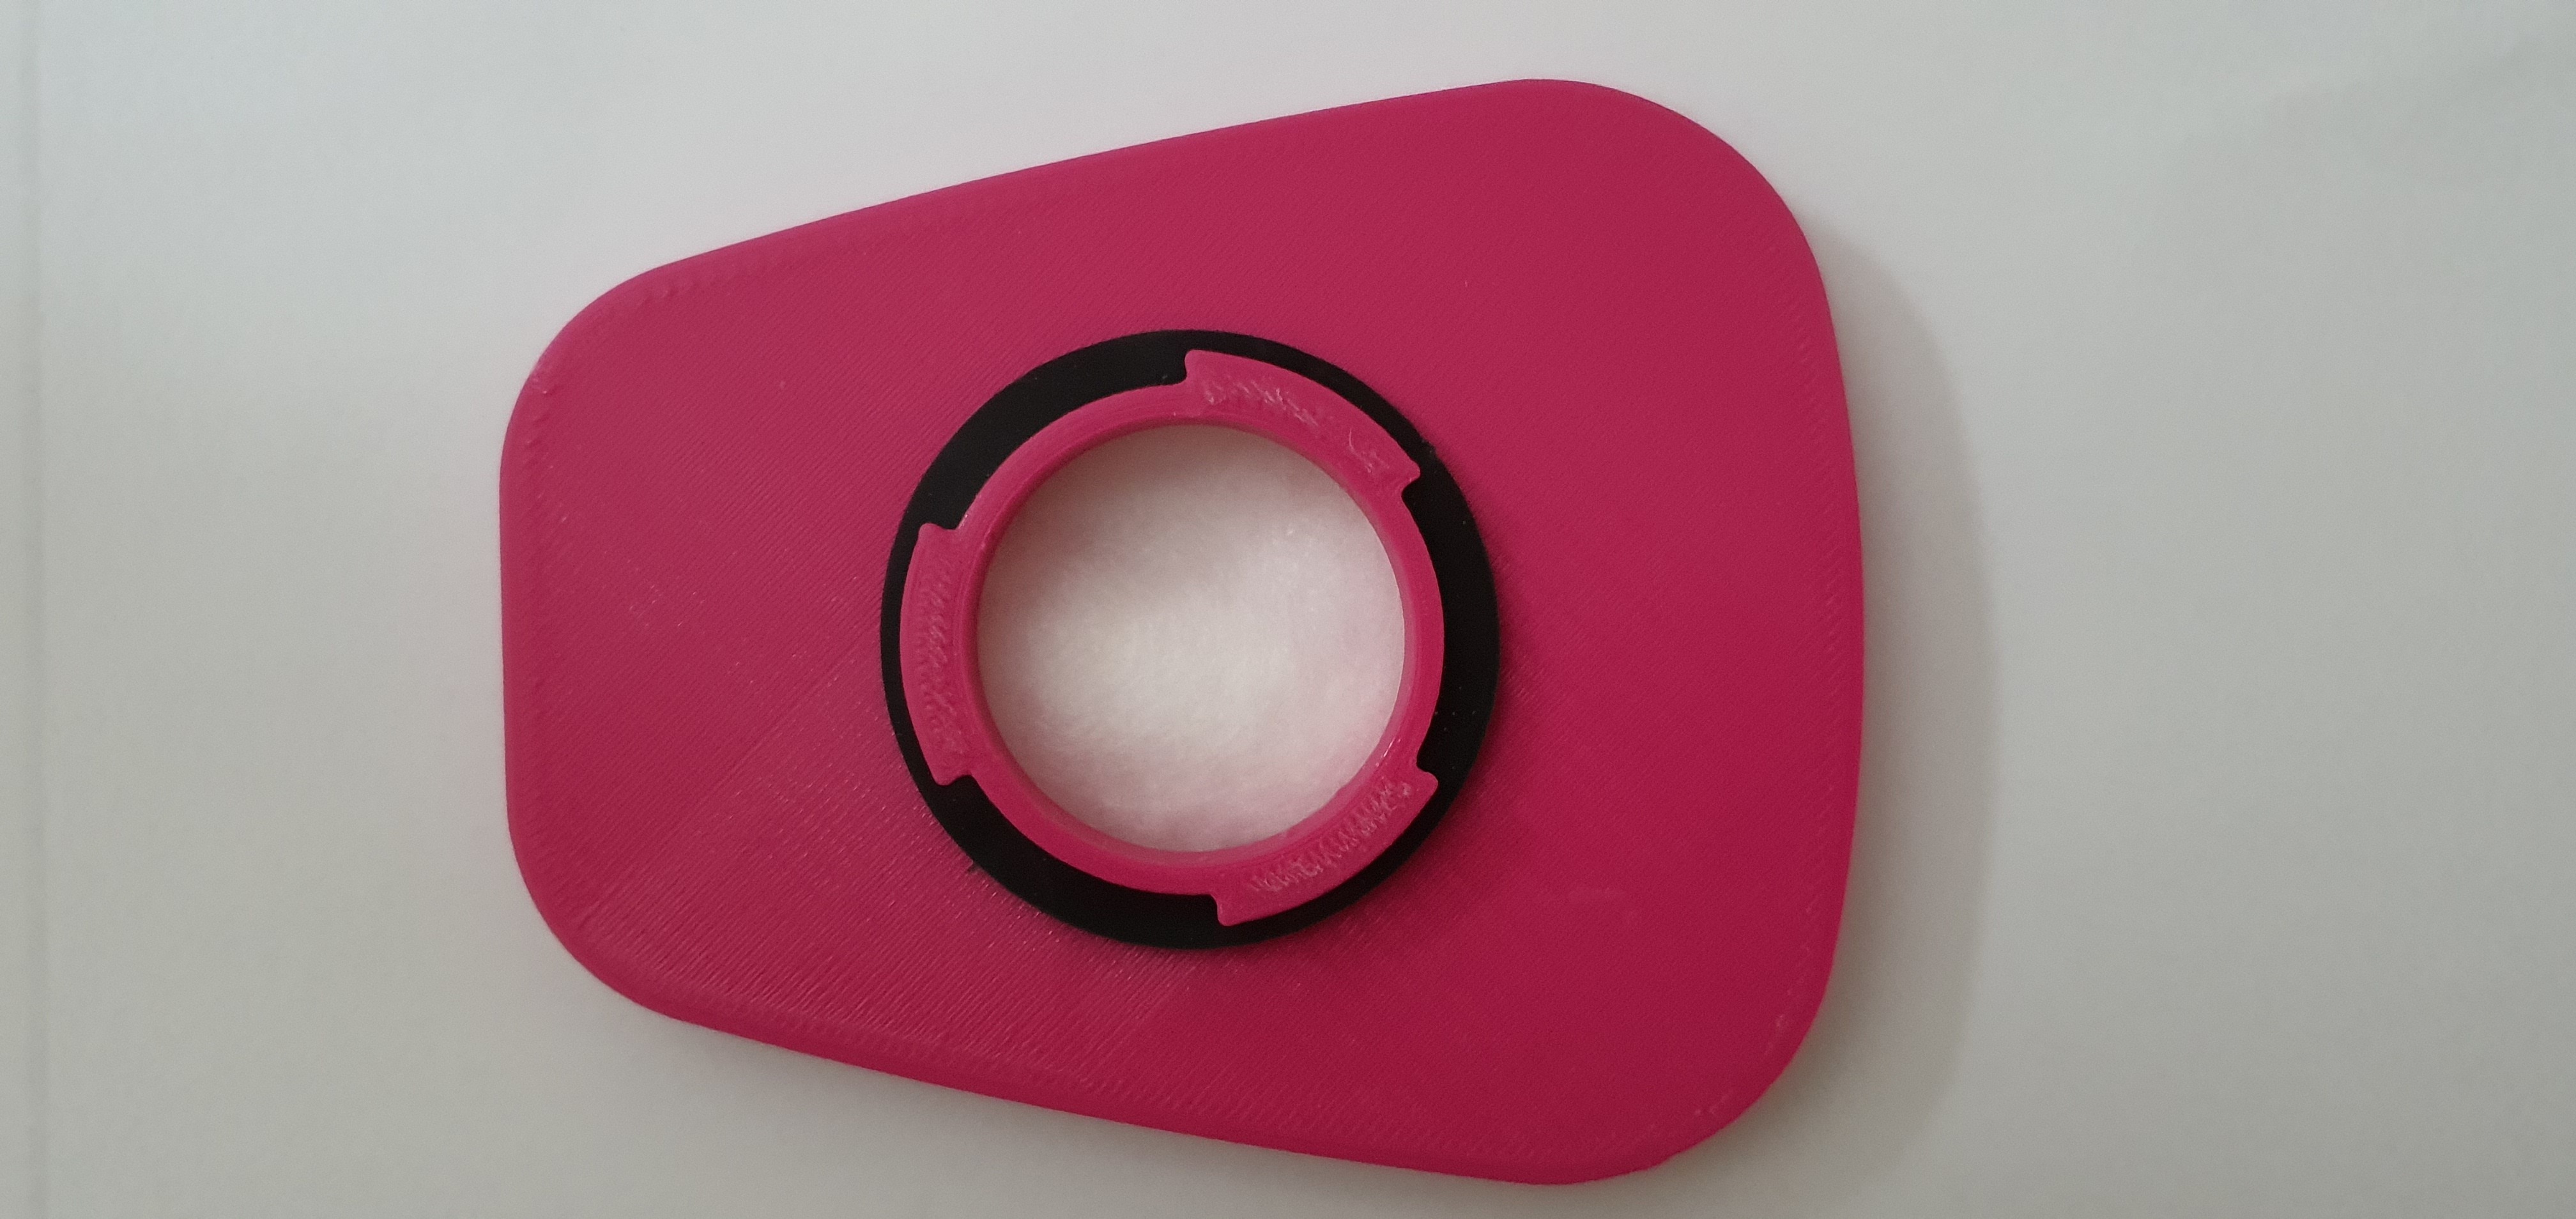
I made a new filter box, with a thickness greater than + 0.2mm where the gasket rests.
Some people do not find the seals for the filter.
I made the seals that can be printed in TPU or TPE "better the TPE".
Some people can't find 3M filters.
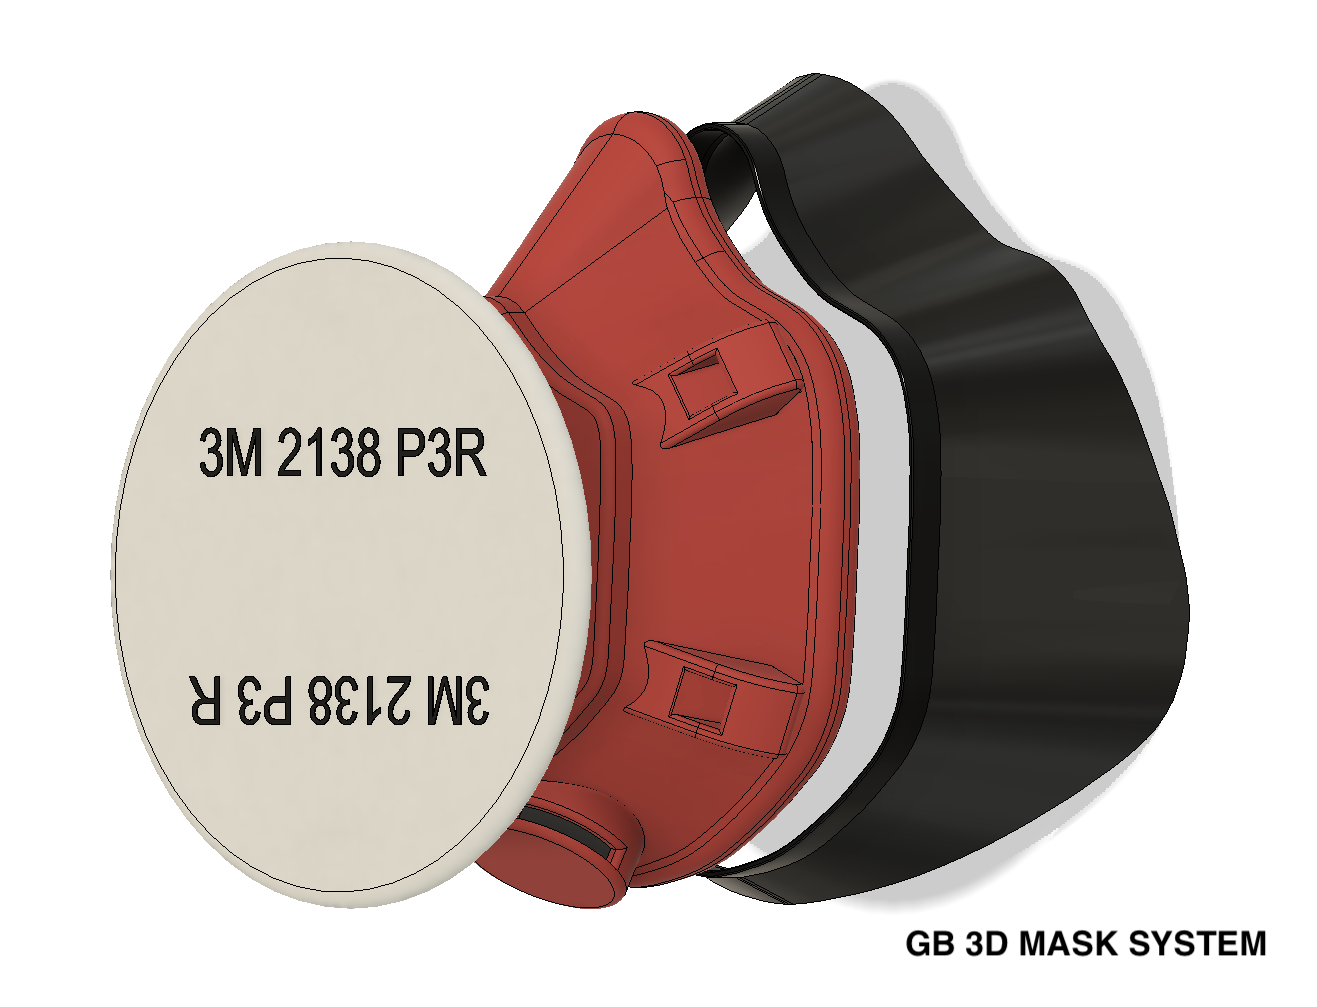
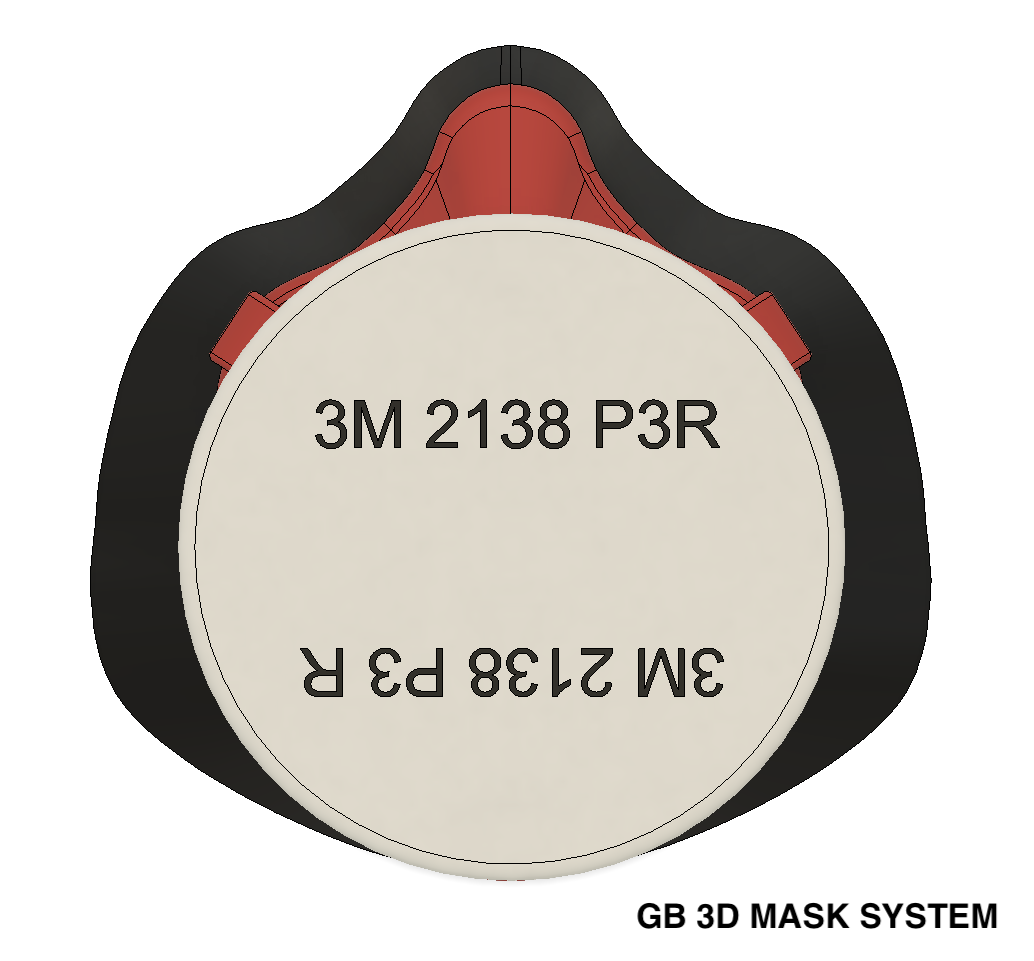
I made an adapter to mount a 3M 2138 P3 R or 3M 2135 P3 R filter.
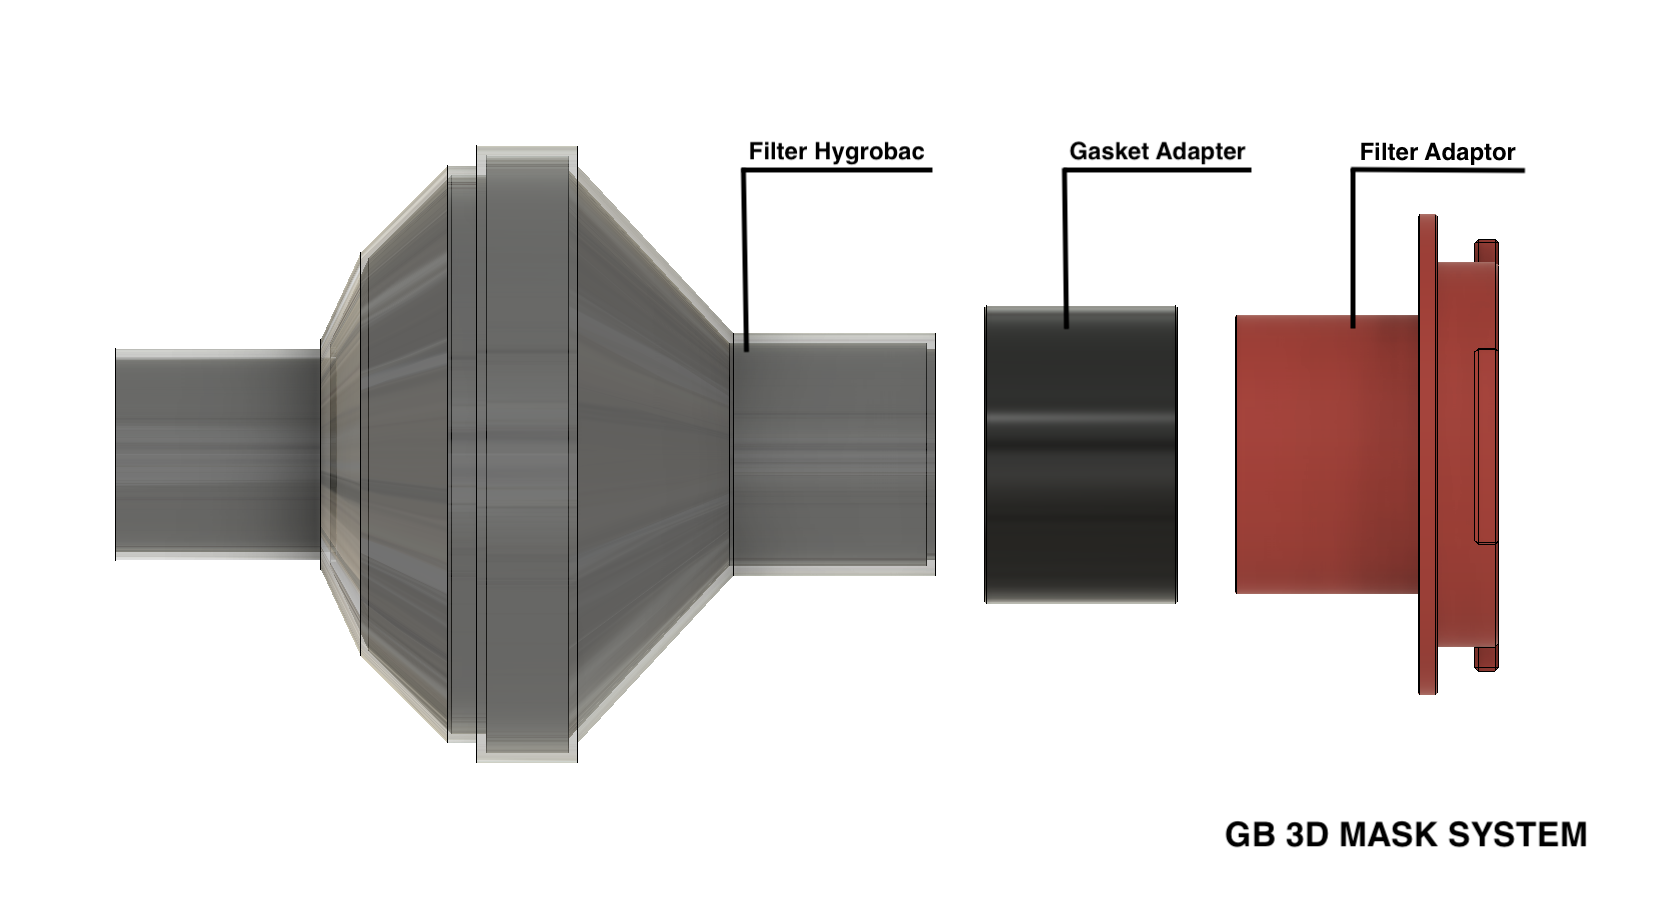
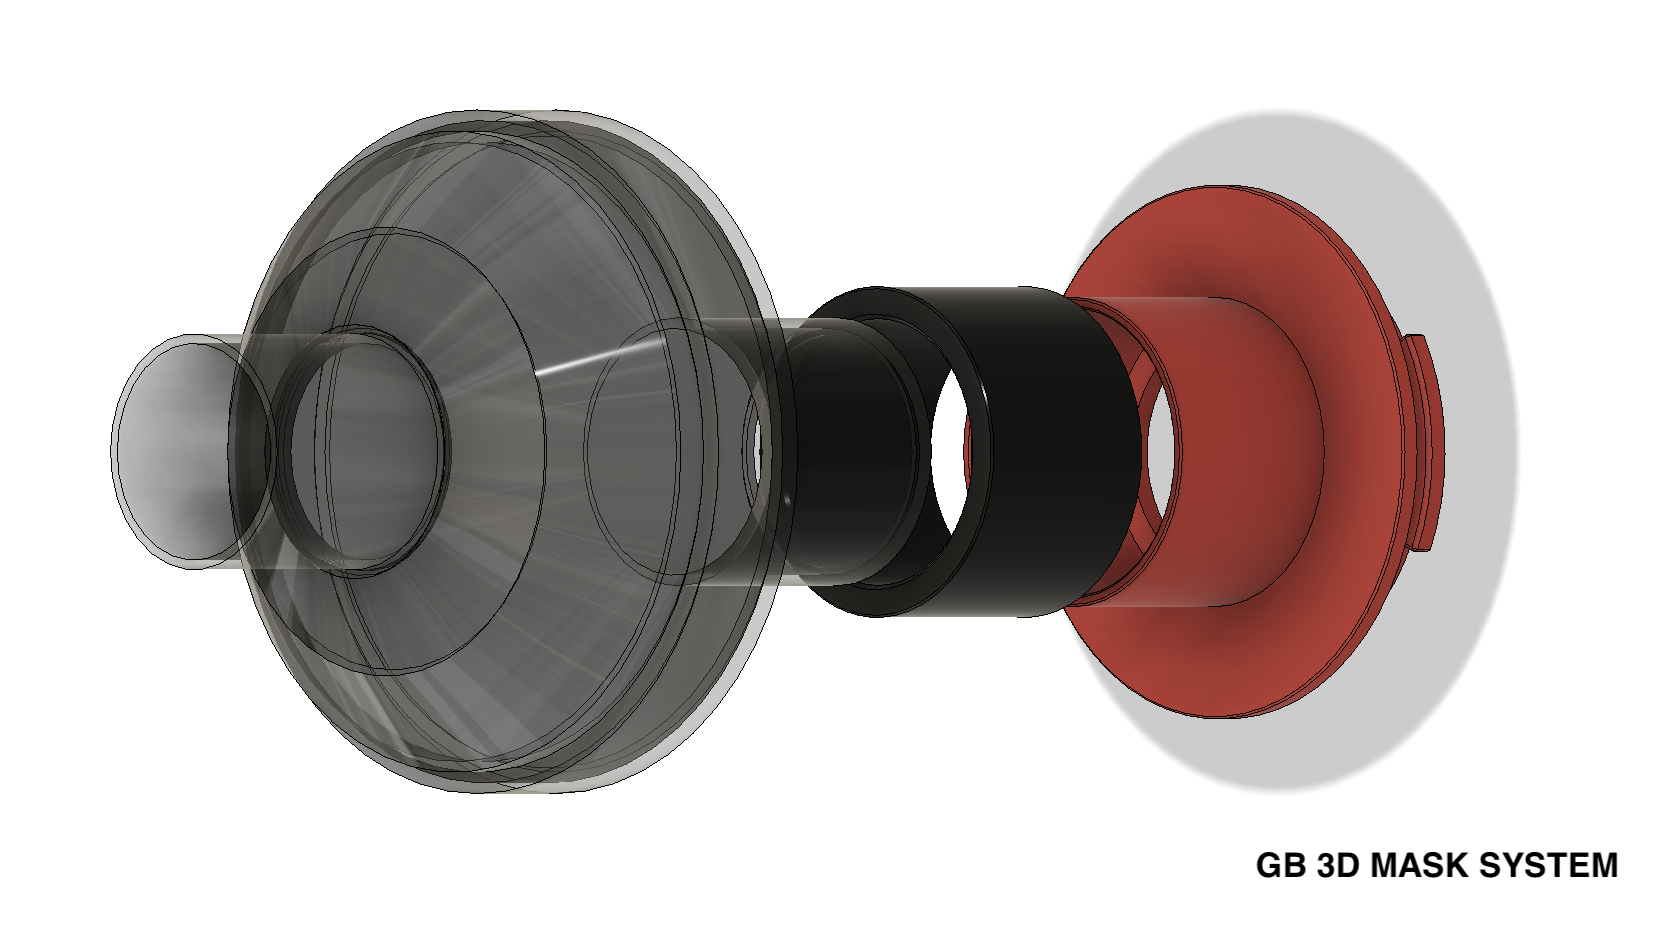
Some people asked me to use a hygrobac filter instead of the 3M filter.
I made an adapter and a gasket to be able to mount the hygrobac filter.
In this terrible moment in history, COVID-19 has combined the ideas of many makers to help the whole world overcome this moment of crisis and limit the death of people as much as possible.
I made a prototype of reusable mask with interchangeable filter. The mask can be washed in water and 5% bleach.
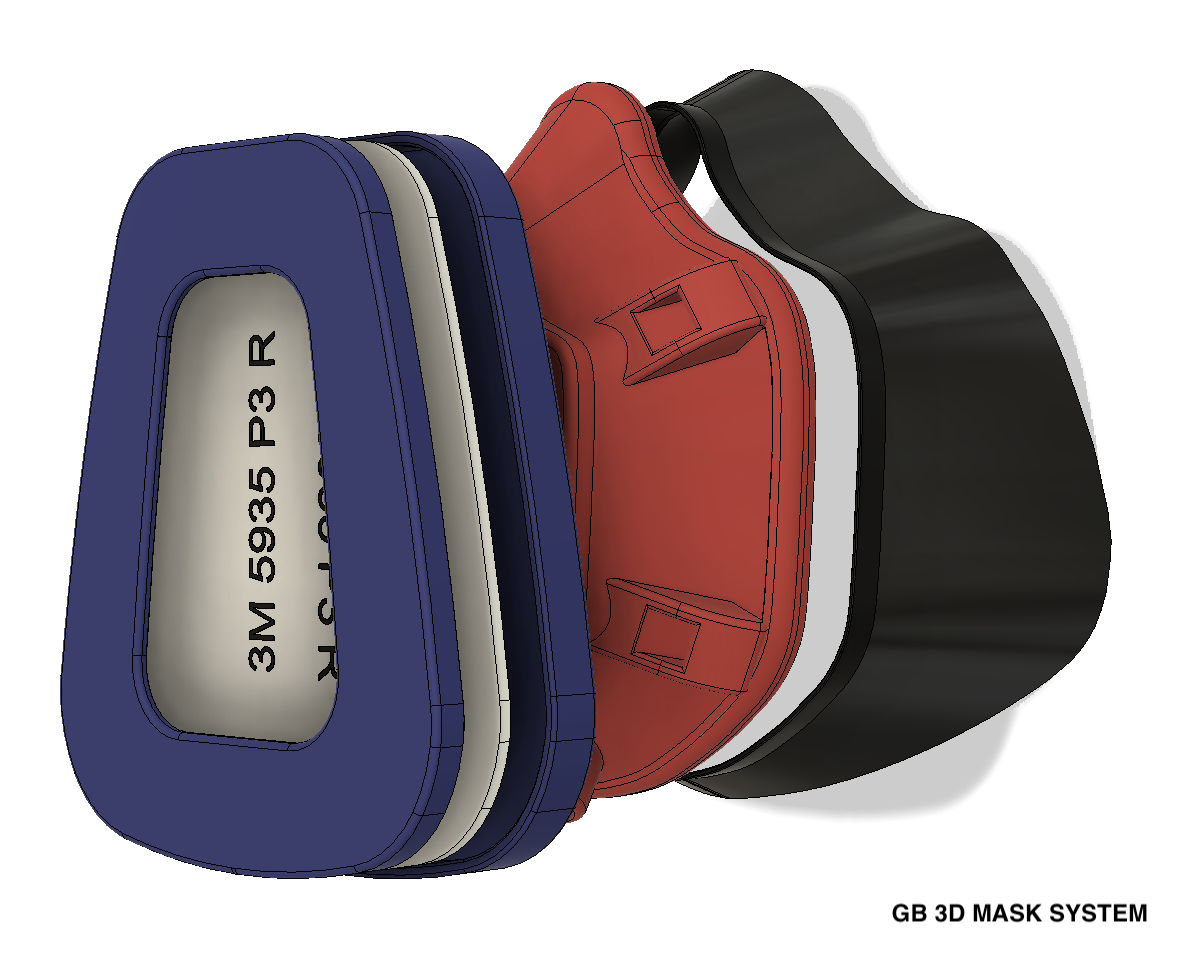
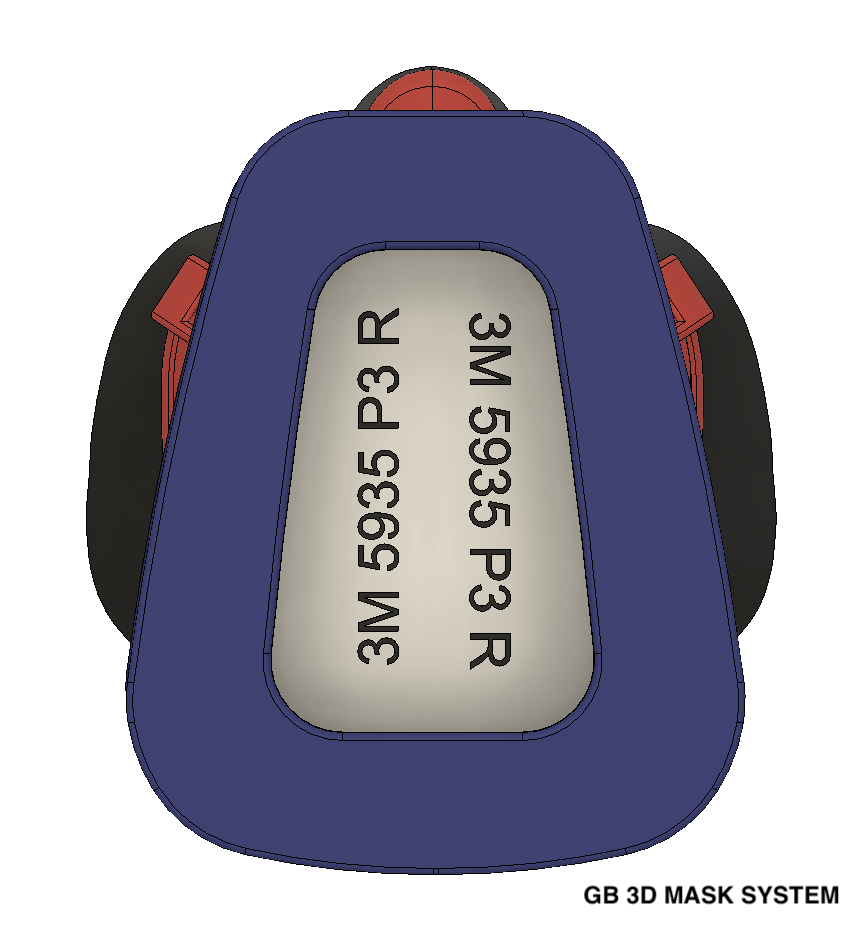
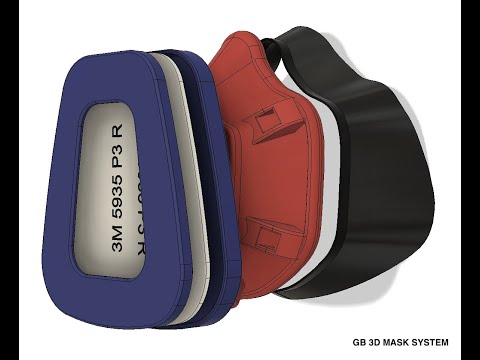
The filter used is a 3M 5935 P3 or 3M 5N1, certified with the filtering percentage equal to 95% FFP3, the highest possible.
The mask is made up of 3 parts and is simple to make with FDM, SLS printers etc...
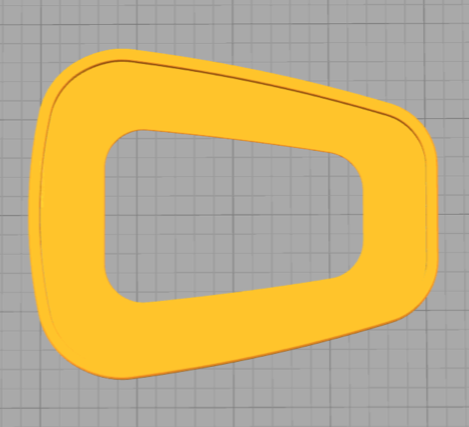
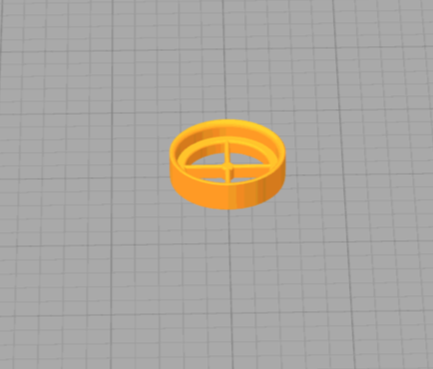
The mask is composed of: Filter, Mask with valves, Soft part.
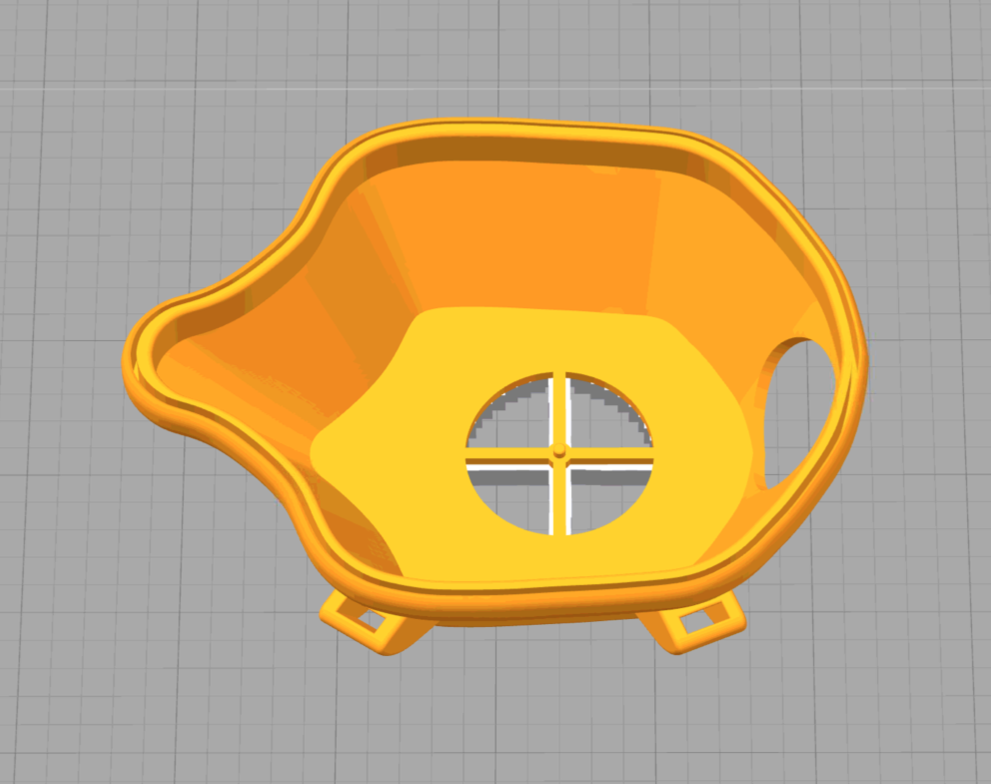
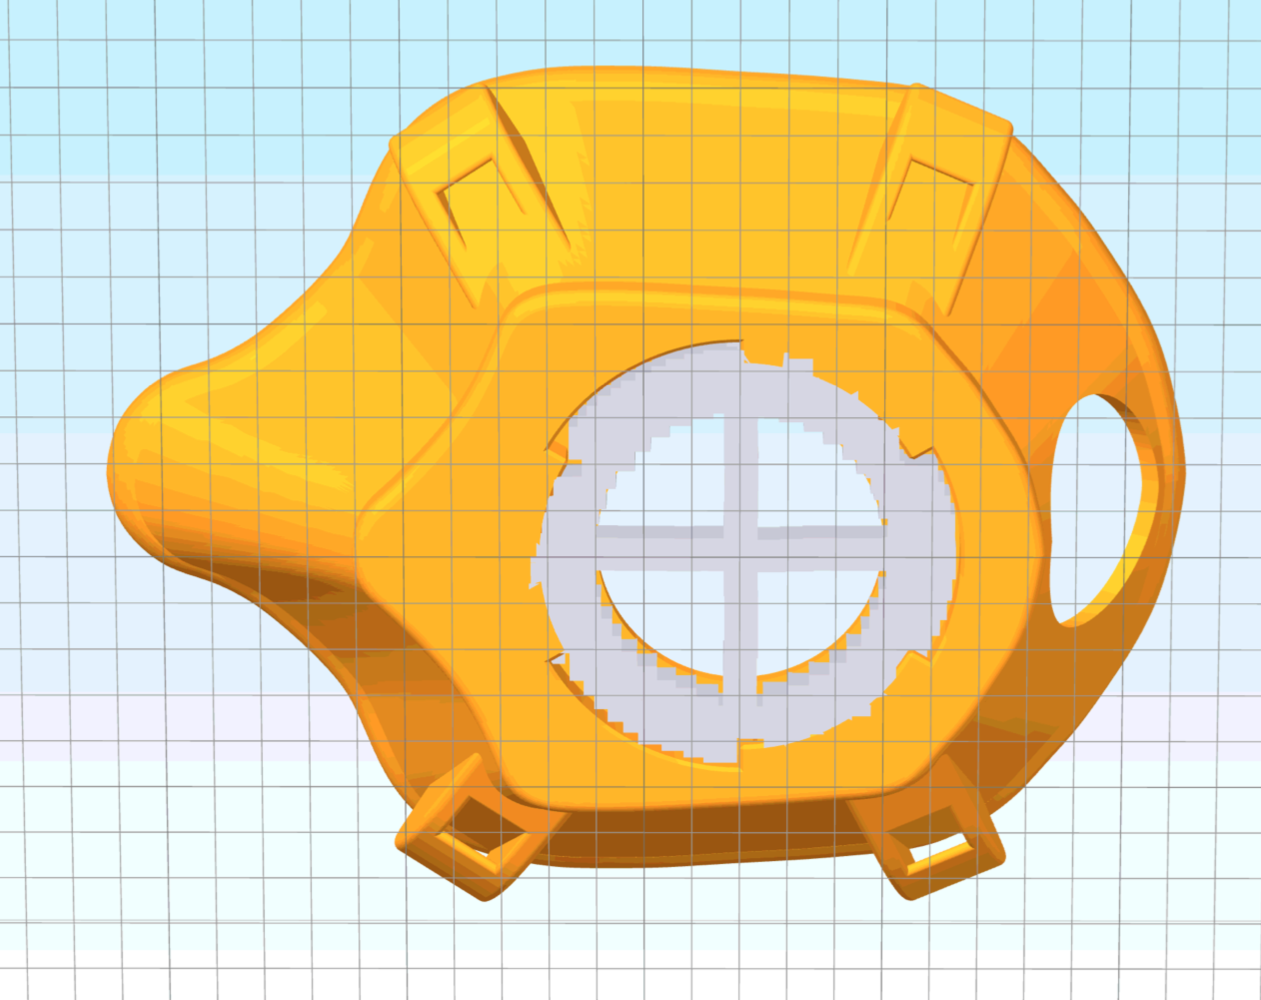
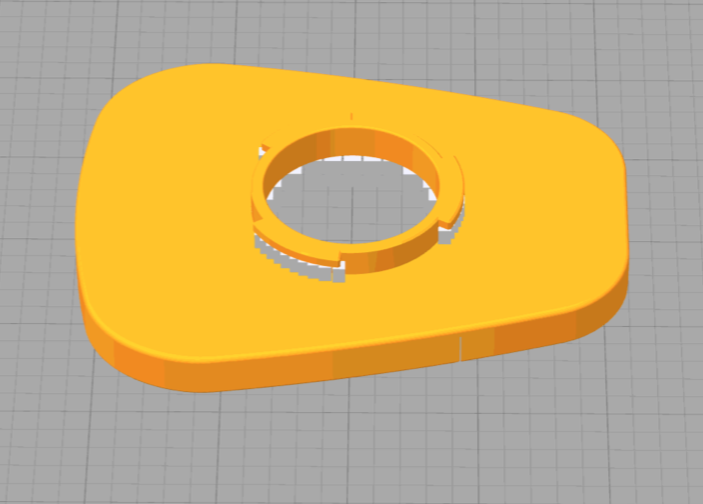
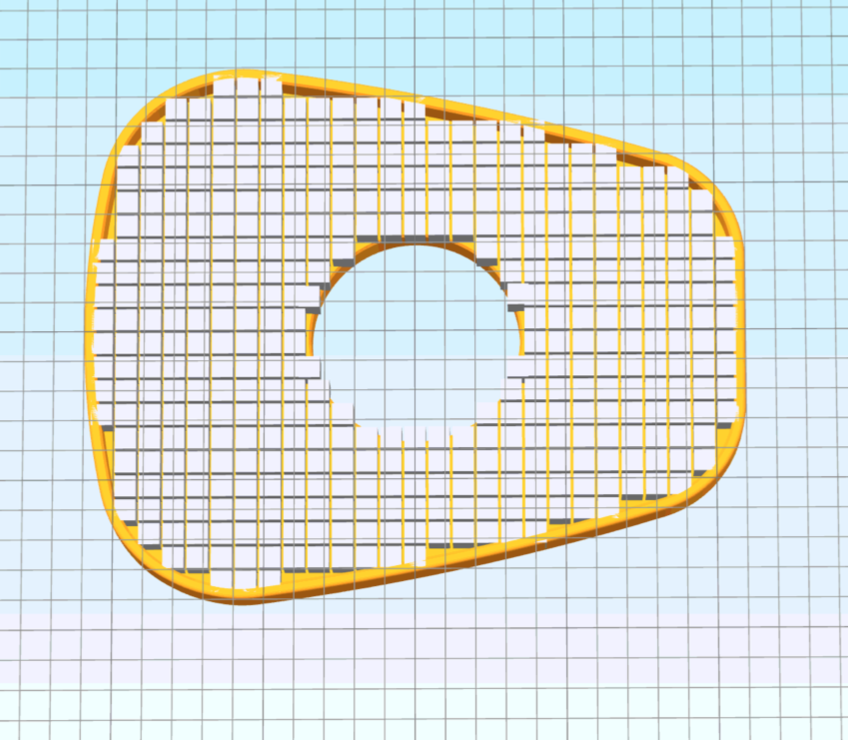
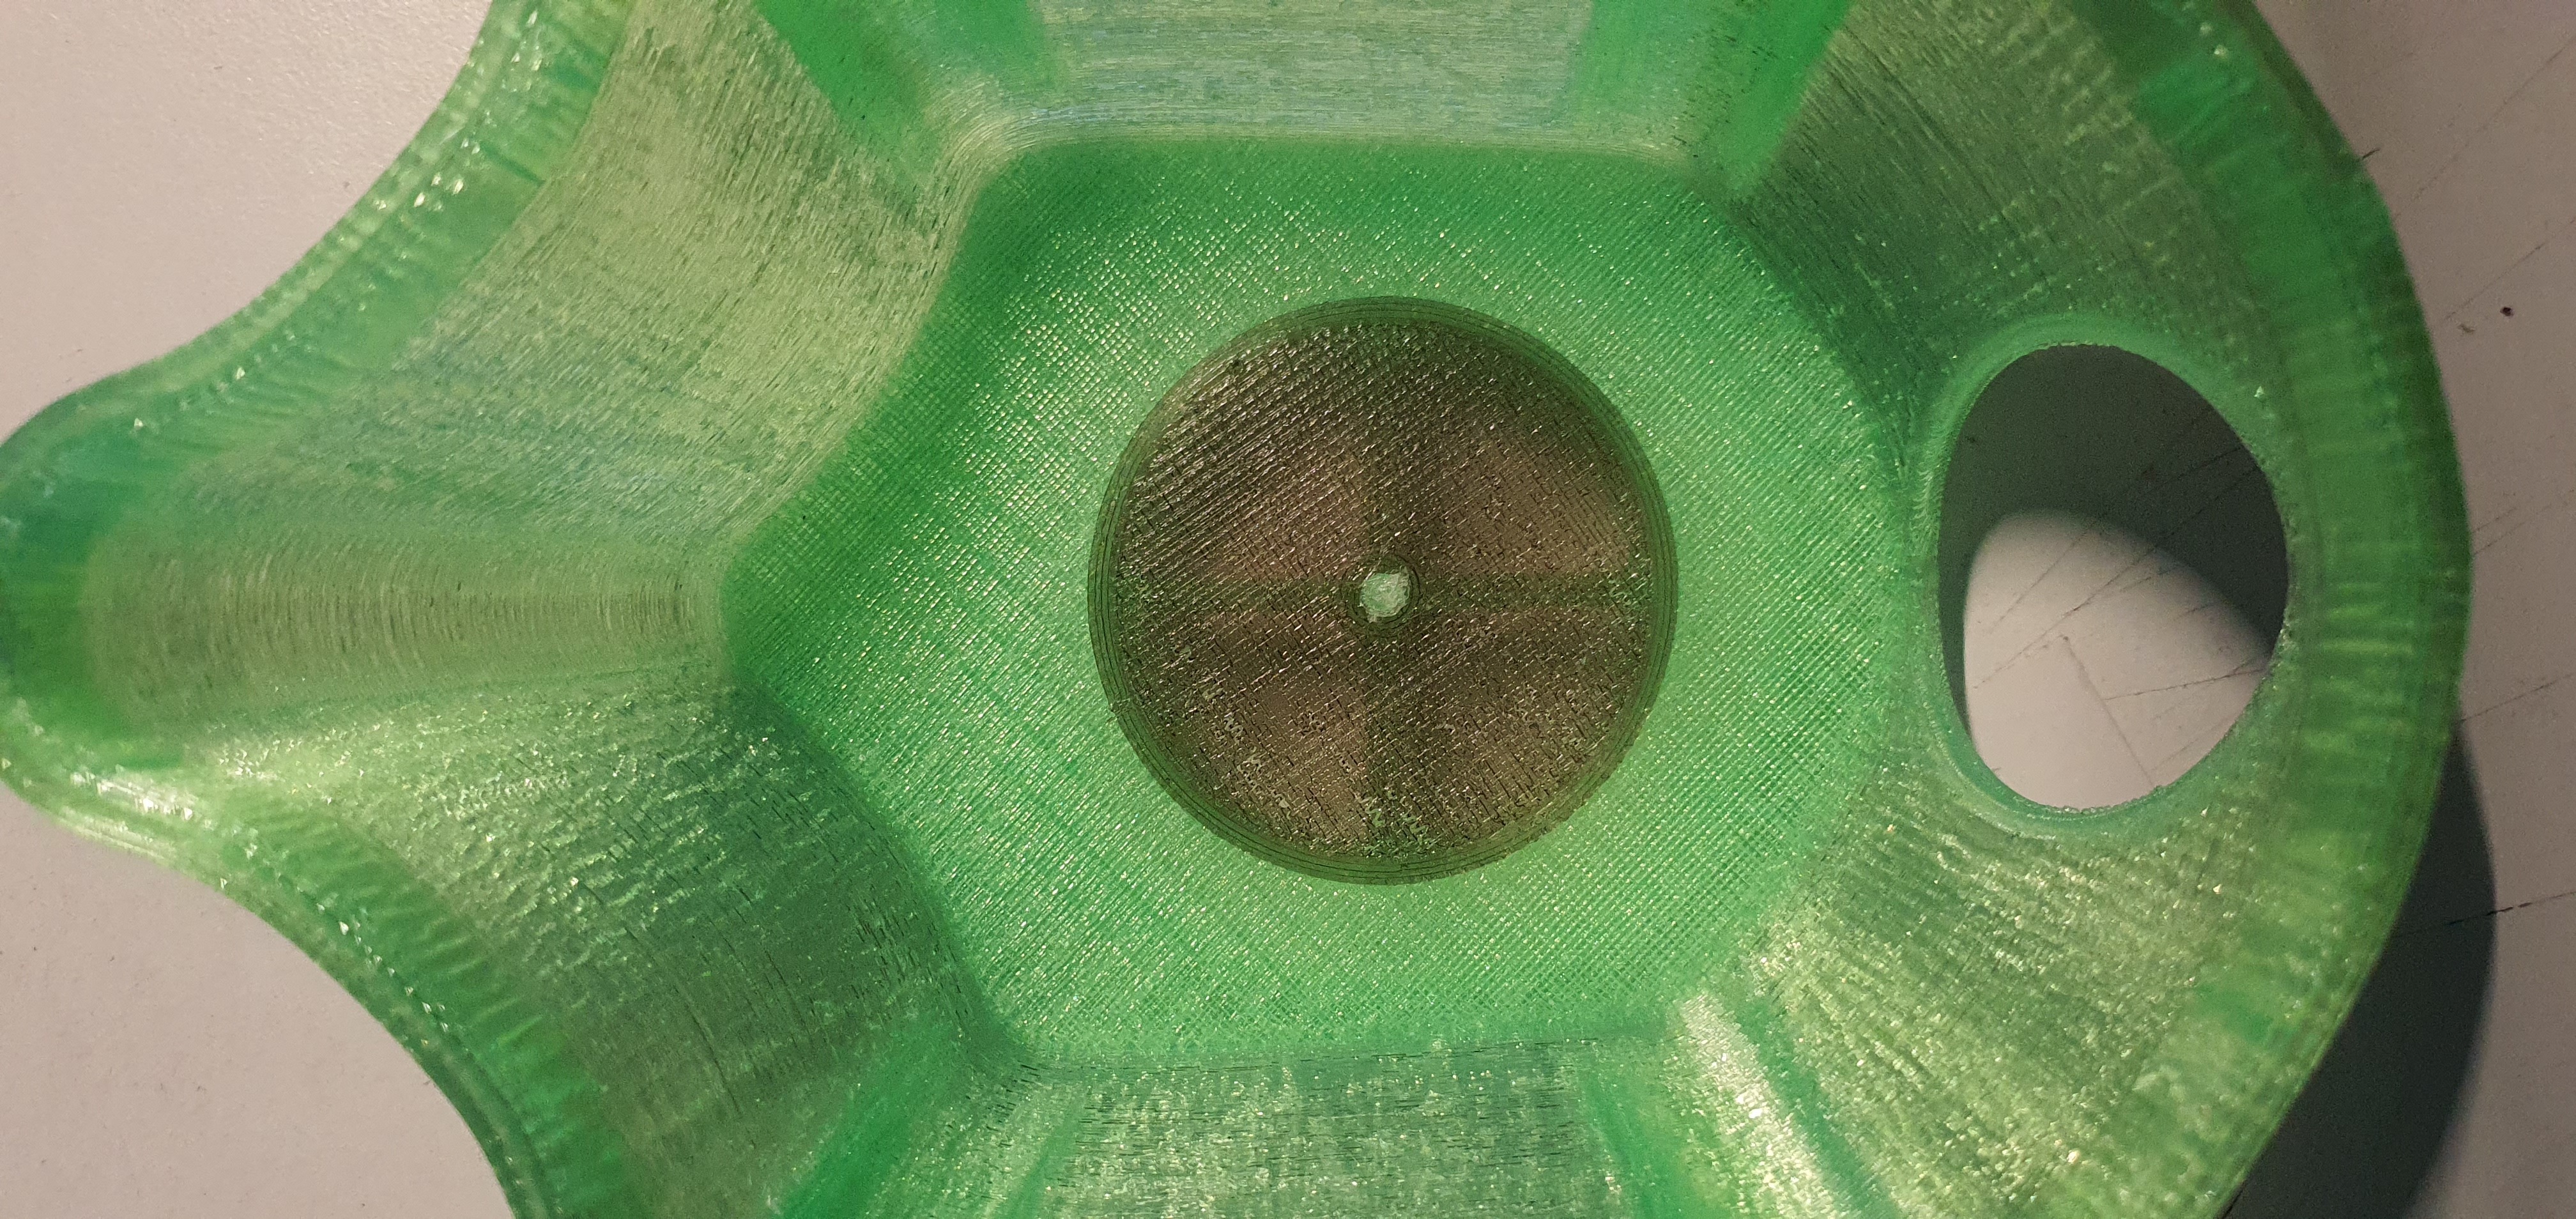
The mask must be printed in PLA or PCL with supports on the part where the filter is to be installed. “see pictures”.
The soft part must be printed in TPU or TPE "better the TPE", to make it adhere better to the face.
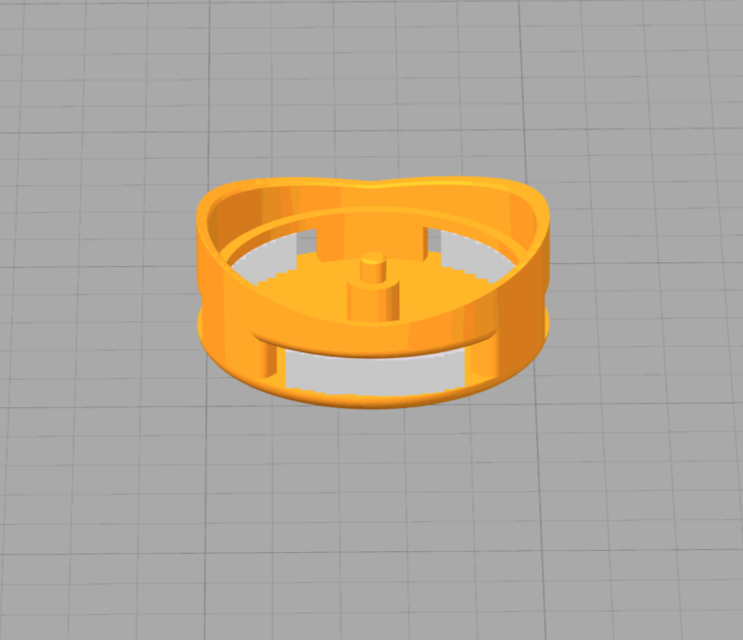
The filter must be printed in PLA or PCL with supports on the part where the filter is to be inserted and on the part of the fixing. “see pictures”
The valves work with two silicone discs with a thickness of 0.20mm and a size as in the photo. As an alternative to silicone it is possible to print TPU or TPE discs "better the TPE", it is necessary to use a PEI or GLASS "smooth surface" printing surface. The smooth part is the part to be placed on the mask, the part that closes the valve.
The valve must be printed as shown on the photo on a PEI or GLASS "smooth surface" surface.
DO NOT print these parts on a rough surface, the valve will not work!
The exhaust valve must be inserted in the mask, use glue to guarantee the seal.
In the part of the PLA mask where the TPU or TPE part is to be connected, it is recommended to apply some glue. This will ensure the two sides to be airtight.
If the TPU or TPE part does not adhere well to your face, apply some Neoprene Stripping with adhesive, 15 or 20mm wide and 3mm thick.
I made four sizes: extra small, small, medium, large.
Only the soft part changes according to the size that best suits the face.
To keep the mask on your face, use elastic bands 4 or 5mm wide. Excellent elastic tailoring, made of cotton.
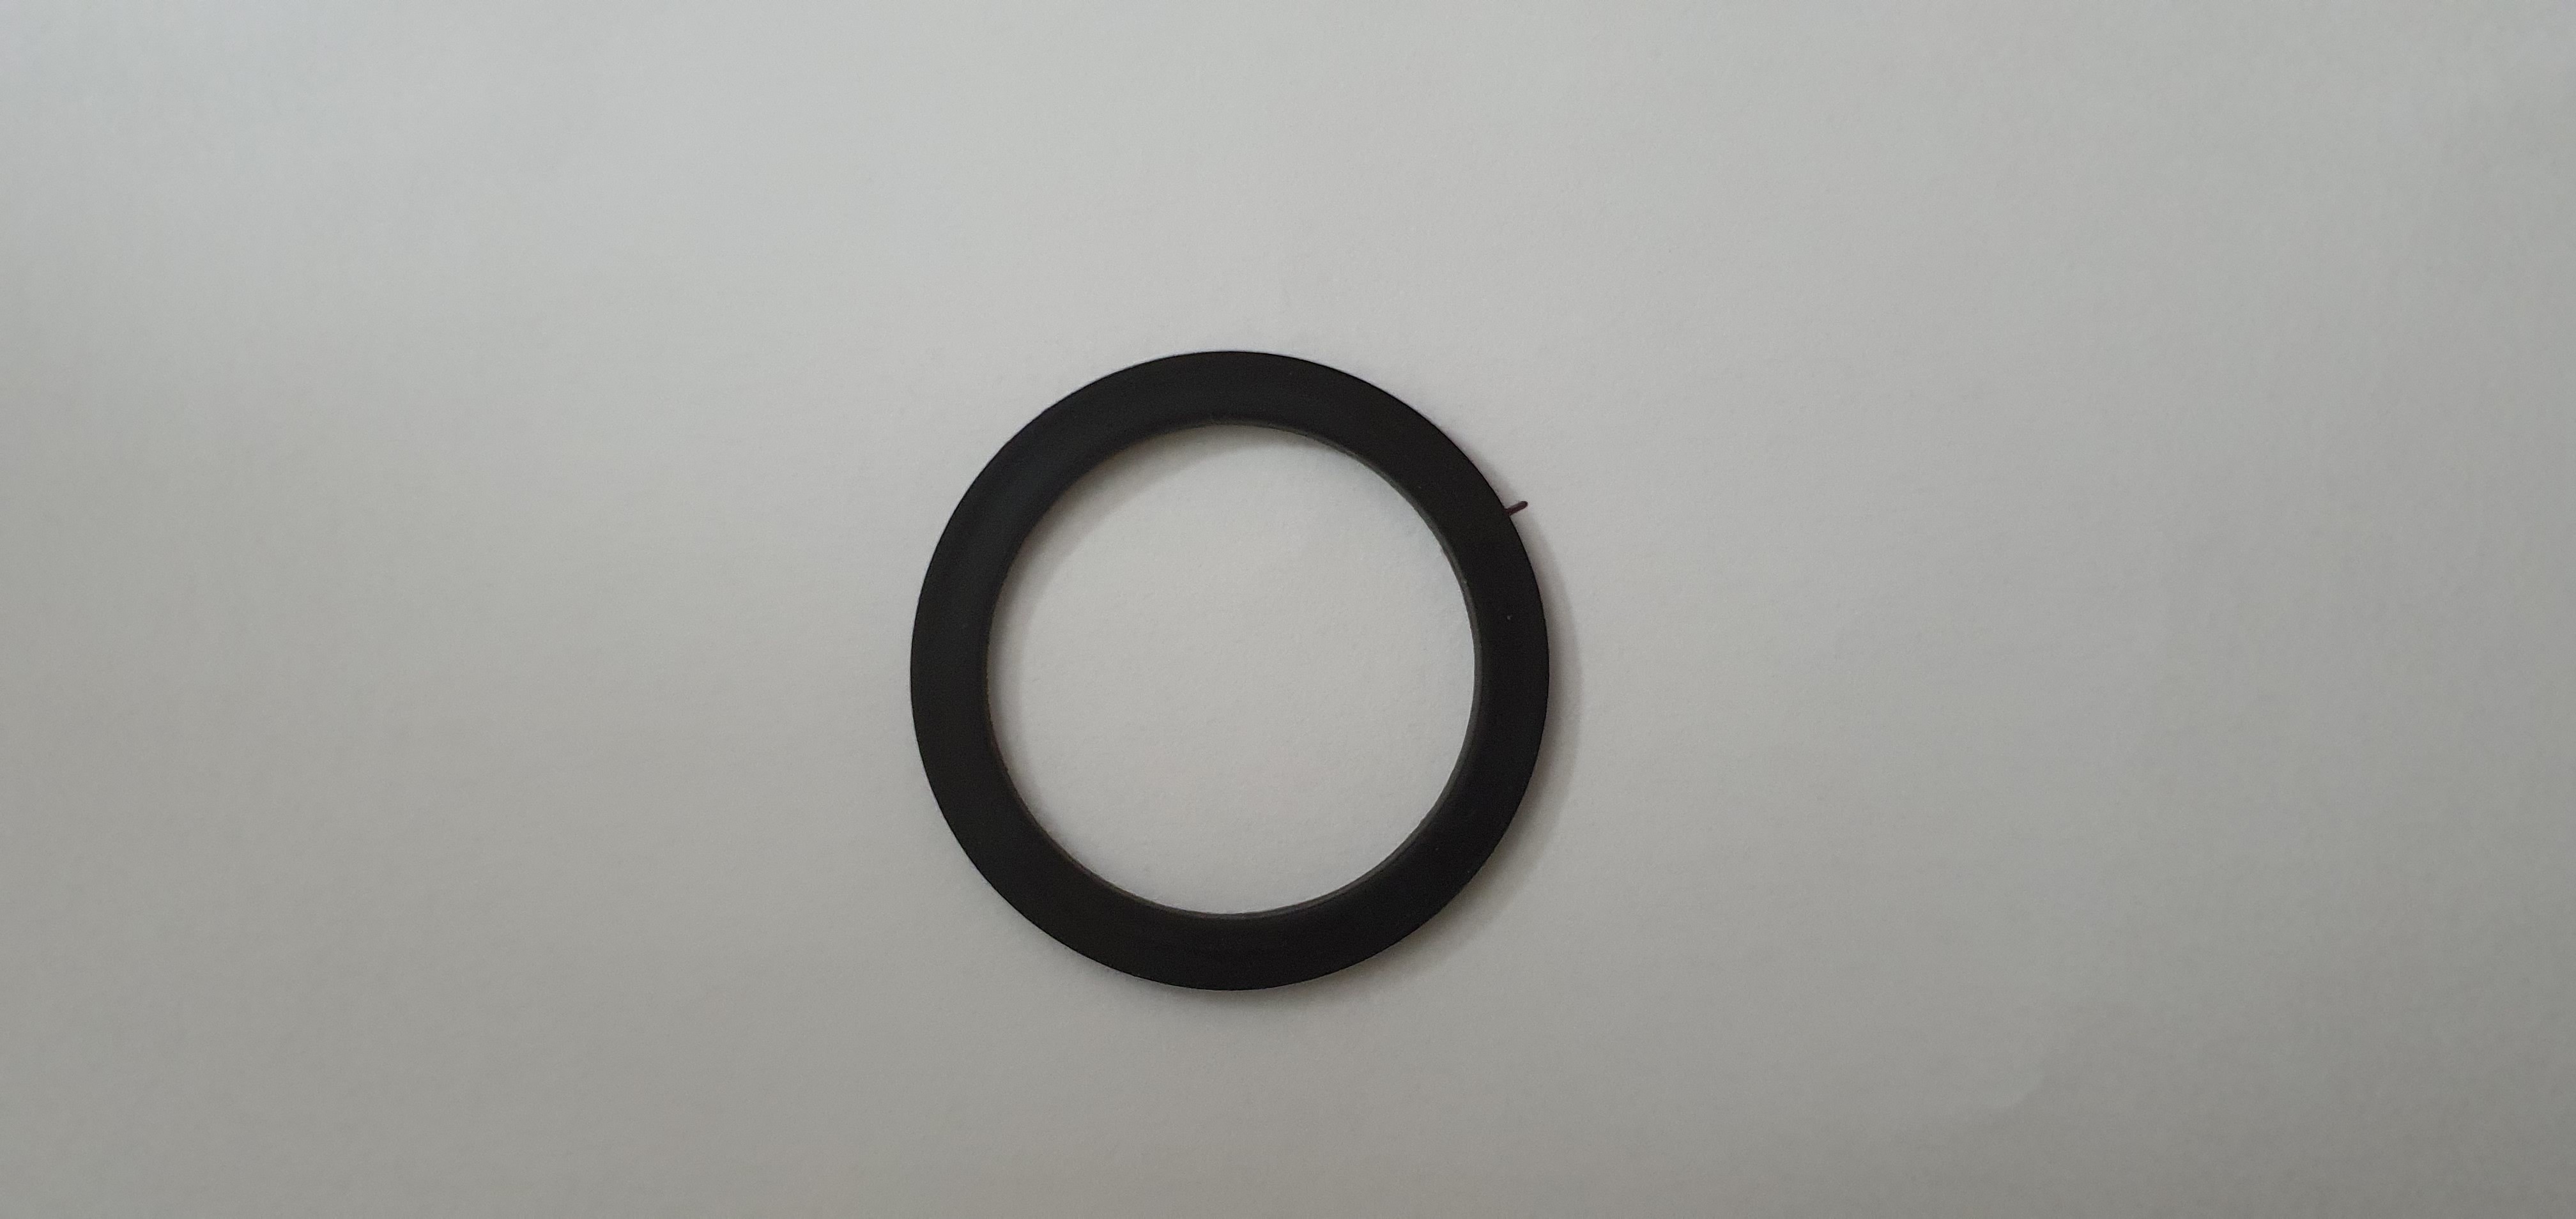
At the base of the filter holder, a rubber washer "one for plumbing, for taps" must be applied. Dimensions, internal 35mm external 45mm thickness 2mm.
The supports must be added manually in the slicer, I used Simplyfy 3D, which allows the manual insertion of the supports.
I am working on additional filter holders to be able to use other types of filters, such as the 3M 2138/2135 always P3.
The use of non-certified filters is not recommended, the exclusive use of commercially available certified filters is recommended.
Attached you will find the images relating to the mask and the print positioning.
If you liked my work and it was useful for you, you can contribute by leaving a tip, thank you.
Video Tutorial: https://www.youtube.com/watch?v=3-hD7kASauA&t=2s
[Italiano]
PRIMA DEL DOWNLOAD - Leggere la licenza completa. Questo è un modello gratuito e puoi condividerlo. Ma devi dare credito appropriato e non puoi usarlo per scopi commerciali, NESSUN REMIX è permesso (assolutamente nessuna eccezione). Se trovi questo modello altrove e in qualche modo infrange una delle condizioni di licenza dichiarate, puoi inviarmi un messaggio in modo che io possa prendere le misure appropriate. Tutti i diritti sono esclusivamente del progettista.
PRIMA DI STAMPARE - Consiglio di eseguire una calibrazione fine della stampante prima di iniziare a stampare la maschera e le sue parti. Controlla la tua espansione orizzontale per assicurarti che i tuoi pezzi si adattino correttamente (tutorial): https://www.thingiverse.com/thing:1662342
Questo modello 3D non è stato approvato da alcuna agenzia di regolamentazione e non ha superato alcun test di laboratorio. È un prototipo progettato da Giovanni Becchina (bgiovanny), creato con l'obiettivo di fornire materiale di protezione di emergenza ai professionisti medici che ne hanno bisogno, data l'attuale carenza globale di forniture. Non è destinato a sostituire alcuna maschera omologata, ma a fornire una protezione minima. Non possiamo garantirne il funzionamento, quindi utilizzalo a tuo rischio.
Aggiornamento 18/04/20:
Qualcuno mi ha detto che è difficile trovare gli elastici.
Ho fatto degli elastici da stampare in TPE.
Ho fatto una fibbia per gli elastrici.
Aggiornamento 03/04/20:
Alcune persone, non riuscivano a realizzare le membrane, perchè troppo sottili.
Ho modificato lo spessore delle membrane e del Cap_Valve.
Se avete problemi con le membrane, stampate le nuove membrane e il nuovo Cap_Valve.
Ho fatto alcuni moglioramenti nella maschera.
Aggiornamento 02/04/20:
Alcune persone mi hanno riferito che hanno difficoltà a montare il filtro sulla maschera.
Ho fatto un nuovo porta filtro, con uno spessore maggiore di +0.2mm dove poggia la guarnizione.
Alcune persone non trovano le guarnizioni per il filtro.
Ho fatto le guarnizioni che si possono stampare in TPU o TPE "meglio il TPE".
Alcune persone non riescono a trovare i filtri 3M.
Ho fatto un adattatore per montare un filtro 3M 2138 P3 R o 3M 2135 P3 R.
Alcune persone mi hanno chiesto di utilizzare un filtro hygrobac al posto del filtro 3M.
Ho fatto un adattatore e una guarnizione per poter montare il filtro hygrobac.
In questo terribile momento della storia, il COVID-19 ha unito le idee di molti makers per aiutare il mondo intero a superare questo momento di crisi e limitare il più possibile la morte delle persone.
Ho realizzato un prototipo di maschera riutilizzabile con filtro intercambiabile. La maschera può essere lavata in acqua e candeggina al 5%.
Il filtro utilizzato è un 3M 5935 P3 o 3M 5N1, certificato con la percentuale di filtraggio pari al 95% FFP3, il più alto possibile.
La maschera è composta in 3 parti ed è semplice da realizzare con stampanti FDM, SLS etc...
La maschera è composta da: Filtro, Maschera con valvole, Parte morbida.
La maschera va stampata in PLA o in PCL con supporti presenti sulla parte dove va installato il filtro. “guarda foto allegate”.
La parte morbida va stampata in TPU oTPE "migliore il TPE", per far aderire meglio al viso.
Il filtro va stampata in PLA o PCL con supporti sulla parte dove va inserito il filtro e sulla parte del fissaggio. “guarda foto allegate”.
Le valvole funzionano con due dischi in silicone dello spessore di 0.20mm e una dimensione come da foto. In alternativa al silicone è possibile stampare i dischi in TPU o TPE "migliore il TPE", bisogna utilizzare una superficie di stampa in PEI o VETRO "superficie liscia". La parte liscia, è la parte da poggiare sulla maschera, la parte che chiude la valvola.
La valvola va stampata come da foto su una superficie in PEI o VETRO "superficie liscia".
NON stampare queste parti su superficie ruvida, la valvola non funzionerà!
La exaust valvola, va inserita alla maschera, utilizzare della colla per garantile la tenuta.
Nella parte della maschera in PLA dove va collegata la parte in TPU o TPE, è suggerito applicare della colla. Questo garantirà alle due parti di essere a tenuta ermetica.
Se la parte in TPU o TPE non aderisce bene al tuo volto, applica del Neoprene Stripping with adhesive, largo 15 o 20mm e spesso 3mm.
Ho realizzato quattro misure: extra small, small, medium, large.
Solo la parte morbida si cambia in base alla misura che meglio si adatta alla faccia.
Per tenere la maschera sulla faccia, usare degli elastici di 4 o 5mm di larghezza. Ottimo l'elastico da sartoria, in cotone.
Alla base del porta filtro, bisogna applicare una rondella in gomma "una da idraulica, per rubinetti". Dimensioni, interno 35mm esterno 45mm spessore 2mm.
I supporti vanno aggiunti in modo manuale nello slicer, io ho usato Simplyfy 3D, che permette l'inserimento manuale dei supporti.
Sto lavorando su ulteriori porta filtri per poter utilizzare altri tipi di filtro, tipo il 3M 2138 / 2135 sempre P3.
Non è consigliato l'utilizzo di filtri non certificati, si consiglia l'utilizzo esclusivo di filtri certificati disponibili in commercio.
In allegato trovate le immagini relative alla maschera e al posizionamento di stampa.
Se il mio lavoro ti è piaciuto ed è stato utile per te, puoi contribuire lasciando una mancia, grazie.
Video di assemblaggio: https://www.youtube.com/watch?v=3-hD7kASauA&t=2s
:format(webp)/https://fbi.cults3d.com/uploaders/14582662/illustration-file/ff1314a0-dfc8-4a5c-a729-d8719c4a514a/Schermata%202020-03-28%20alle%2014.43.55.png)