Skip to content

Socket Enclosure for ESP8266 Moes QS-WiFi-D01 150W or Shelly Dimmer

Advertising
Advertising
?
Creation quality: 5.0/5 (1 vote)
Evaluation of members on the printability, utility, level of detail, etc.

  • 4.6k views
  • 4 likes
  • 28 downloads

License
3D design format
F3D and STL Folder details Close
  • Case.stl
  • Dimmer_QS-WIFI-D01_-_Enclosure.f3d
  • Top_Cover.stl

Learn more about the formats

Publication date 2020-04-23 at 09:16
?
Published to Thingiverse on: 2020-02-05 at 22:17
Design number 138428

3D printer file info

3D model description

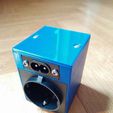
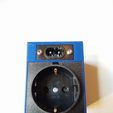
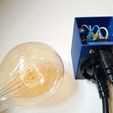
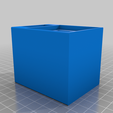
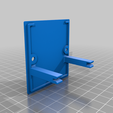
A socket enclosure for a safe connection of the Moes QS-WiFi-D01 150W or Shelly Dimmer. A perfect solution for a easy to place WiFi controllable IOT dimmer.

Installation

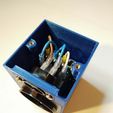
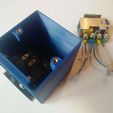
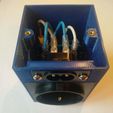
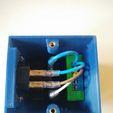
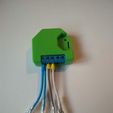
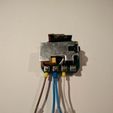
Insert the outlet socket and push it in to place so the fingers of the outlet snap behind the case. Insert the inlet socket and secure it with two M3 bolts and nuts. The dimmer is installed without its original case to save some space. The case of the module can easily be opened by pressing both sides of the lower half of the case. Connect the four wires to the dimming module. Slide the dimmer in the designated slot of the case. Slide the four insert spring connectors to there place. Be sure to check your connections!

Note: To set up the dimmer you first need to connect a switch to get it started (it is explained in the included manual). After that you can disconnect the switch. It is also possible to flash it with Tasmota using their instructions.

Things needed
- Moes QS-WiFi-D01 Dimmer or Shelly Dimmer
- EU German AC power socket AliExpress (I designed it for their E-08 socket)
- IEC320 C8 2 Terminal Power Plug AliExpress
- 4.8mm insert spring female AliExpress
- 2.8mm insert spring female AliExpress
- 2 Pcs M3X3X5mm Copper Inserts Brass AliExpress
- Power Cord Cable EU 2-Prong AliExpress
- 4 Pcs M3*8mm screws AliExpress
- 2 Pcs M3 nuts
- (Optional) Tubular terminal crimping mini electrical pliers AliExpress

Shelly Dimmer
Despite the housing is designed for the Moes Dimmer the Shelly Dimmer can also be perfectly placed in this housing.

In the future I may add a switch to the design and redesign the cover to be a strong snapfit so two screw and the brasfits won't be necessary anymore. Also a smaller separate enclosure especially for the Shelly Dimmer.

I also included the Autodesk Fusion 360 project.

Advertising


Issue with this design? Report a problem.

Would you like to support Cults?

You like Cults and you want to help us continue the adventure independently? Please note that we are a small team of 3 people, therefore it is very simple to support us to maintain the activity and create future developments. Here are 4 solutions accessible to all:

  • ADVERTISING: Disable your banner blocker (AdBlock, …) and click on our banner ads.

  • AFFILIATION: Make your purchases online by clicking on our affiliate links here Amazon.

  • DONATE: If you want, you can make a donation via Ko-Fi πŸ’œ.

  • WORD OF MOUTH: Invite your friends to come, discover the platform and the magnificent 3D files shared by the community!


Sharing and downloading on Cults3D guarantees that designs remain in makers community hands! And not in the hands of the 3D printing or software giants who own the competing platforms and exploit the designs for their own commercial interests.

Cults3D is an independent, self-financed site that is not accountable to any investor or brand. Almost all of the site's revenues are paid back to the platform's makers. The content published on the site serves only the interests of its authors and not those of 3D printer brands who also wish to control the 3D modeling market.

100% secure payment by credit card, PayPal, Apple Pay, Google Pay, etc.
View all payment options.