Storm - Wind Rider (X-men)


Storm - Wind Rider (X-men)
Published 2020-03-09T17:57:04+00:00
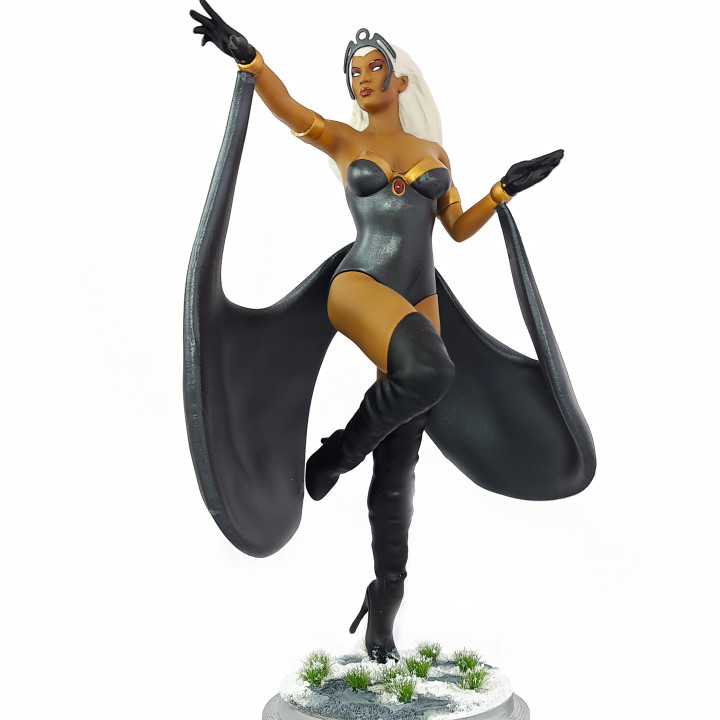
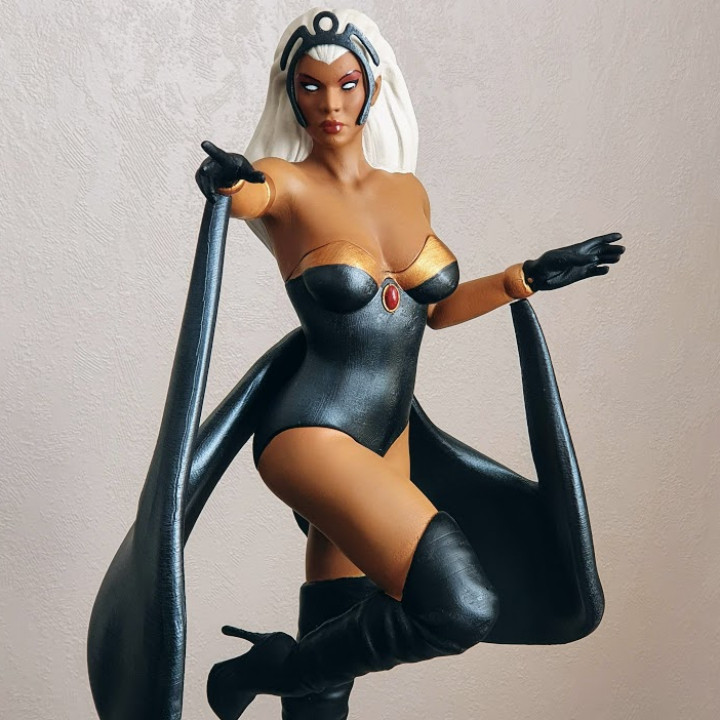
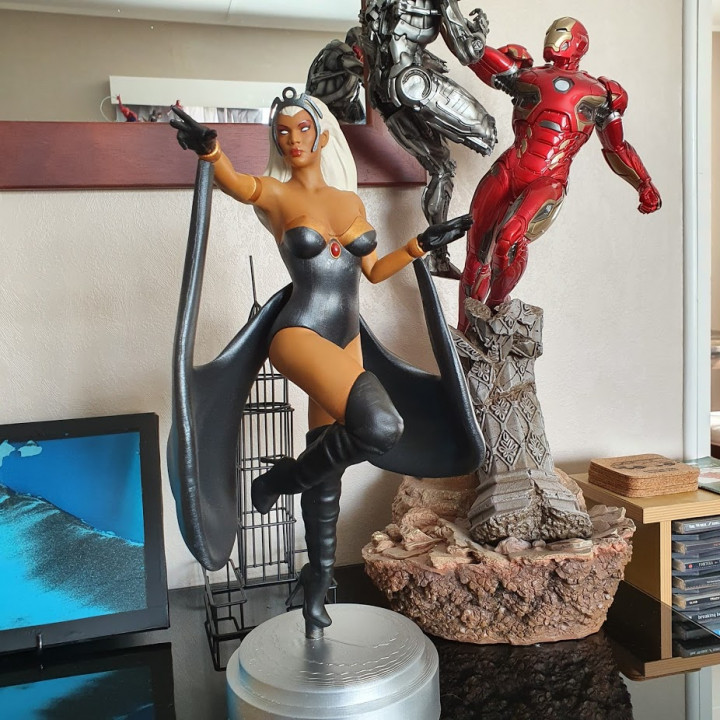
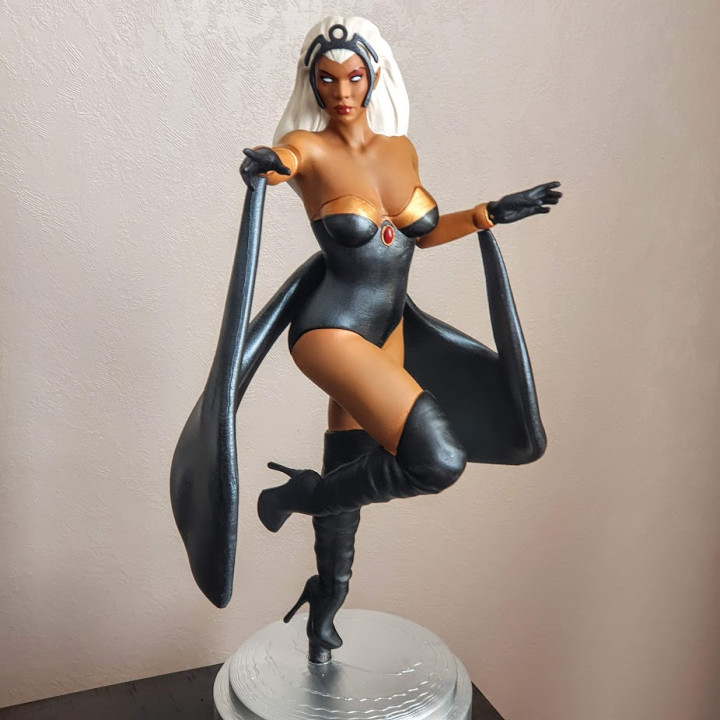
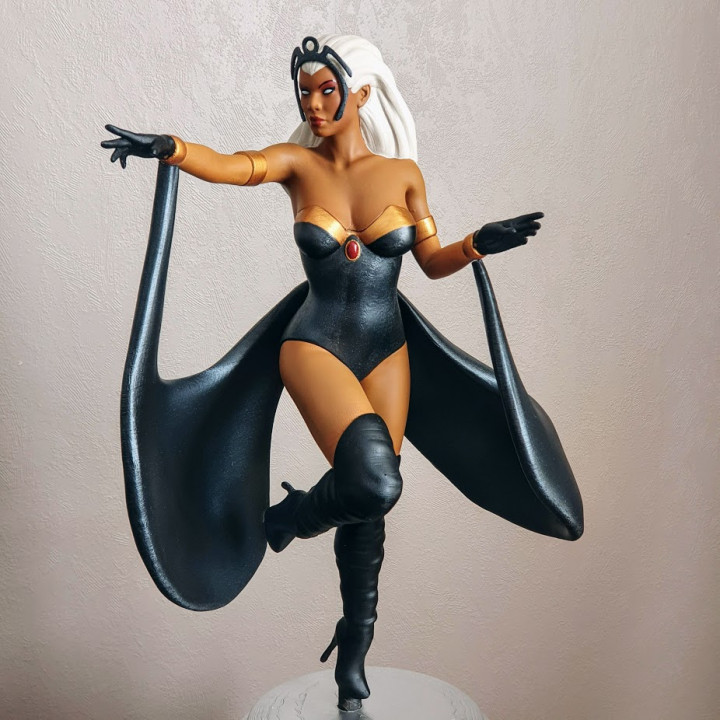
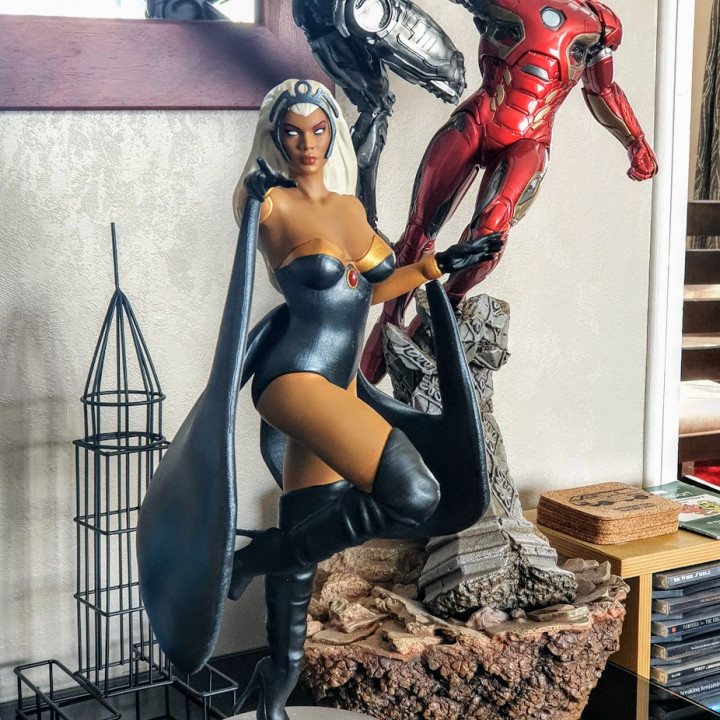
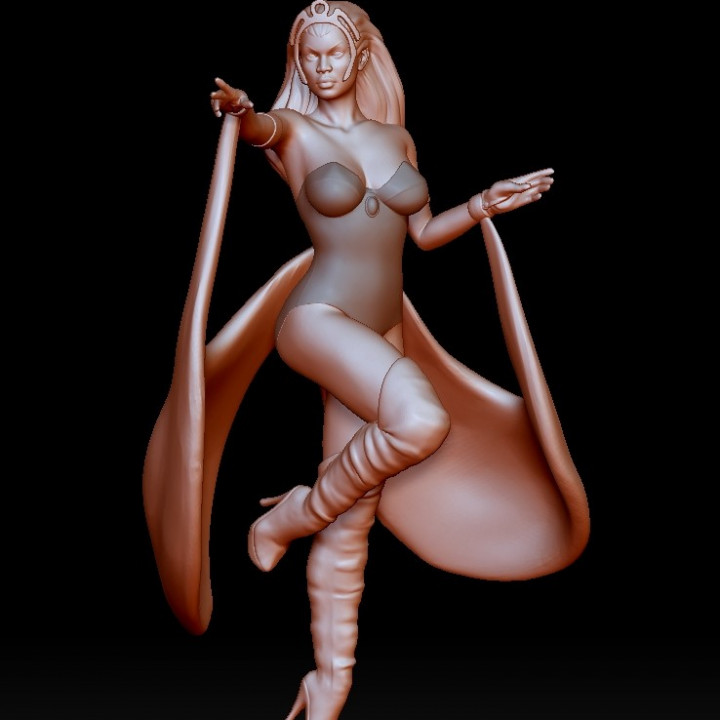
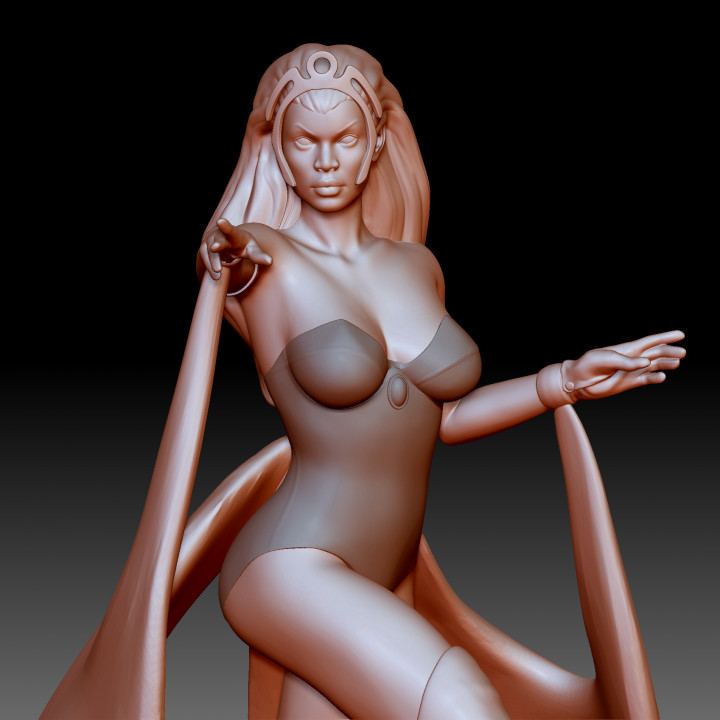
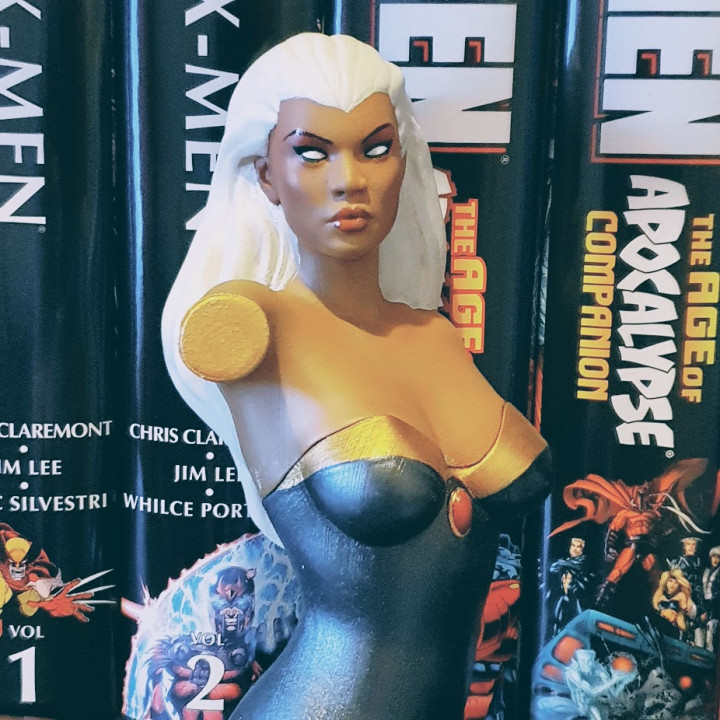
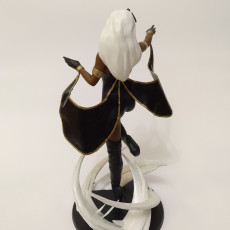
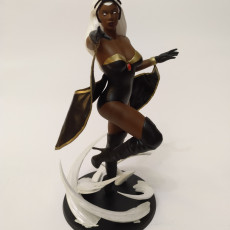
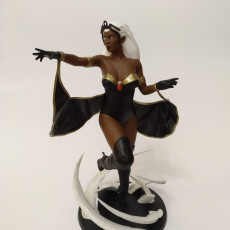
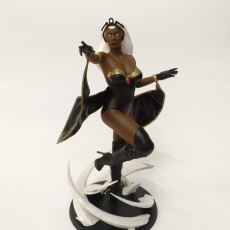
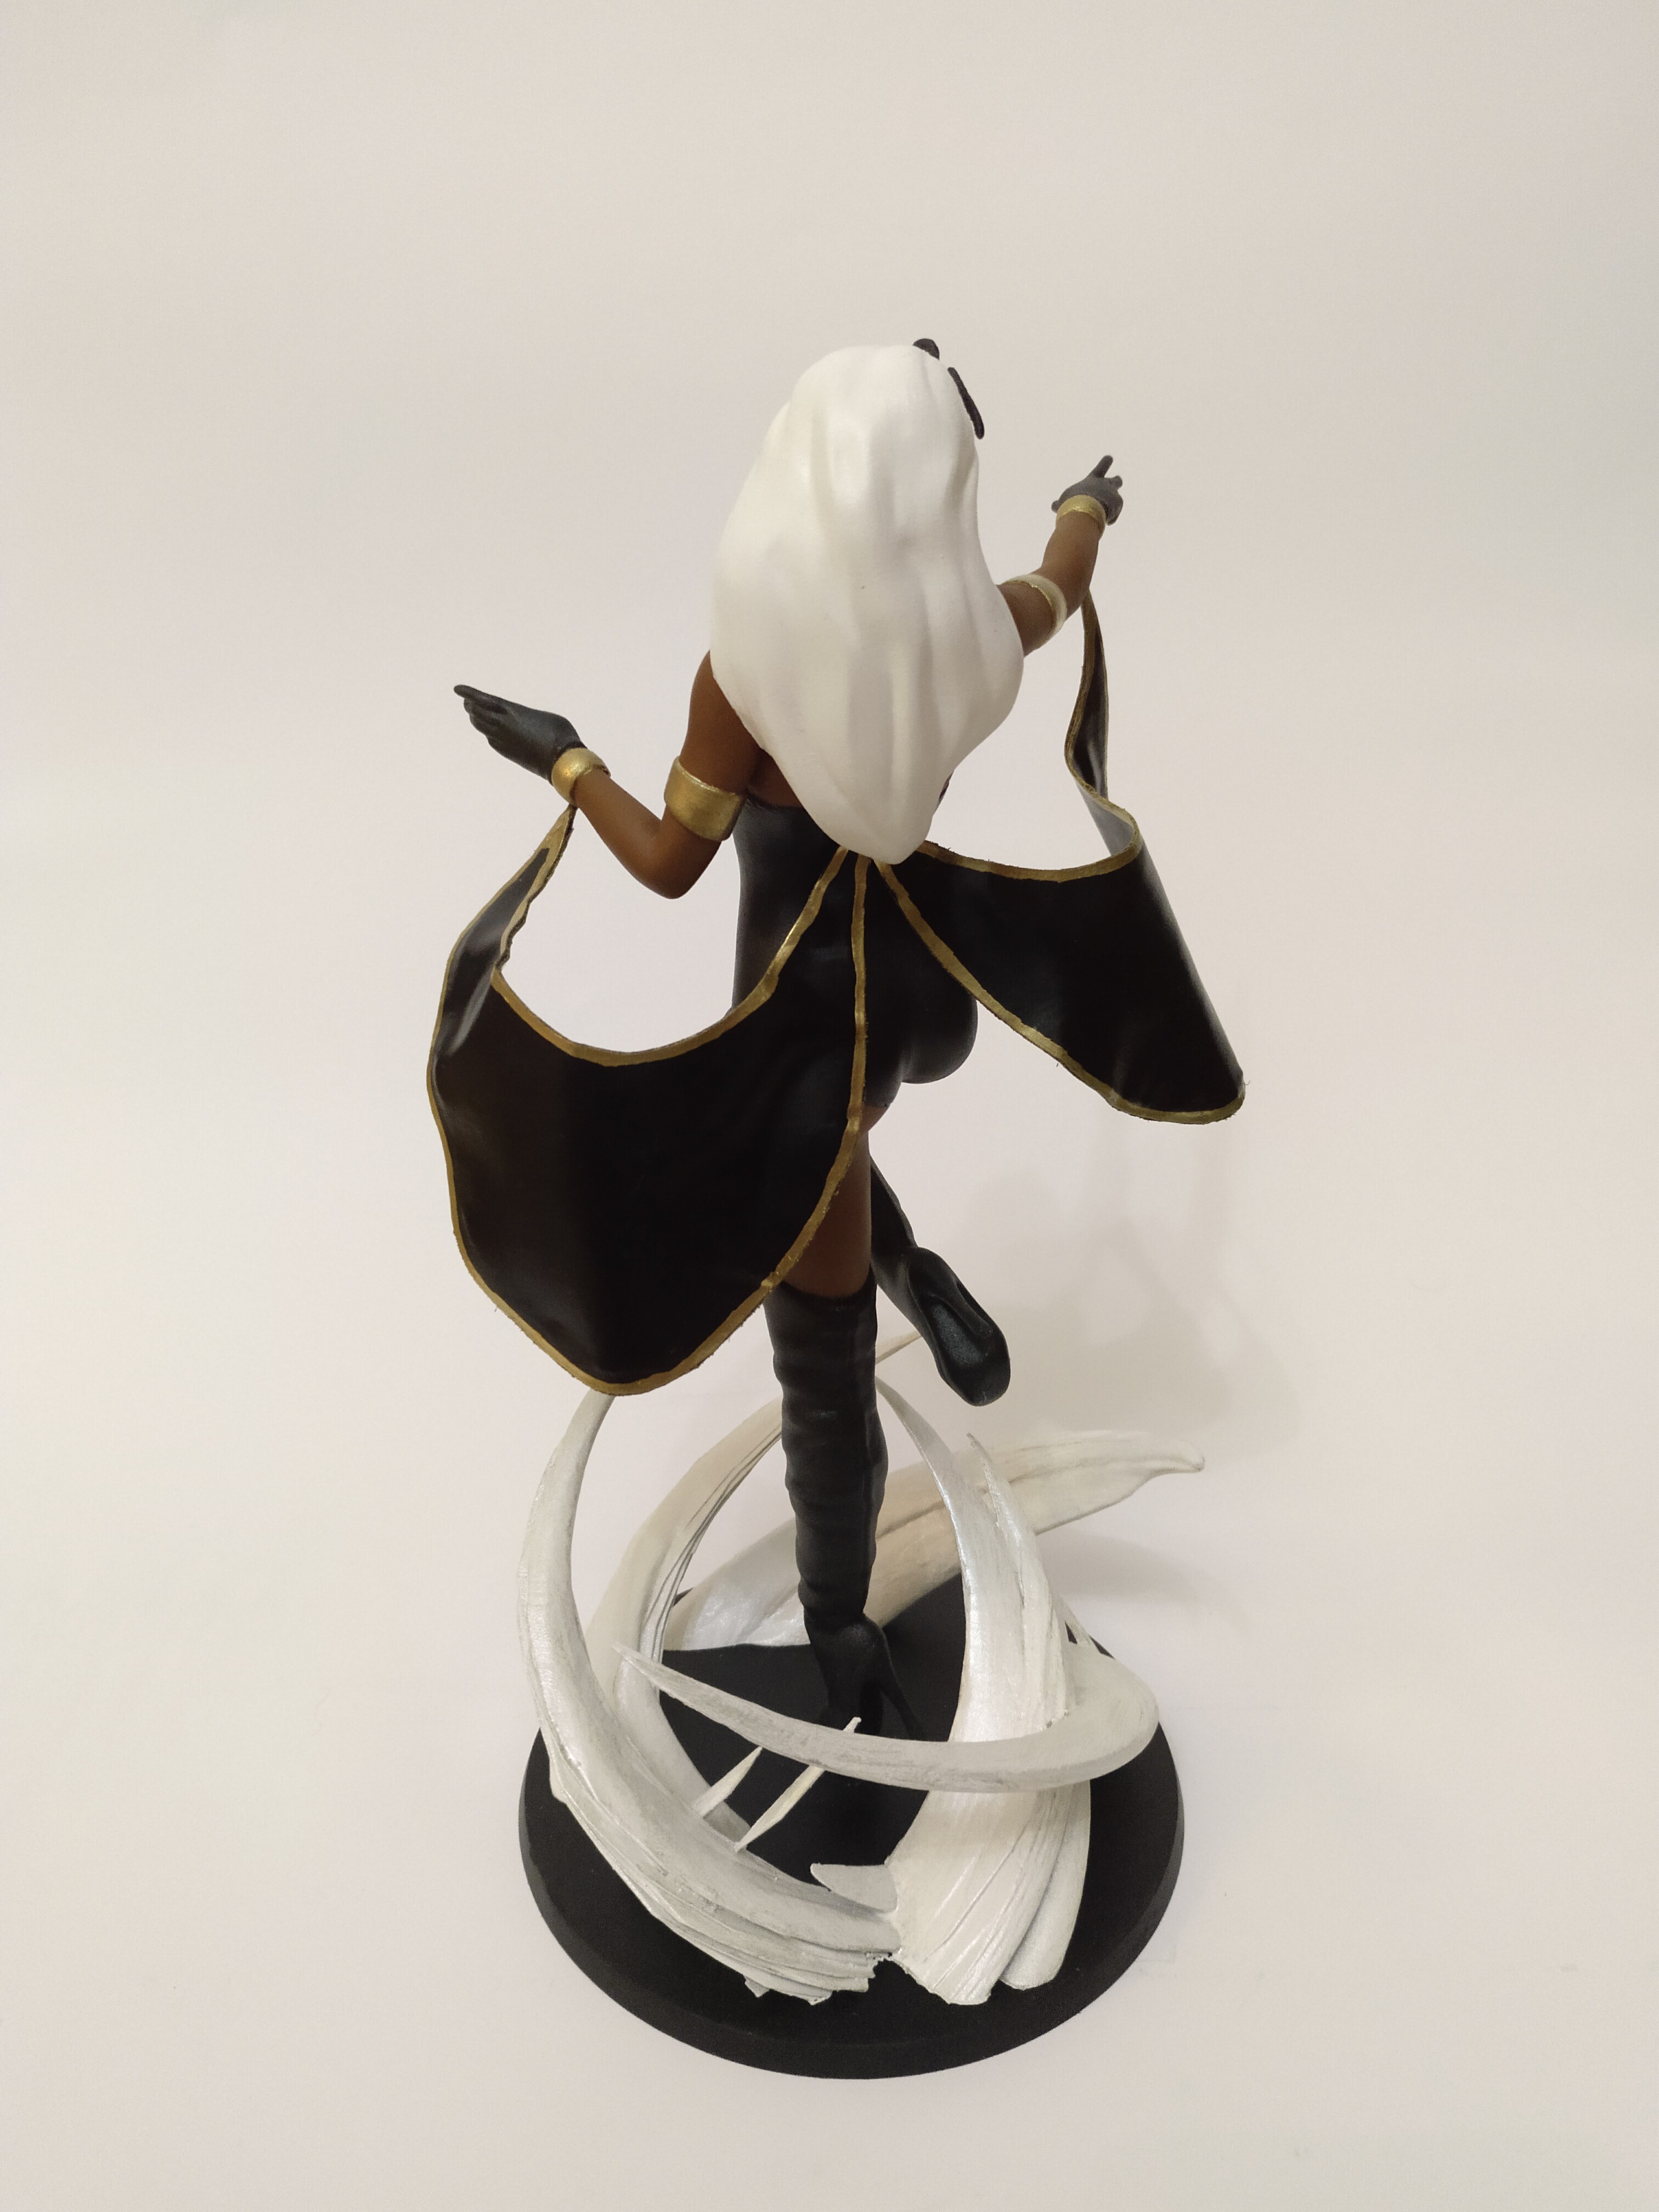
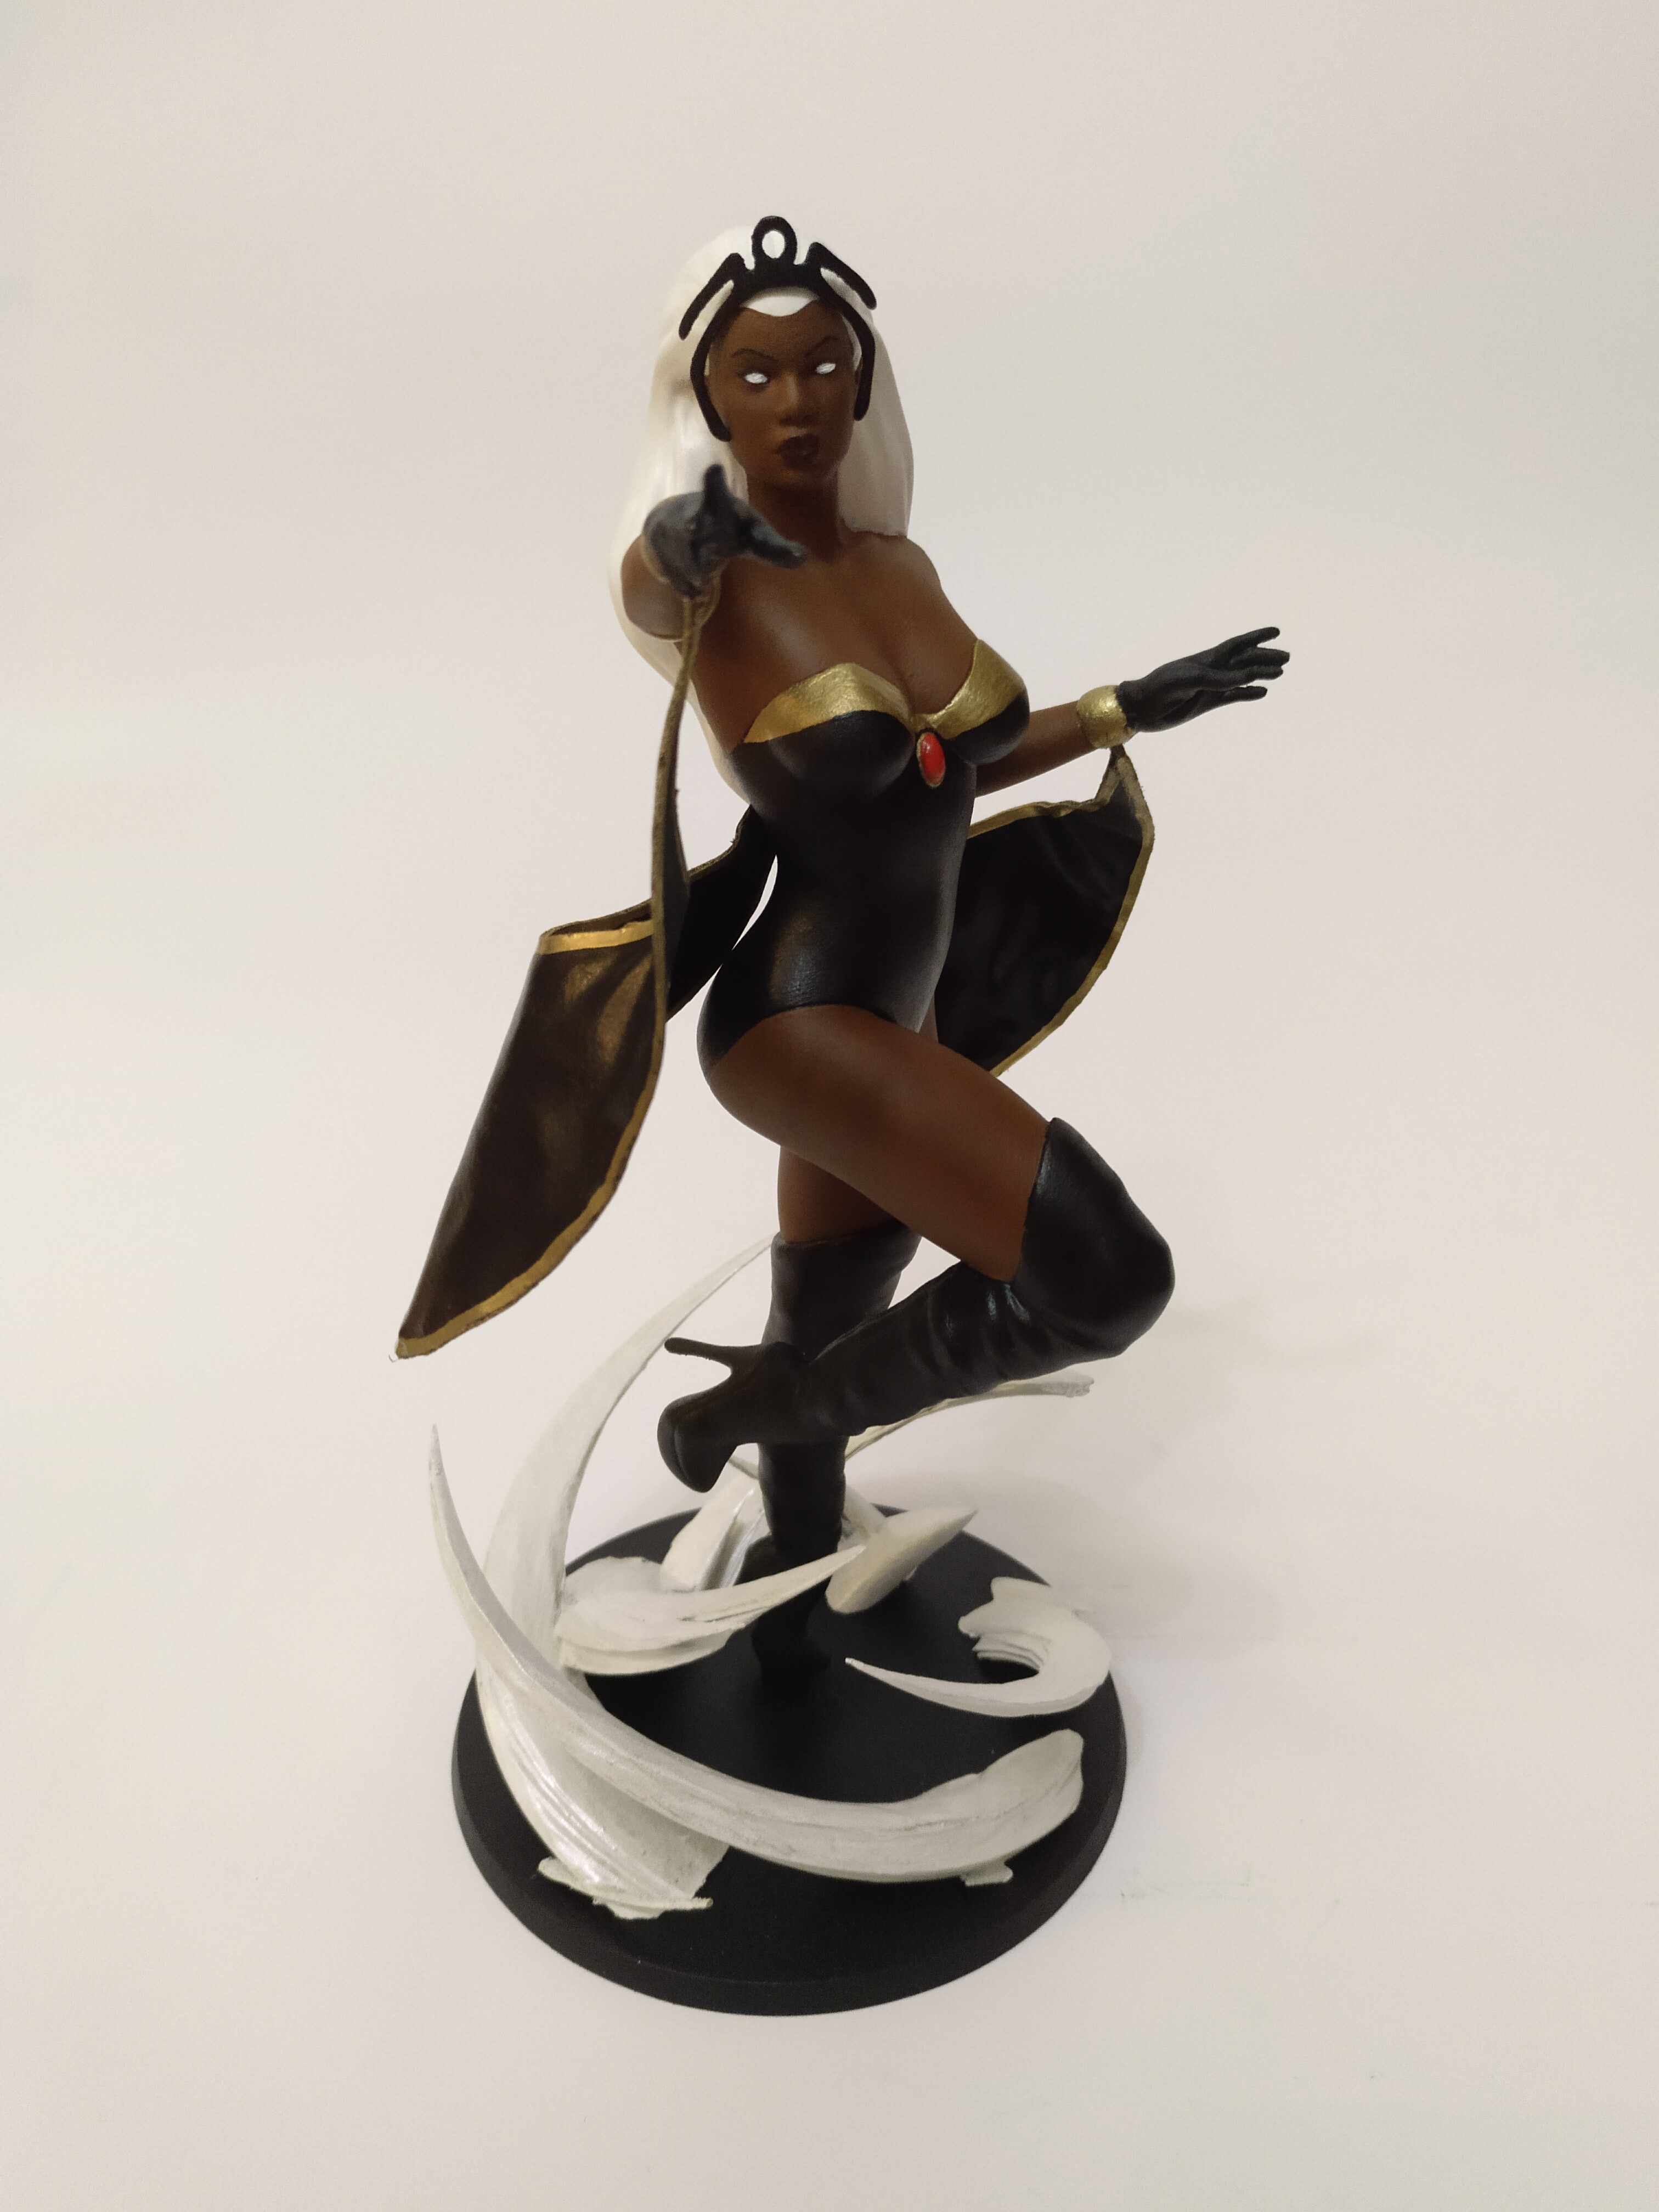
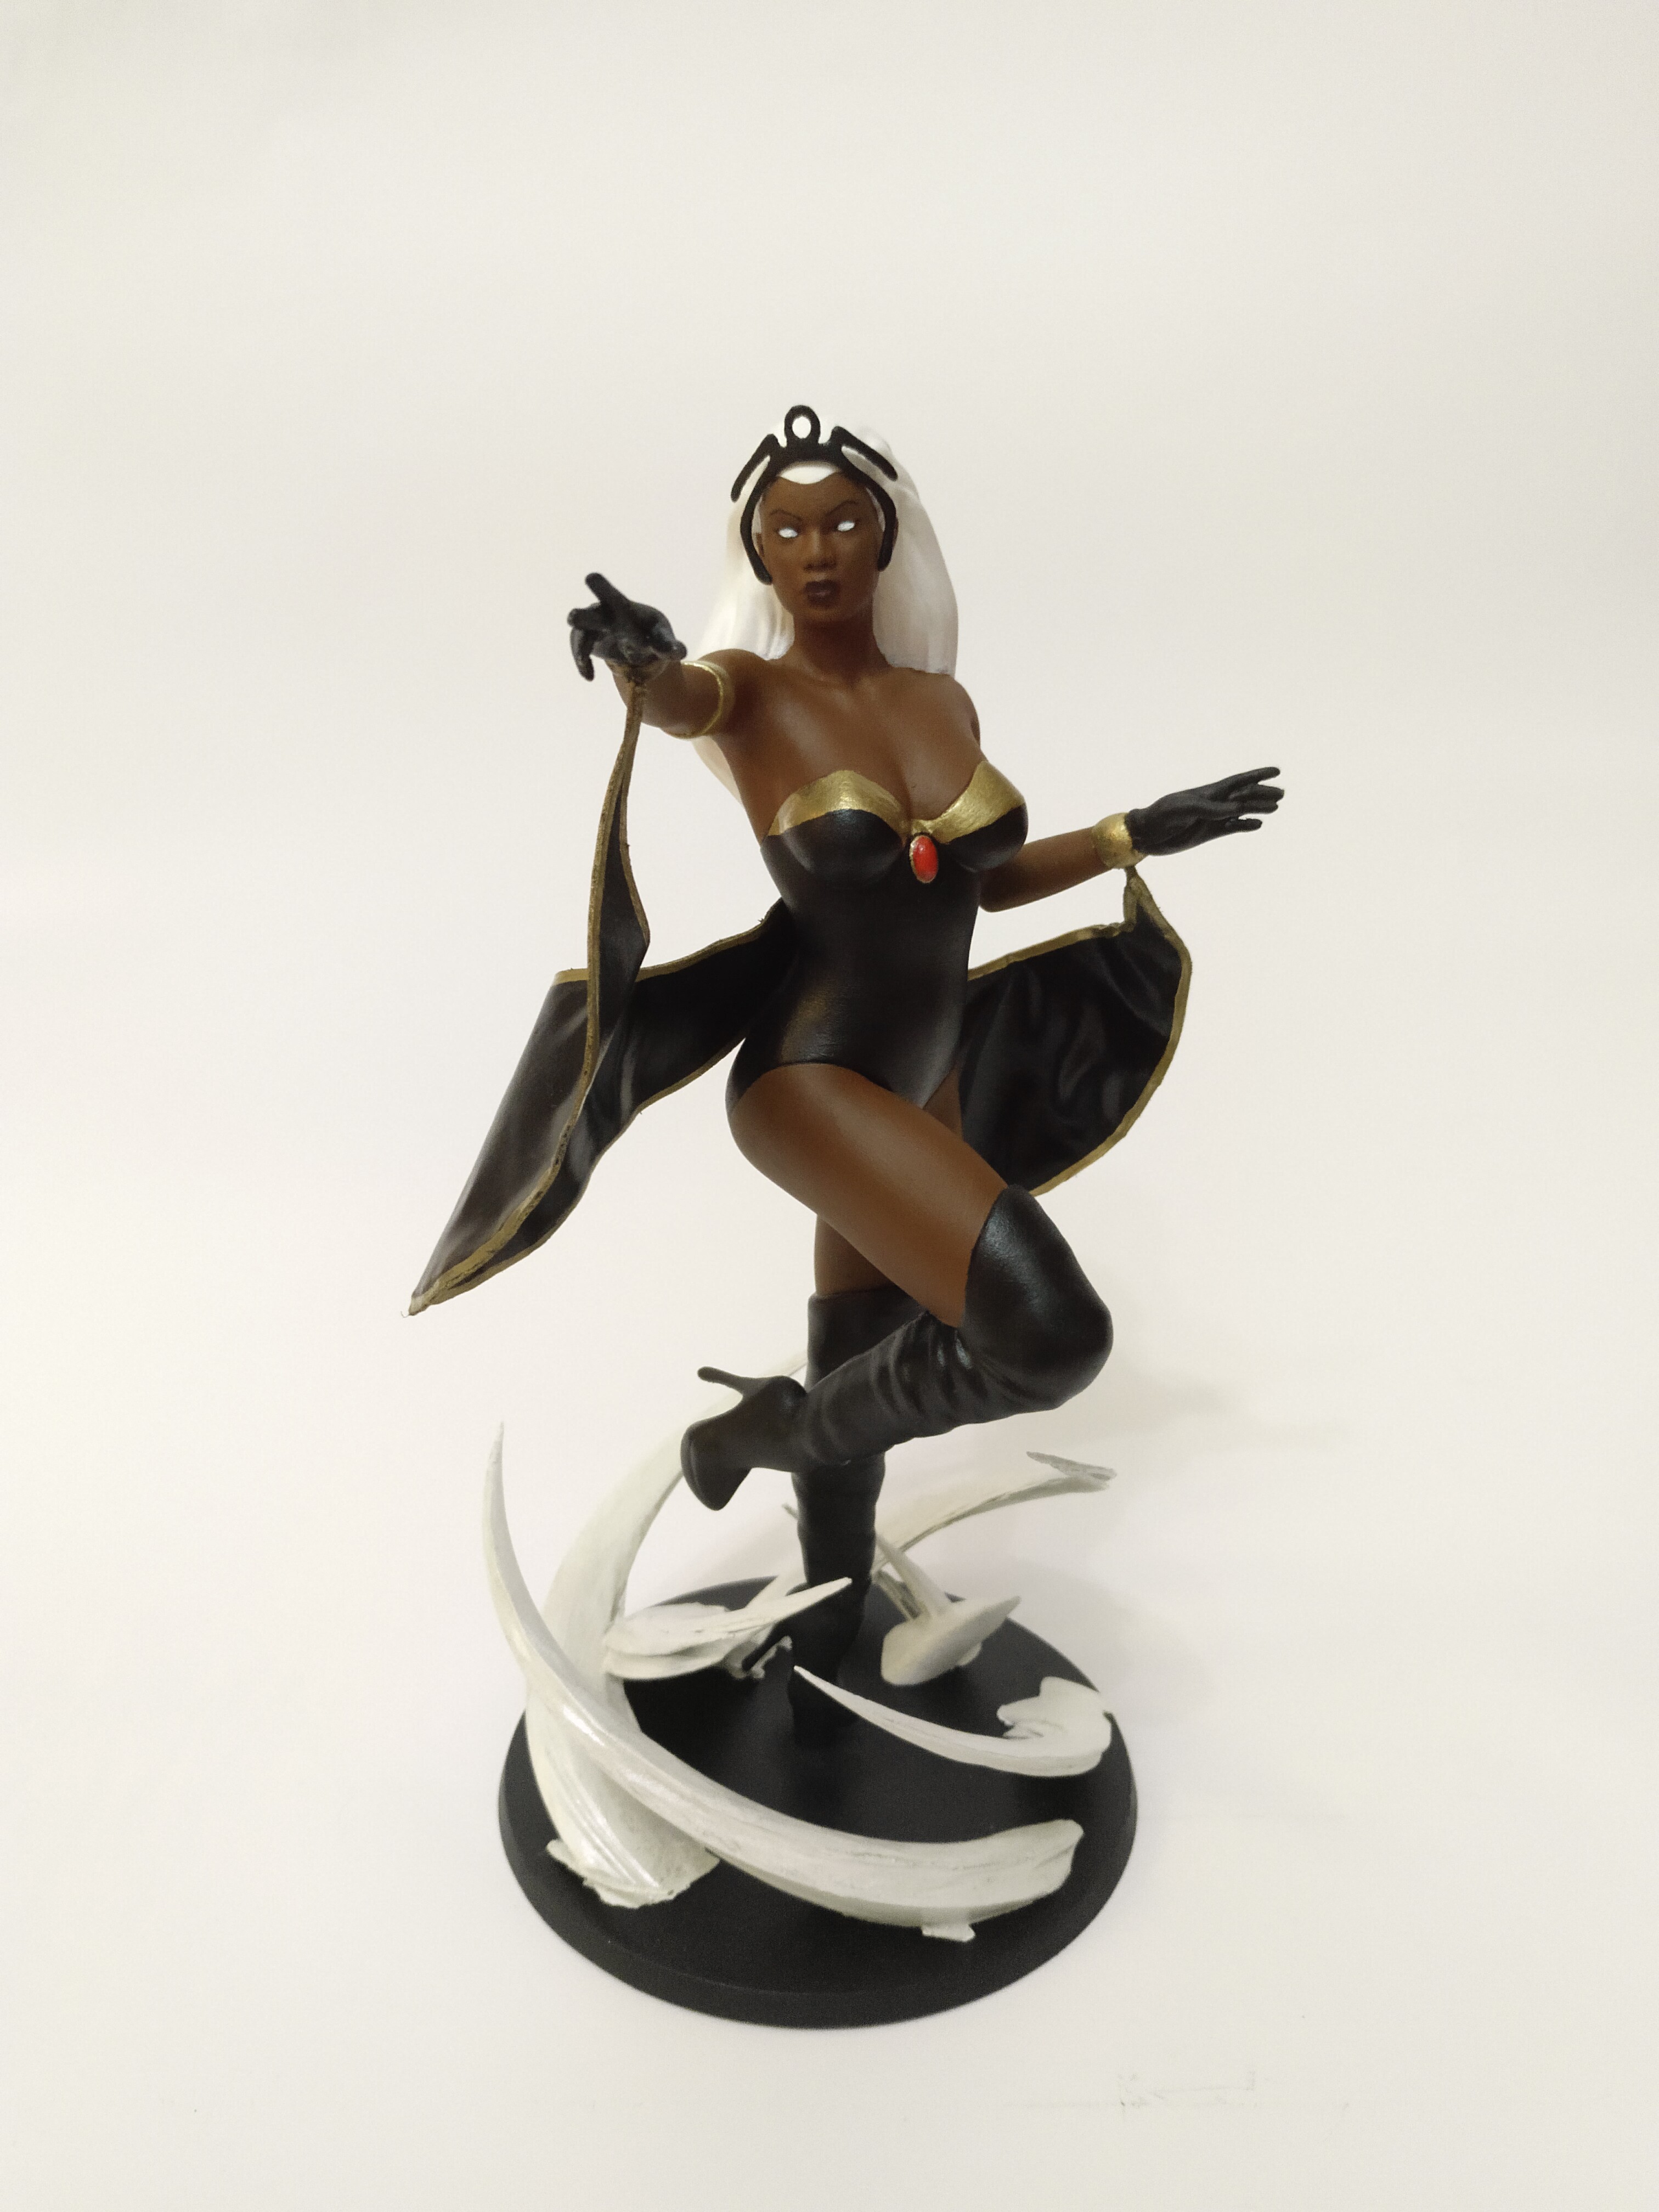
Storm - X-men (please read the printing Tips): This is my custom version of the wind rider Storm, Weather Witch AKA - Storm.
Check my other X-men characters (more coming soon):
Wolverine: https://www.myminifactory.com/object/3d-print-132440
Phoenix - Jean Grey: https://www.myminifactory.com/object/3d-print-124189
Emma Frost: https://www.myminifactory.com/object/3d-print-emma-frost-white-queen-x-men-113107
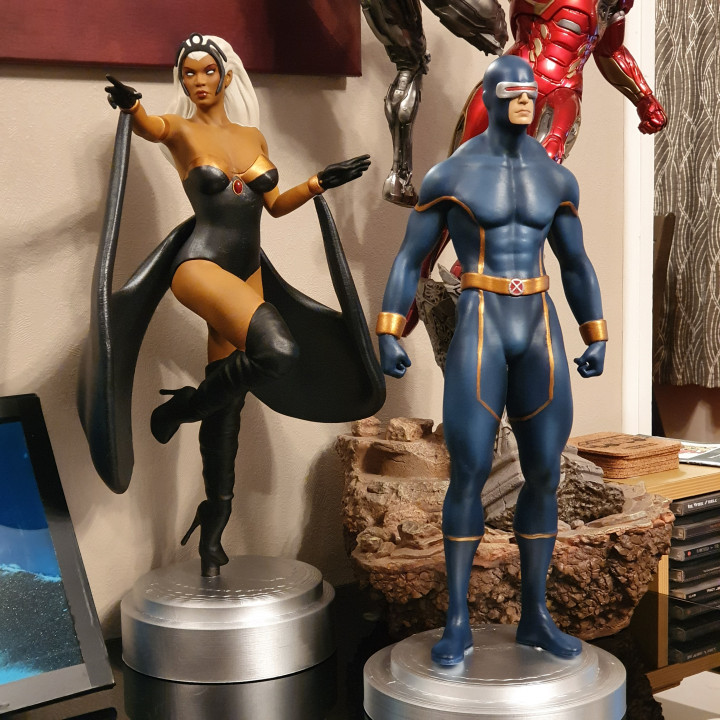
Cyclops: https://www.myminifactory.com/object/3d-print-114192
Kitty Pryde and Lockheed: https://www.myminifactory.com/object/3d-print-117907
NightCrawler: https://www.myminifactory.com/object/3d-print-119568


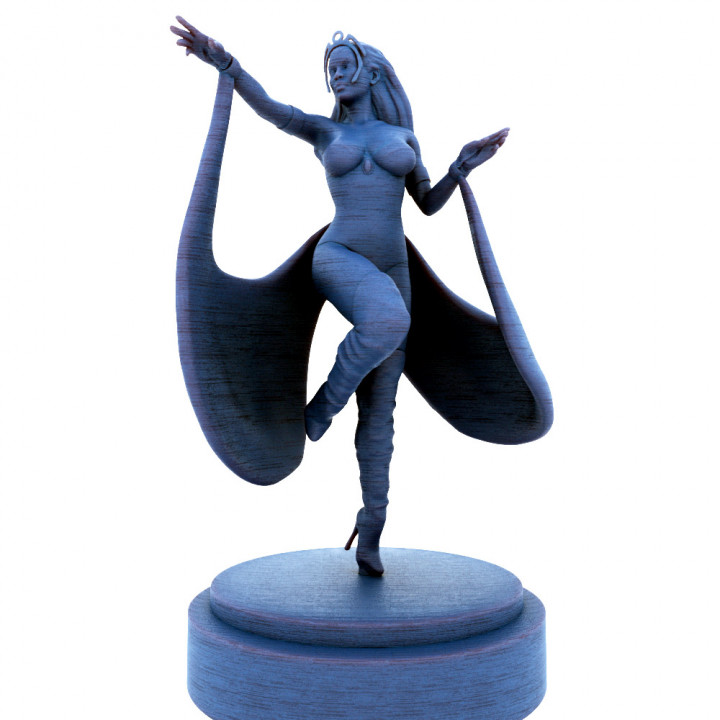
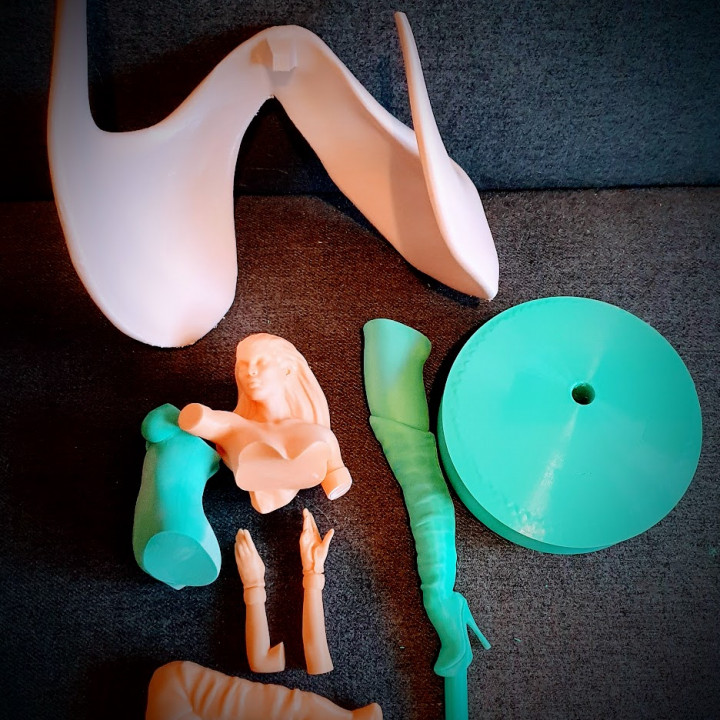
BASE TIPS: the base is not completely flat at the bottom due to how some of the its parts were extruded in maya and zbrush. you may have some adhesion issues in your printer if you dont move the base sliglty down (Y axis) in cura. To do that go to cura place/import the base for storm into your project. Scale the base to whatever size you want to print and rotate it if necessary. Then, go to CURA preferences>general> and untick "automatically drop models to the build plate". Now move the base down slightly so its bottom part is slightly below the "bed" area in cura. this will ensure the bottom is flat and you wont have any problems to stick the base to your printer bed. I used brim when i printed the base on my ender 5.
IMPORTANT: The base hole may be also a bit small to fit the leg pole once it's printed. That's due to a number of factors such as printing the base with a different layer height compared to the other pieces, PLA heat/cooling variantions or inconsitent extrusion ...To avoid that, make the base is slightly larger (you can increase the size percentage in cura for instance) so you wont have any issues fitting the leg into the base hole. If the base hole is too big for the legs when you try to join/connect them together you can roll a seller tape a few times around the leg pole so it will fit properly into the base cavity.
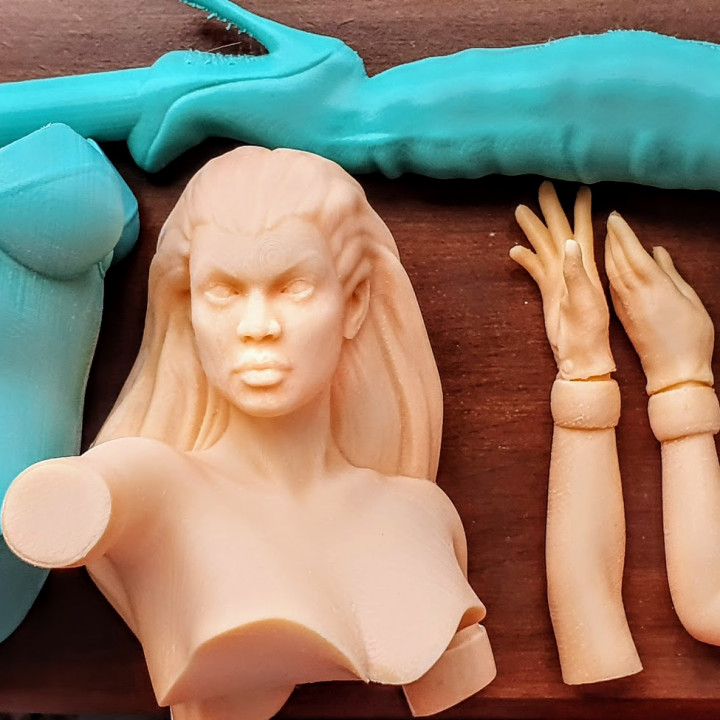
Post-Printing:You will need superglue to join all the pieces together. Make sure you use a strong one such as Loctite all purposes superglue (gel had the best results in my trials) or any similar brand. Avoid epoxy as the parts will need to be clamped for a while in order to work (not an option here due to the nature of the model).
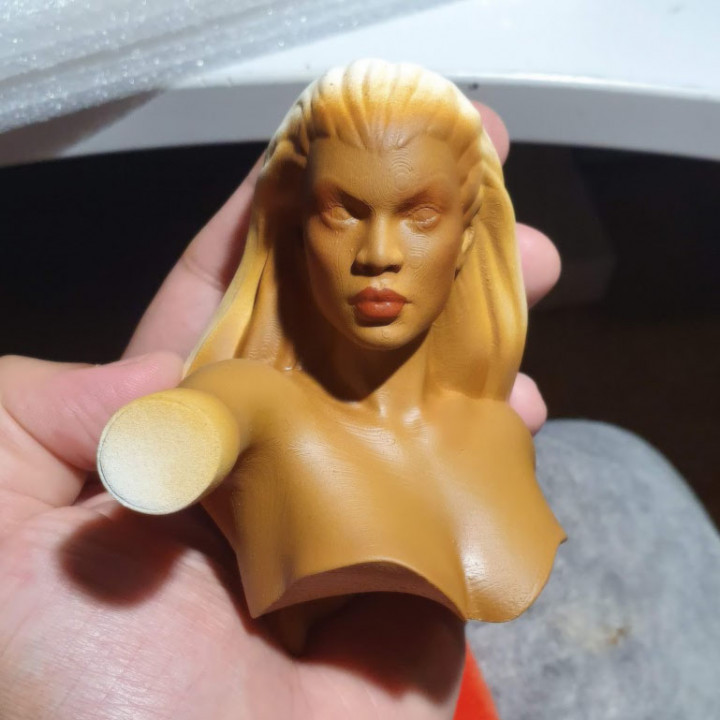
Sanding and priming (ideally with a filler) are a must here if you intend to airbrush it or paint over it.
Painting (paints I used in this figures and alternative/suggestions)
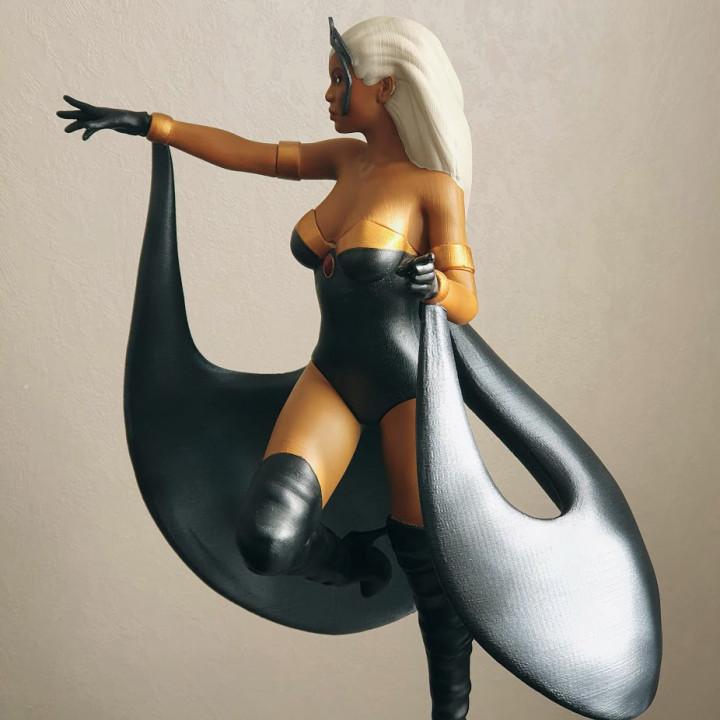
Body: Vallejo air Leather Brown (alternative - citadel xv-88)
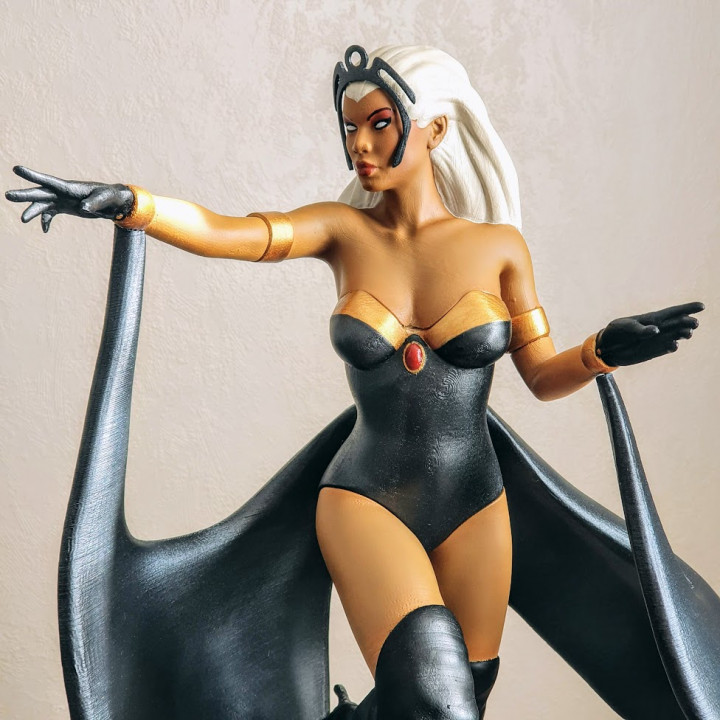
Hair: Citadel Wraithbone (Alternative/suggestion Citadel white Scar (base) shade, Citadel Ulthuan Grey (if you want a darker hair with grey shades)
Lips and EyeShadow: Vallejo terracotta (alternative/suggestion Citadel dethclar brown with a bit of red)
Bracelet, body suit details : Citadel retributory gold
Gloves, cape, boots and bodysuit: Vallejo Metallic Black (alternative/suggestion citadel abaddon black (you can also add a line following the contour of the cape with Citadel Liberator Gold )
Eye: Citadel white scar with tiny bit of grey (suggestion citadel white scar).
Eyeliner: Vallejo air black ( or citadel abaddon black- dilute with water to get a really thin consitency)
Eyebrown: Minitaire ghost tint “Oil discharge” (or abaddon black diluted with a bit of medium).
Chest Ruby Gem: Citadel mephist red
Gloss finish (lips, Eyes and gem): Vallejo Acrylic "Gloss Varnish"
| Date published | 09/03/2020 |

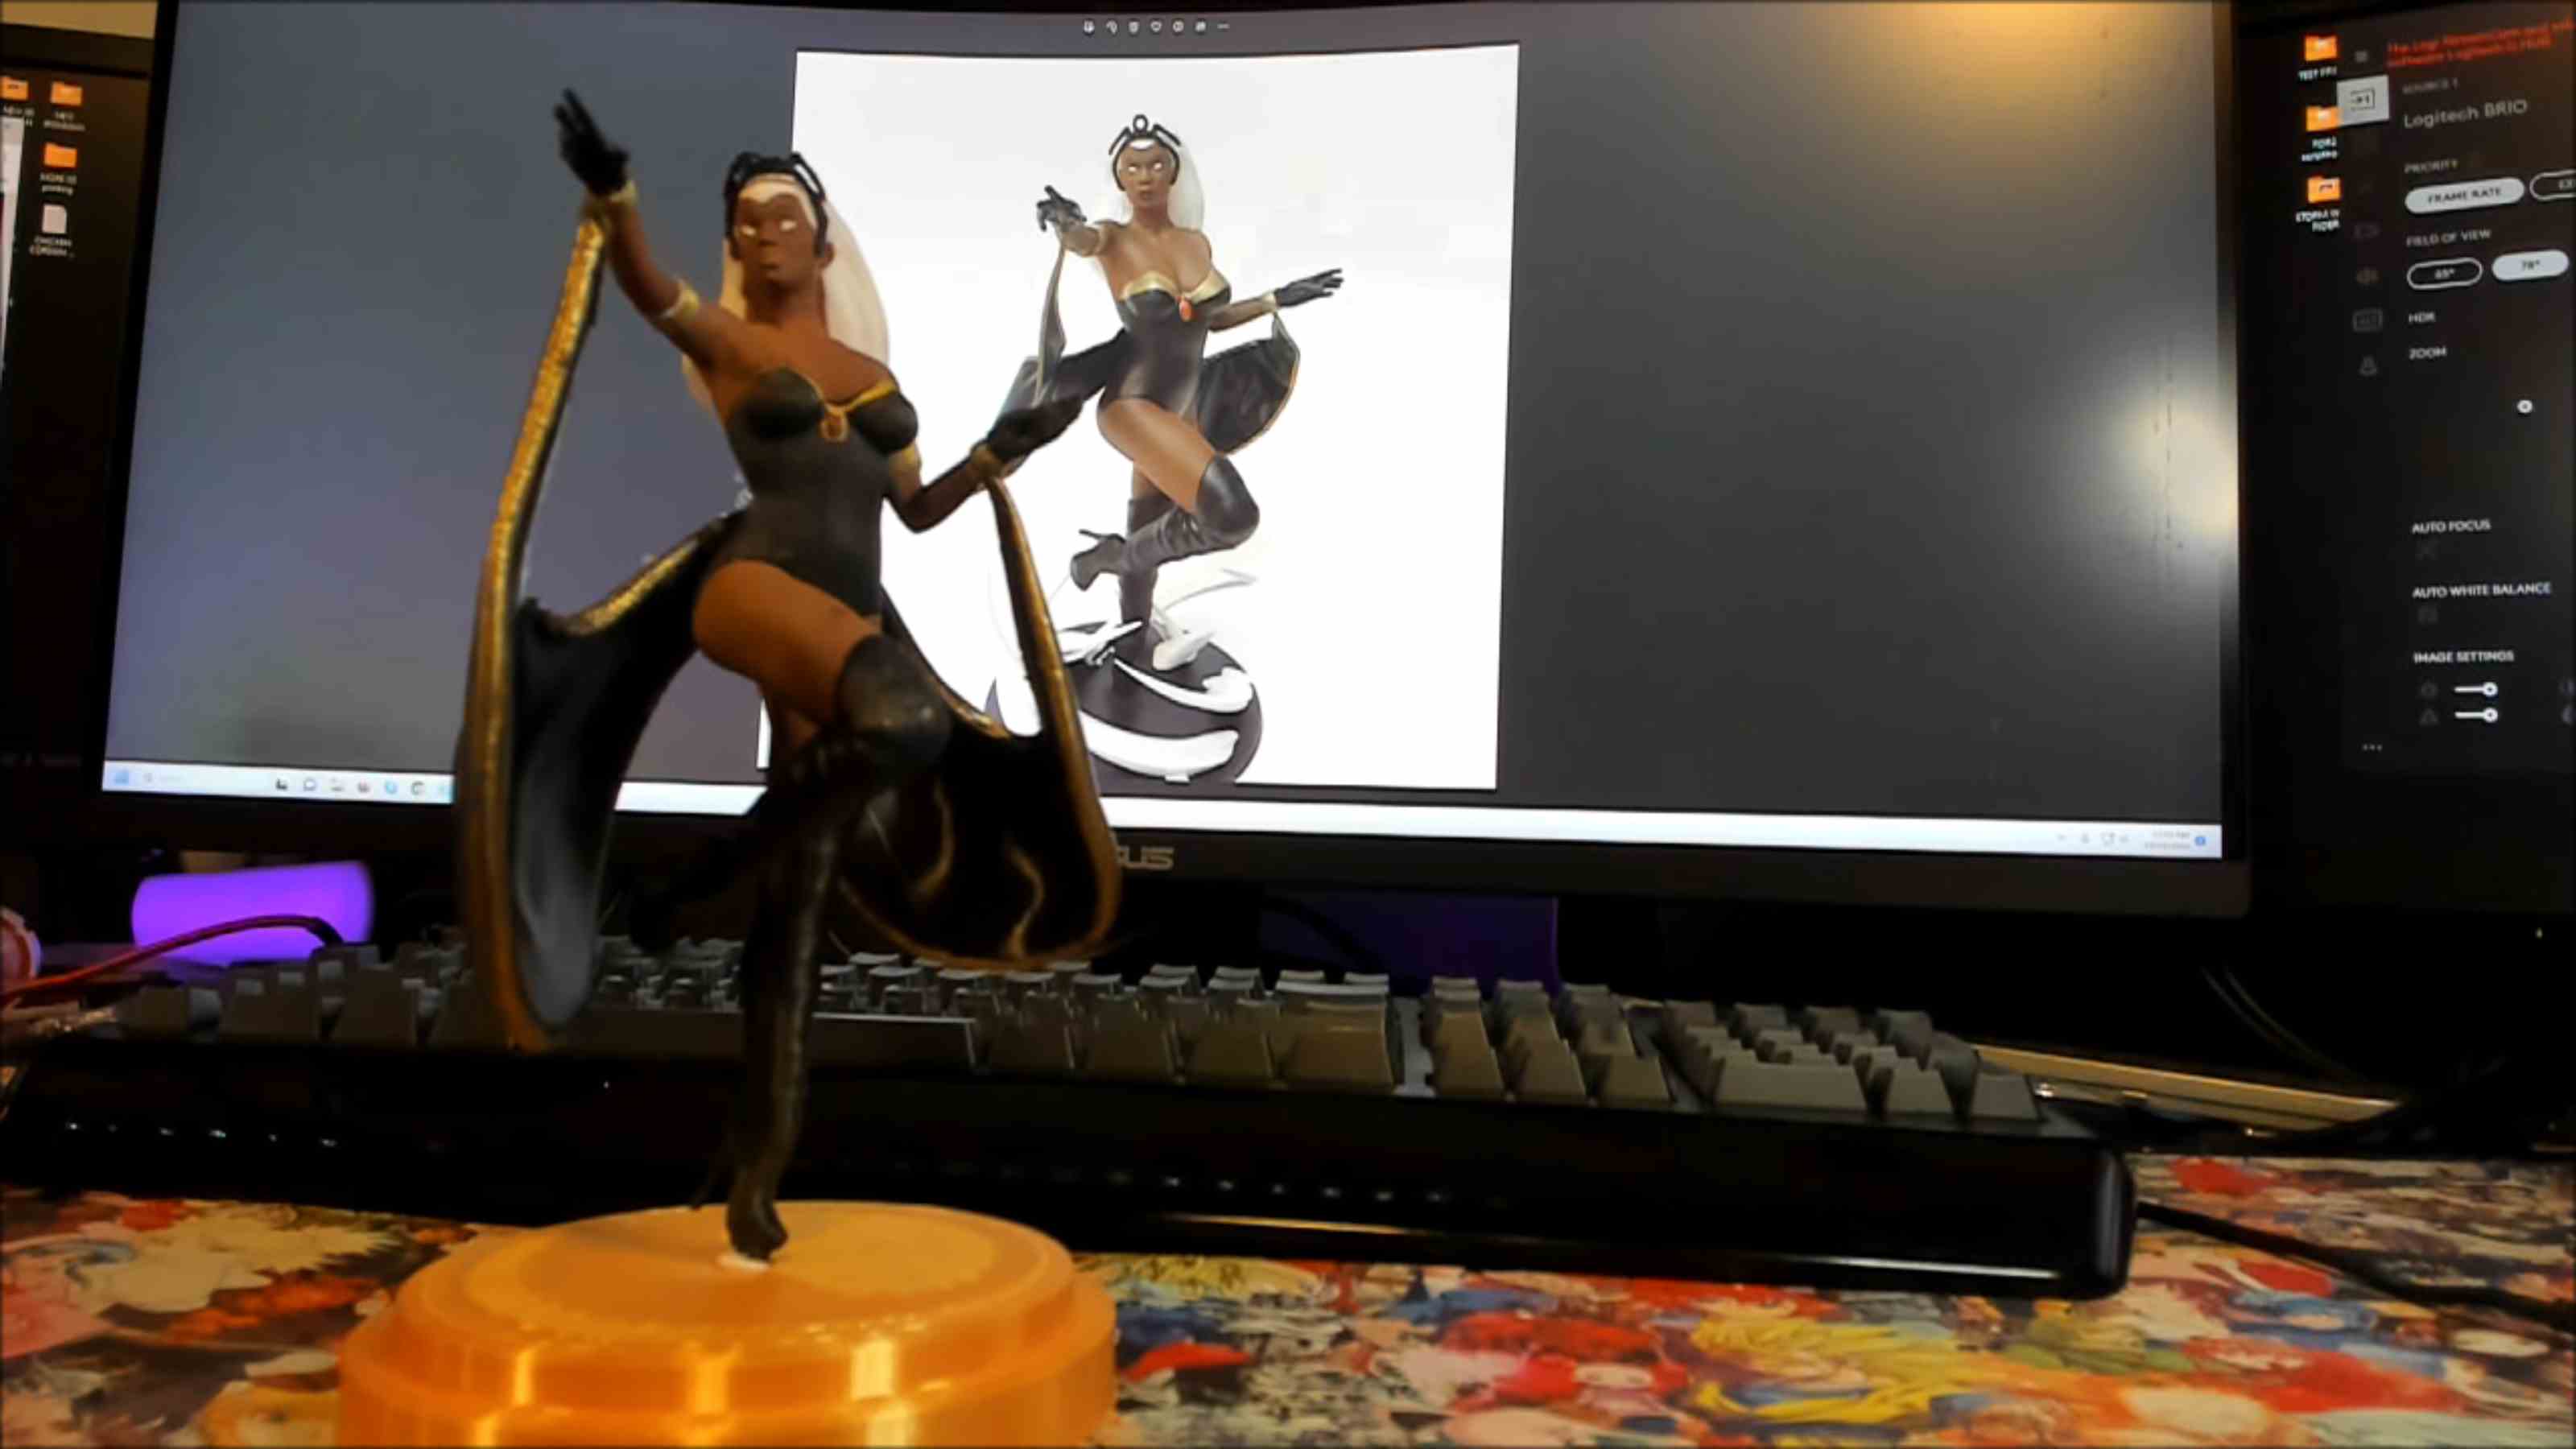

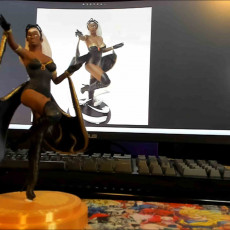
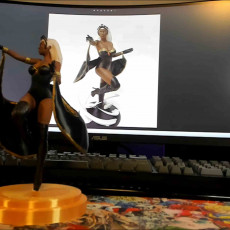
I did this at 200% on the LONGER 5 LK pro only thing I could not get to come out right was the Tiara..