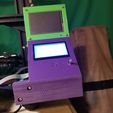
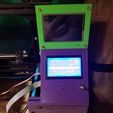
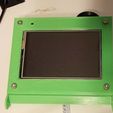
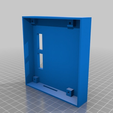
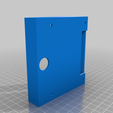
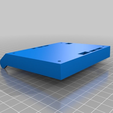
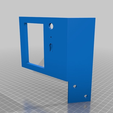
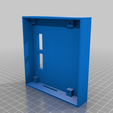
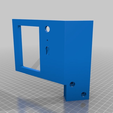
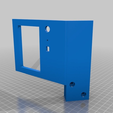
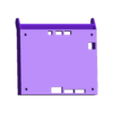
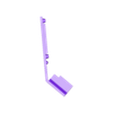
You have upgraded your Ender 3 to a great 32 bit SKR 1.3 board and you're missing the ease of use of the SD card... not to worry, the Ender 3 will EASILY use the RepRap Discount Full Graphics Smart Controller display. Here's a way to mount it onto your Ender 3 just like the stock display. Oh, and as a side benefit, you can also mount a BIQU TFT35 display right along with it.
Please consider providing a Tip for the Designer as I am on a very limited Social Security income. I do these designs because I have fun doing them and I could use a little money to buy filament to do my test prints. You may also send an Amazon Gift Card to benebrady@gmail.com
IMPORTANT NOTE!
When attaching the TFT back to the back of the RepRap display cover, make sure you insert the screws from the INSIDE of the case outward and put nuts on the outside. You may not have enough clearance to put the nuts on the inside between the inside of the case and the display adapter PC board. A rounded screw head fits fine, but a CAP HEAD screw head will NOT fit there.
Also note, the power cable for the TFT display comes out of the TOP of the back of the case, if you have it coming out of the bottom of the case, your display will be upside-down when you power it up. Don't say I didn't warn you!
This has been quite a project, I've got about 10 different test prints (each of them between 8 and 13 hours) getting this to work correctly.
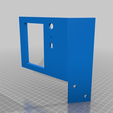
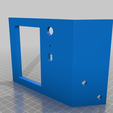
First, I had to model the front of the display to accommodate the RepRap Discount Full Graphics Smart Controller and then I also decided it needed a back to protect the circuit board. Done...
Then I decided to tackle the problem of mounting a TFT35 touch screen display on the Ender 3. The ONLY LOGICAL place was on top of the RepRap display. (Yes, I could have mounted it on the other extrusion, but it would have looked bad.) So I crafted a way to mount the TFT 35 display. The problem then became the back of the TFT display case would hit the X gantry as it moved up and down.
I changed the display angle of the RepRap display, but even 5 degrees wasn't enough and I didn't want to raise the display angle more than that because it was now a lot more confortable than the original Ender 3 display.
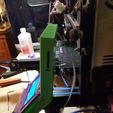
Changing the display angle gave me just enough clearance to barely touch the X gantry. Not quite good enough. So, I went back to the drawing board and figured out a way to move the RepRap display FORWARD by making the mounting to the 40 x 40 extrusion thicker from front to back. I made it 20 mm, because the angle was still being taken into account. 20 mm allowed me to get the TFT screen on without hitting the X gantry, but there was only about 2 mm to spare. I wanted a better margin than that.
I added 5 mm to the back of the mount to bring the display out front further. This tended to make things a little shaky when manipulating the knob on the display. So I had to figure out how to stabilize the display on the 40 x 40 extrusion. I got that printed and though, great, time to relax... Nope... I didn't have screws long enough to mount through 25 mm front to back on the mount. I didn't want to have to go out and by more screws because I had plenty of 5 mm x 20 screws available.
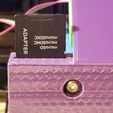
The answer was to recess the screw holes. I did that and printed it again... and I added a small place on the top of the 25 mm mounting surface to store a full sized SD card or microSD card adapter, since the RepRap display could use a full sized card/adapter.
Finally got it printed (see the pictures) and there is ample clearance between the X gantry and the back of the TFT display and the viewing angle for the regular display is much improved. I hope you like what I've done. Be sure to make a longer cable for the TFT 35 display to go all the way back to the board.
I've also added a solution to add the RepRap display to an Ender 5 with the TFT display as well.

/https://fbi.cults3d.com/uploaders/13570141/illustration-file/d51e8c06-6a09-4c18-a835-ed9a5bf685cc/20190609_094925.jpg)
