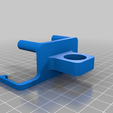
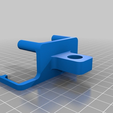
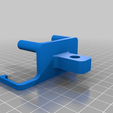
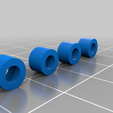
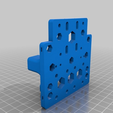
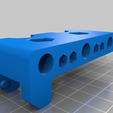
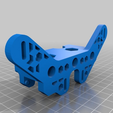
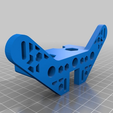
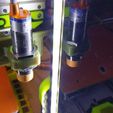
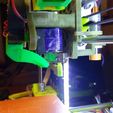
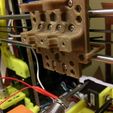
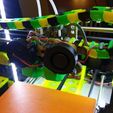
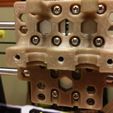
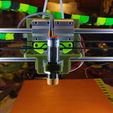
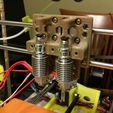
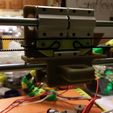
This is a remix of my own thing, I know...https://www.thingiverse.com/thing:2734717
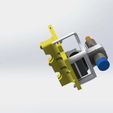
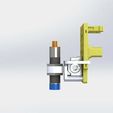
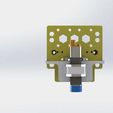
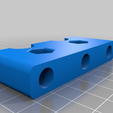
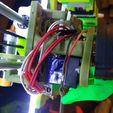
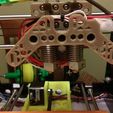
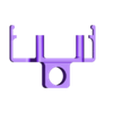
Anyways I made one with a rear sensor setup. The screw holes are sized for 3mm self threading style screws. The instructions below are from the other head. I printed this with supports touching build surface on the sensor mount and all on the rest of it.
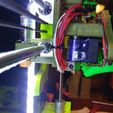
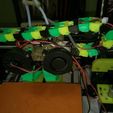
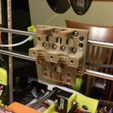
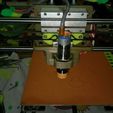
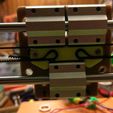
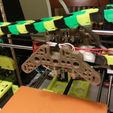
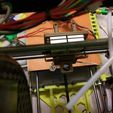
I took pictures of the install on my A8. Have a look and let me know what you think!
Here's the timelapse: https://youtu.be/A8XjzGNs6aw
Now, my opinion is that the sensor is too far away with this setup. I like it otherwise though. Looks sweet in brown to green thermal color change. I did design a new variation here:
https://www.thingiverse.com/thing:2766701
This one puts the sensor front and center. It's longest distance from the head is 17mm.
All instructions are for the Anet A8.
This includes guides like my thing https://www.thingiverse.com/thing:2732685 built into the mount.
Get the latest Skynet3D firmware from https://github.com/thijsk/Skynet3d and please update your firmware as follows:
Enable RAMPS boards, this is for the common ones like https://goo.gl/XW91zh [Amazon.com link] PLEASE pay attention and be sure to choose the correct code for your motherboards. See boards.h in the Skynet firmware for a list.
define MOTHERBOARD BOARD_RAMPS_14_EEB
Enable dual extruders:
define EXTRUDERS 2
Offsets for the extruders:
define HOTEND_OFFSET_X {0.0, 35.00}
define HOTEND_OFFSET_Y {0.0, 0.00}
For the probe it's :
define X_PROBE_OFFSET_FROM_EXTRUDER 17.5 // X offset: -left +right [of the nozzle]
define Y_PROBE_OFFSET_FROM_EXTRUDER 71 // Y offset: -front +behind [the nozzle]
define Z_PROBE_OFFSET_FROM_EXTRUDER -0.5 // Z offset: -below +above [the nozzle Set this to your machine. I used a .5mm thick print put between the bed and probe with the nozzle touching the bed to start.]
And the travel limits are:
// Travel limits after homing (units are in mm)
#define
X_MAX_POS 240
#define
X_MIN_POS -15
#define
Y_MAX_POS 230
#define
Y_MIN_POS -13
#define
Z_MAX_POS 230
#define
Z_MIN_POS 0
You also must set
// Set the boundaries for probing (where the probe can reach).
#define
LEFT_PROBE_BED_POSITION 20
#define
RIGHT_PROBE_BED_POSITION 200
#define
BACK_PROBE_BED_POSITION 210
#define
FRONT_PROBE_BED_POSITION 60
I have made a guide in PDF form available here https://goo.gl/1s8jSR for setting the offsets. You will need a serial connection to your printer and I found using Octoprint is really easy.
I am running RAMPS 1.4 with Skynet firmware.
Anyways, this is getting out of hand so here's the important stuff:
Many models to choose from!
- 18mm sensor
- 12mm sensor
- 8mm sensor
Then choose you cap:
If you go with one with a chain mount I suggest the X axis chain links from https://www.thingiverse.com/thing:2193695 This is what I remixed from. You may get the other end mount from here or use mine at https://www.thingiverse.com/thing:2762145
Then choose you print settings:
Choose .AMF or .STL. I found .AMF more accurate and works in Cura.
Made one at .4mm Nozzle, .2mm step, 1.6mm wall and 30% fill worked great
Made a second at .4mm nozzle, .2mm step, 1.2mm wall and 15% fill, worked just as good.
- Do your own of course! You guys know what's what.
You will need:
1) E3D style extruders
2) RAMPS 1.4 or 1.5
3) Marlin/Skynet firmware
4) 40mm M4 Screws and Nuts for the cap, 3 of them
5) 50mm blower fan
6) Wires, connectors, crimpers, and a soldering iron help.

/https://fbi.cults3d.com/uploaders/16051940/illustration-file/adce8a87-3a34-49e3-a61b-bc72daebd4f1/Rear_Sensor_Lion_Mount_3.JPG)
