#How
to setup Octoprint with GPIO control!
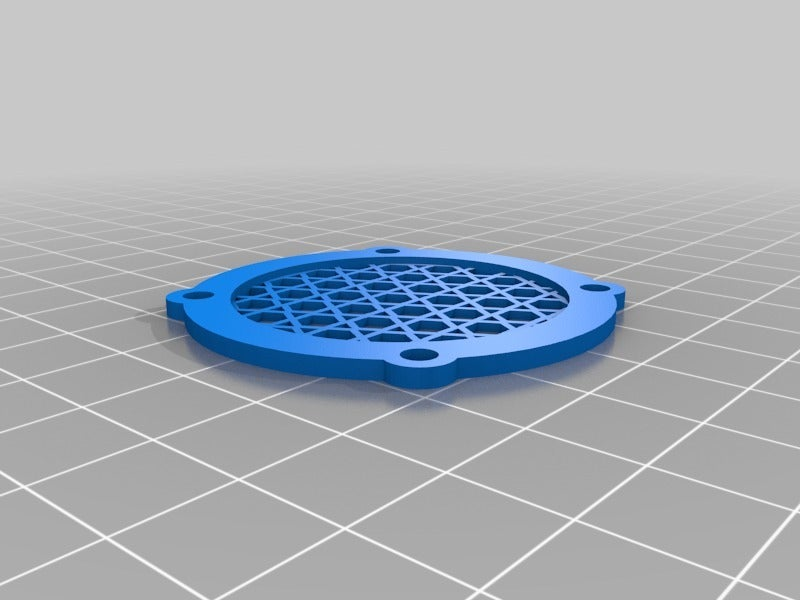
Download for copies of the pictures and a text file with the code in it as well as a bonus 40mm fan grill!
See the RAMPS tutorial here! (https://www.thingiverse.com/thing:2784817)
See the Marlin Firmware tutorial here! (https://www.thingiverse.com/thing:2783450)
This is all about how to use a Raspberry Pi 3 or 3B+ as an Octoprint server on your 3D printer!
#Bill
Of Materials
Let's start with what you'll need.
**A note on power of the computer! Octoprint takes some grunt to run. It's live sending commands to the printer and especially with camera doing time lapse a Raspberry Pi 3 or something similar or better is highly recommended. I use Raspberry Pi 3B+ and Orange Pi Plus 2E with 2gb RAM. You can search and find ready to use disk images for many single board computers and instructions to setup Octoprint on Debian.
#How
to!
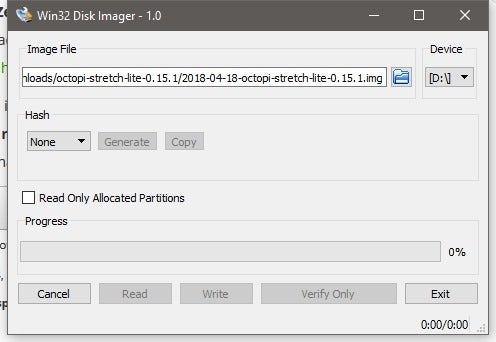
First thing first, burn Octopi on your SD card! You can use a program like Win32 Disk Imager to do this or your favorite disk writer!

Once that is done keep the card in your PC. Browse to it and you will see a file named "octopi-wpa-supplicant.txt" on there. Open and add your WiFi details as follows:
network={
ssid="Your Wifi SSID"
psk="supersecretwifipassword"
}
Be sure to set your WiFi country in that file as well!
Save this file and safely eject the SD card before you remove it to install in the Raspberry Pi.
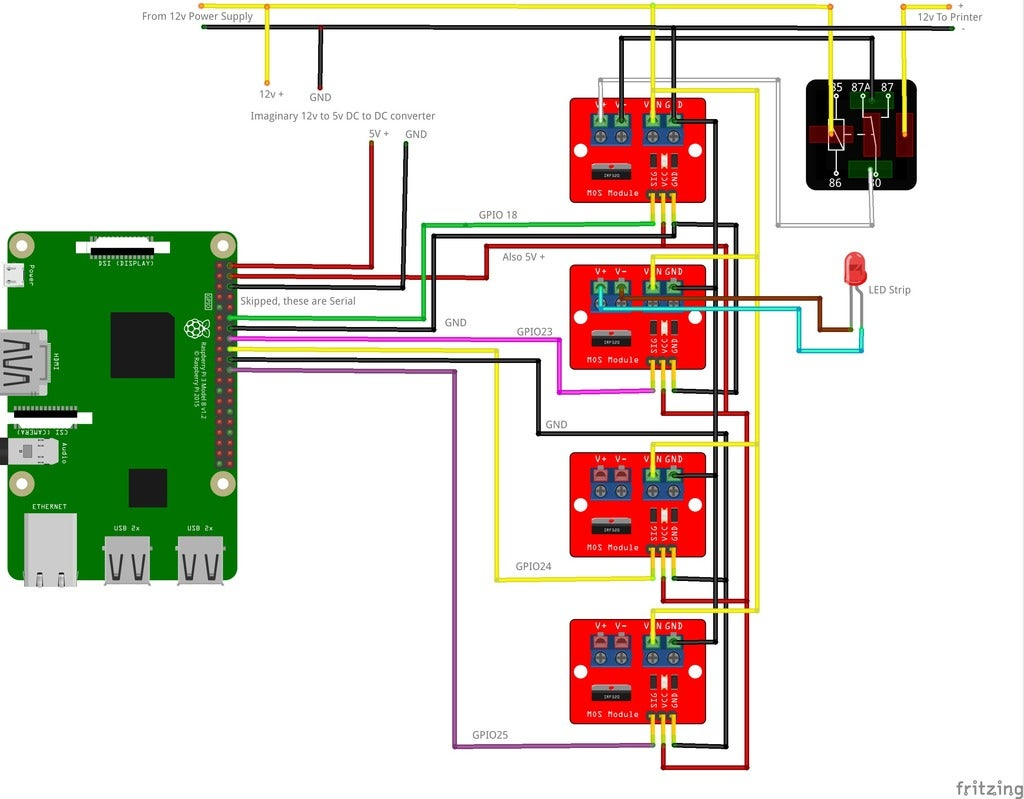
#Wiring!
This is not as intimidating as it looks I promise!
Let's start with that 5v supply for the Pi. Since in this guide we will be cutting the printer power you need to install the heavy duty 12v relay between the printer's main positive power feed and the power supply.
#Note!
The USB cord wil;l power most boards, including RAMPS! You may need to peel back some of the outer insulation on the USB cord and snip the Red wire inside to prevent the USB port from keeping the board on when you use your relay control to turn it off.
Before the relay you need to tap 12v to power the voltage converter if you are using that to power the Raspberry Pi.
Let's look at the basic schematic:

Here you can see the MOSFET boards, the Pi, Voltage converter and main power relay hooked up as you would on the printer.
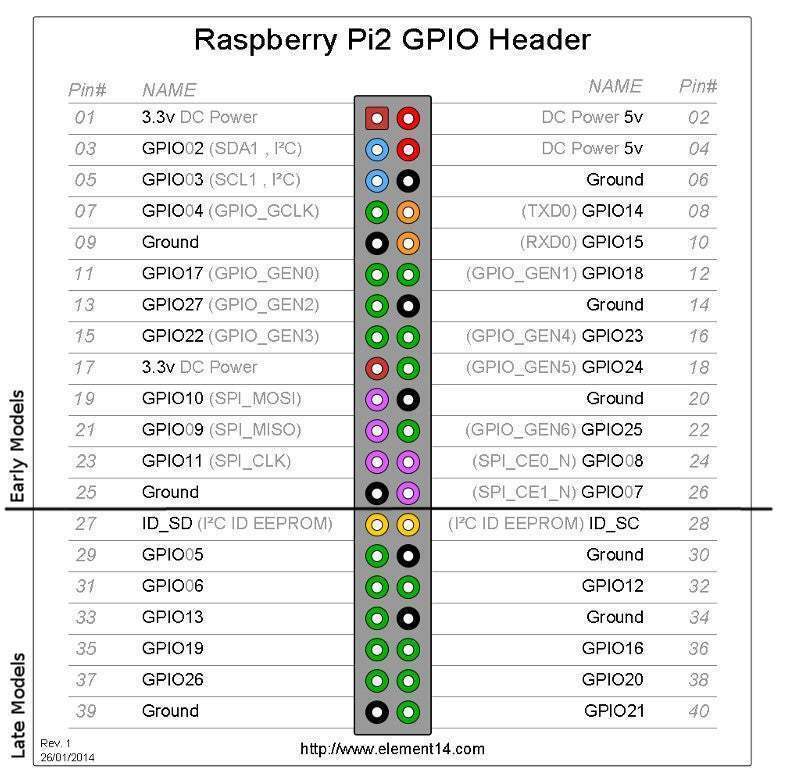
#The
pins on the Raspberry Pi as numbered based on the GPIO number which is not the pin number!
Please pay close attention to the positions as this will be very important later.
On the Rasberry Pi you can use Dupont connectors or solder carefully right to the pins. Either work!

There's the pinout on the Raspberry Pi.
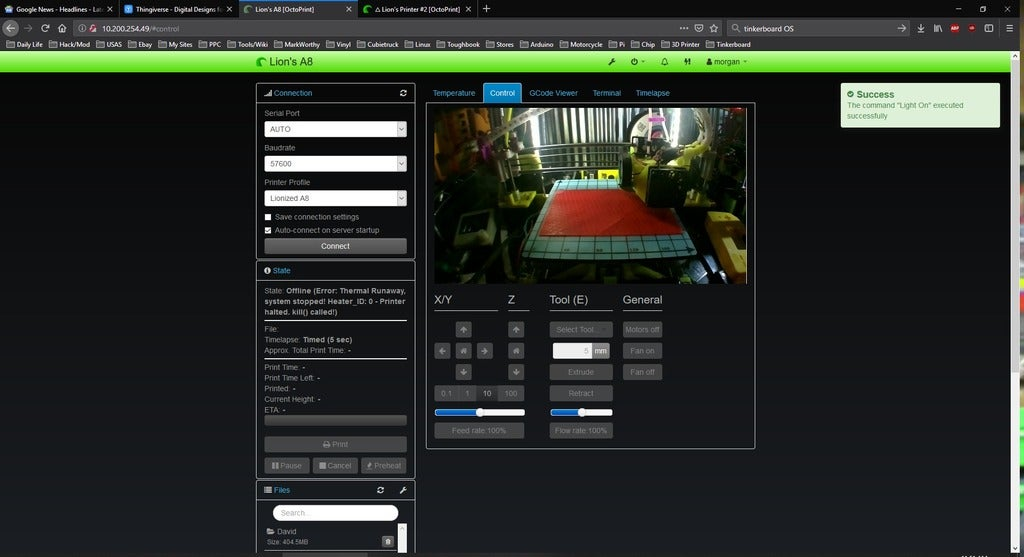
Per the drawing we will be using GPIO 18, 23, 24, and 25. Each to control a channel. Most of you would really only need two, one for a light and one for power. In that case just use 18 and 23.
Assemble the Raspberry pi, wires, camera cable and SD card into the case and mount on your printer somewhere out of the way. On mine I put it high on the same side as the main board.
Once the Pi is mounted mount your MOSFETS and Relay nearby. This is just to simplify wiring.
Connect the wires from the 5V, GND, and GPIO as shown in the diagram above, Also use this to connect the Relay in to the main 12v+ wire of the rest of the printer so it can be shut down from the Octoprint interface.
Wire carefully, use good connections with solder and heat shrink. Check and double check everything and don' ever work on a machine that's powered on!
Once you have the wiring situation done we can move on to setting up the pi!
#Setup
and config
With the Pi plugged in and on find it's IP on your network and browse to that or try http://octopi.local in your browser.
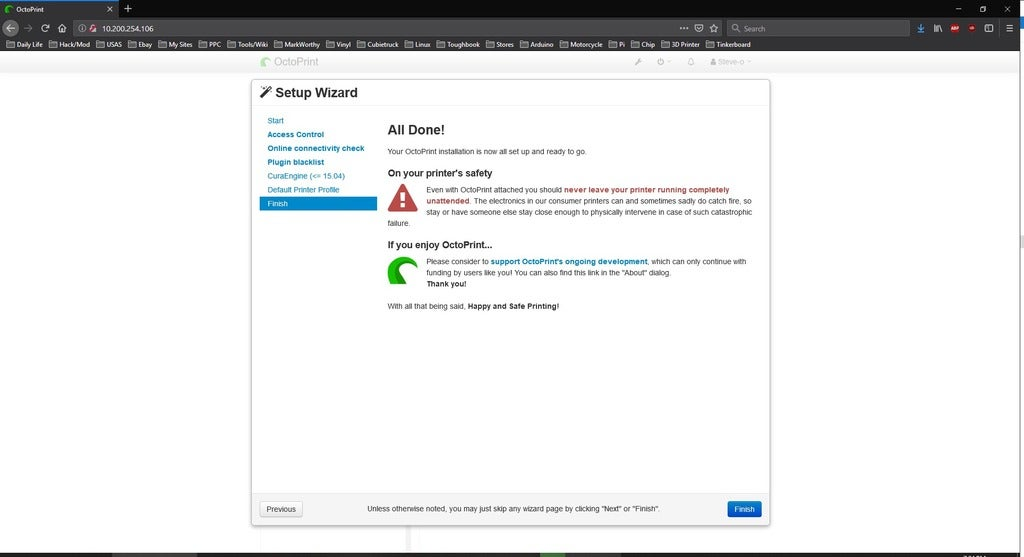
You'll be greeted with the Octoprint setup wizard! Click through and fill in all the information needed.

Next we setup the user and access control. This is important and you want to turn it on!

Next configure the connectivity check, I turn this on too.

Then we configure the blacklist processing, again this should be on.

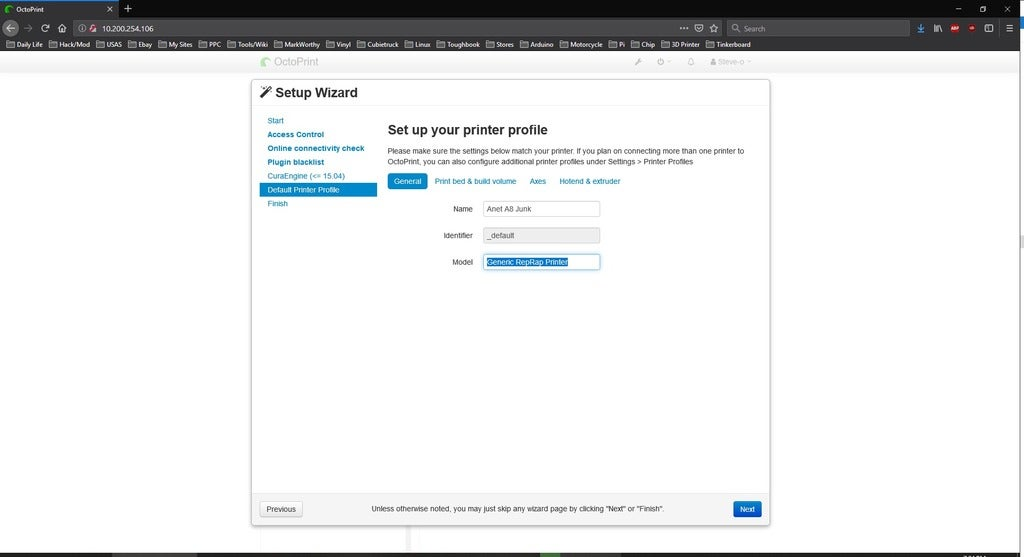
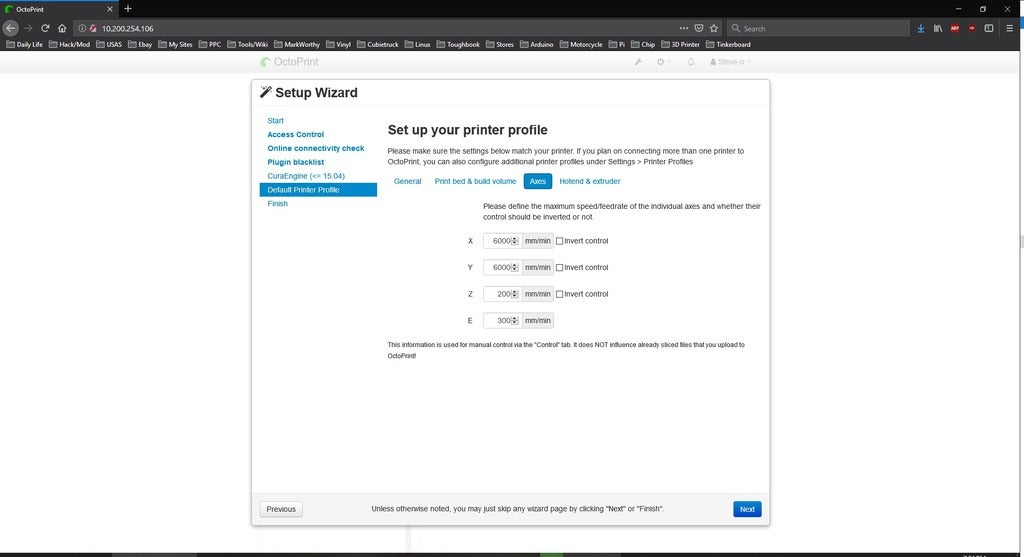
Next is the printer profile. This is where you setup how Octoprint interacts with your machine. It is important to set this accurately for your printer, I am using the Anet A8 here since I have two of those.
Start with the name of your machine and type:

Then on the next tab set your build volume up

Now on to the Axes, these I just leave as is in my case.

The last printer page is the extruder, dual in this example:

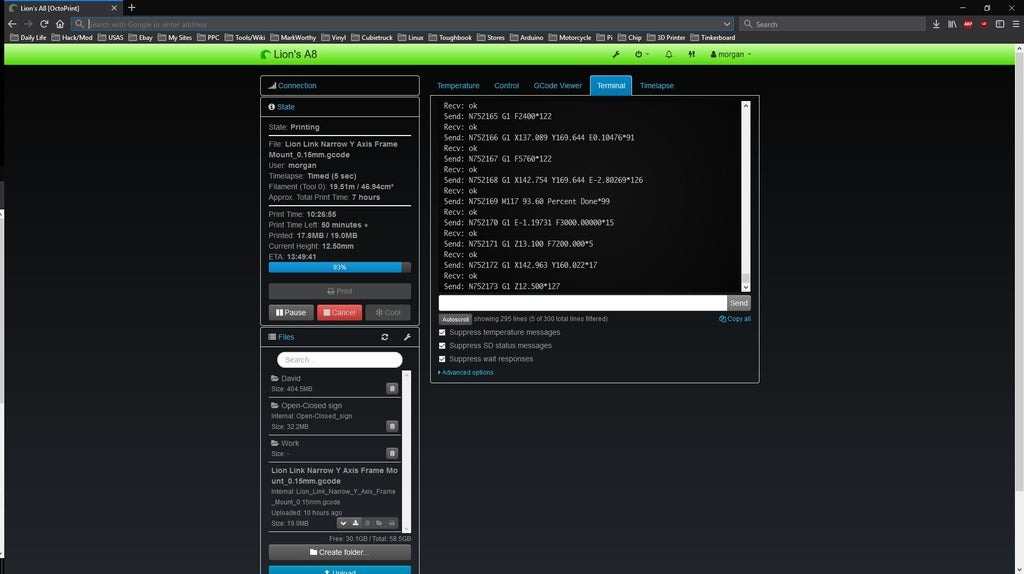
Continue to the web interface and you'll be greeted with this screen:

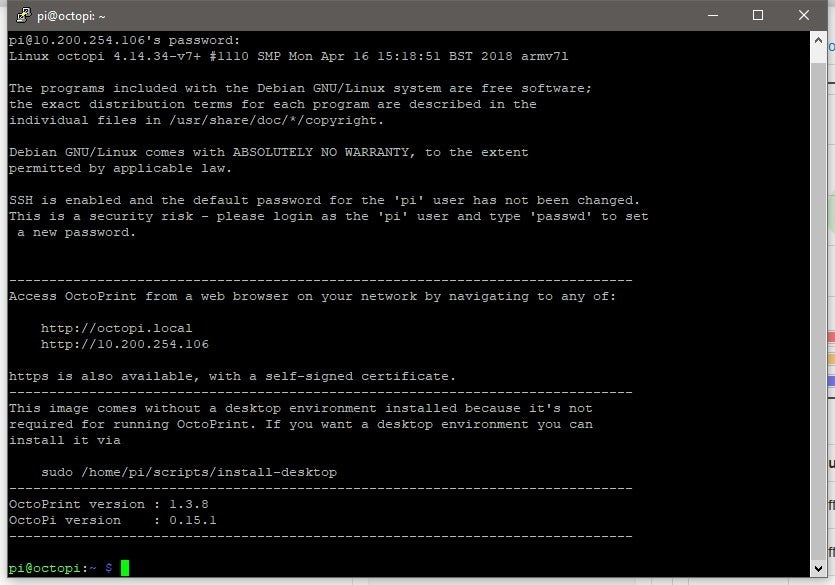
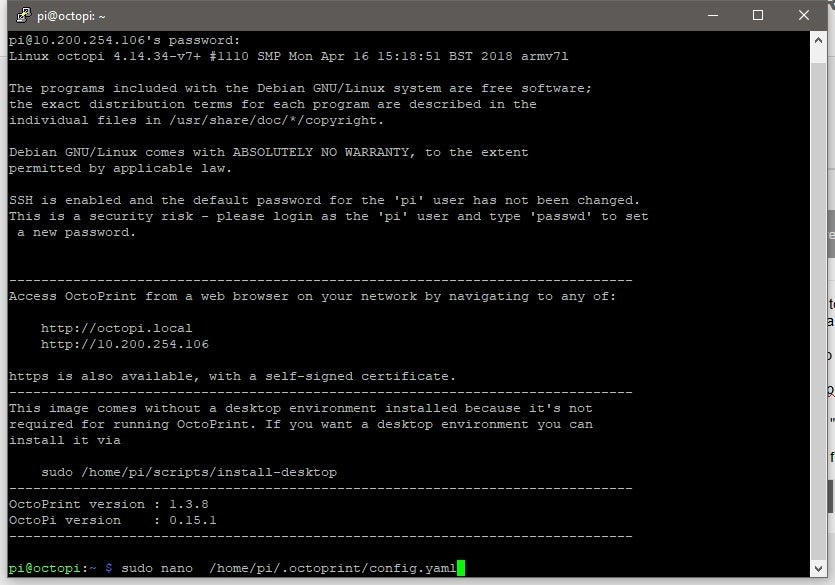
Once you have finished the configuration you need to SSH into the Pi to setup the control scripts. This is done with any SSH client but I like Putty

You can use octopi.local or the IP address to connect. The username is pi and password is raspberry.

#BE
SURE TO CHANGE THIS PASSWORD!!
Use the command passwd in the SSH terminal to change the password and continue.
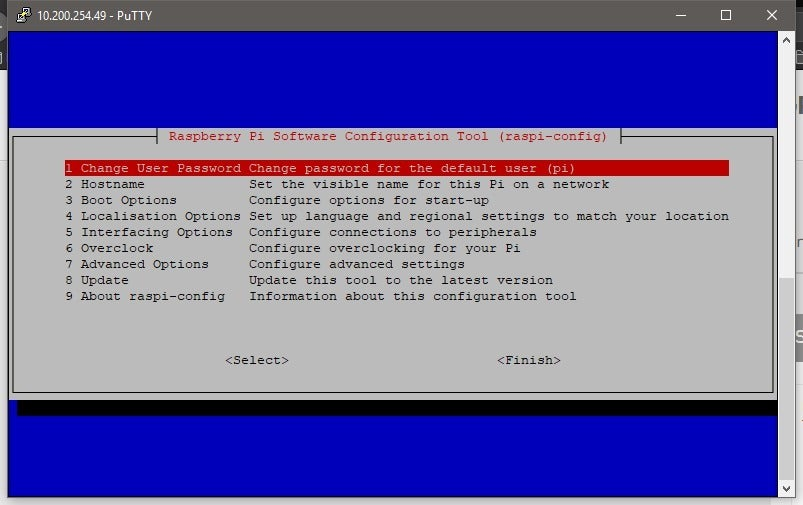
You may also use "sudo raspi-config" to use the Raspberry Pi Configuration Editor to set password and time zone and more.

With your password changed we need to edit some files to load the commands into the menu.

#Making
the edits
We need to make a script for each function in the menu and give permissions for the system to use them.
First type "sudo nano /usr/local/bin/printer_on.sh" to open nano text editor with the blank file printer_on.sh and copy in the following:
#!/bin/bash
gpio export 18 out
gpio -g write 18 1
Save and exit with CTRL+O then CTRL+X

Now let's make the off script with the command "sudo nano /usr/local/bin/printer_off.sh" and copy in the following:
#!/bin/bash
gpio export 18 out
gpio -g write 18 0
Again save and exit with CTRL+O then CTRL+X
For the lights use "sudo nano /usr/local/bin/light_on.sh"
#!/bin/bash
gpio export 23 out
gpio -g write 23 1
Again save and exit with CTRL+O then CTRL+X
And lights off "sudo nano /usr/local/bin/light_off.sh"
#!/bin/bash
gpio export 23 out
gpio -g write 23 0
Again save and exit with CTRL+O then CTRL+X
Now we have scripts to turn on and off the first two MOSFETs. If you need more functions use the same formula to make an on and an off script.
Once you are done making the scripts you need to give them execute permission with the command "sudo chmod +x /usr/local/bin/*.sh" This will set the execute bit and allow them to be run on the system.
#Add
the functions to Octoprint
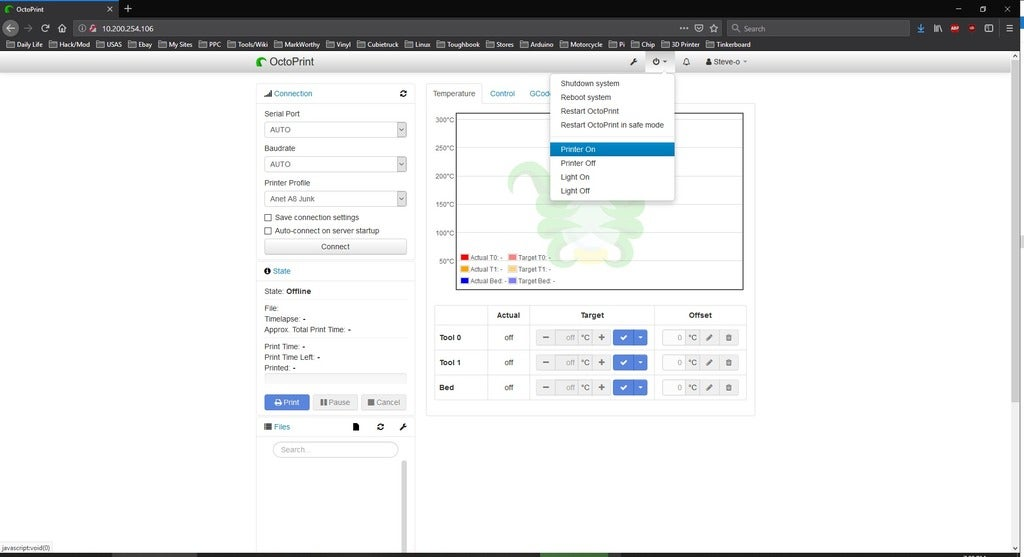
To add them to Octoprint menu like shown above simply edit the following file.
In your terminal type "sudo nano /home/pi/.octoprint/config.yaml"
At the bottom of that file paste on the following:
system:
actions:
- action: printeron
command: printer_on.sh
name: Printer On
- action: printeroff
command: printer_off.sh
confirm: Are you sure you want to turn off the printer?
name: Printer Off
- action: lighton
command: light_on.sh
name: Light On
- action: lightoff
command: light_off.sh
name: Light Off

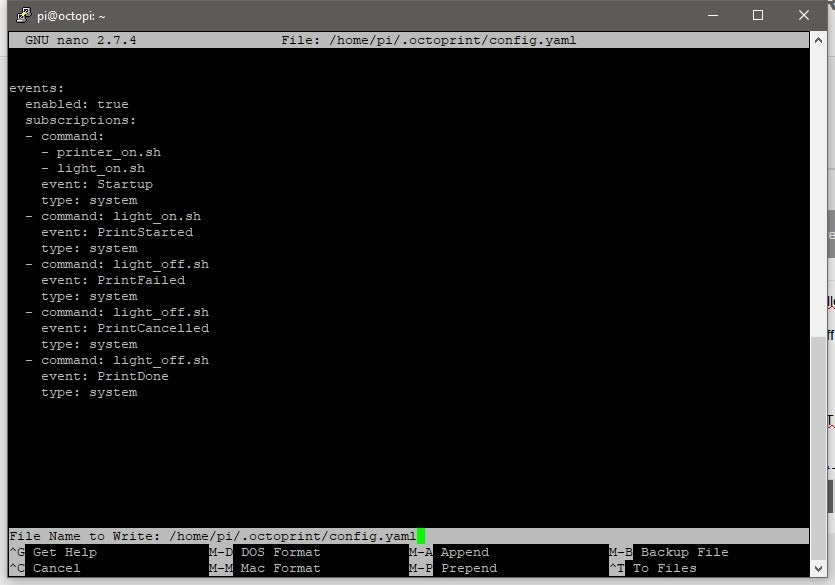
Now to add in automatic running of the scripts paste the following into the same file:
events:
enabled: true
subscriptions:
- command:
- printer_on.sh
- light_on.sh
event: Startup
type: system
- command: light_on.sh
event: PrintStarted
type: system
- command: light_off.sh
event: PrintFailed
type: system
- command: light_off.sh
event: PrintCancelled
type: system
- command: light_off.sh
event: PrintDone
type: system

Save and exit with CTRL+O & CTRL+X
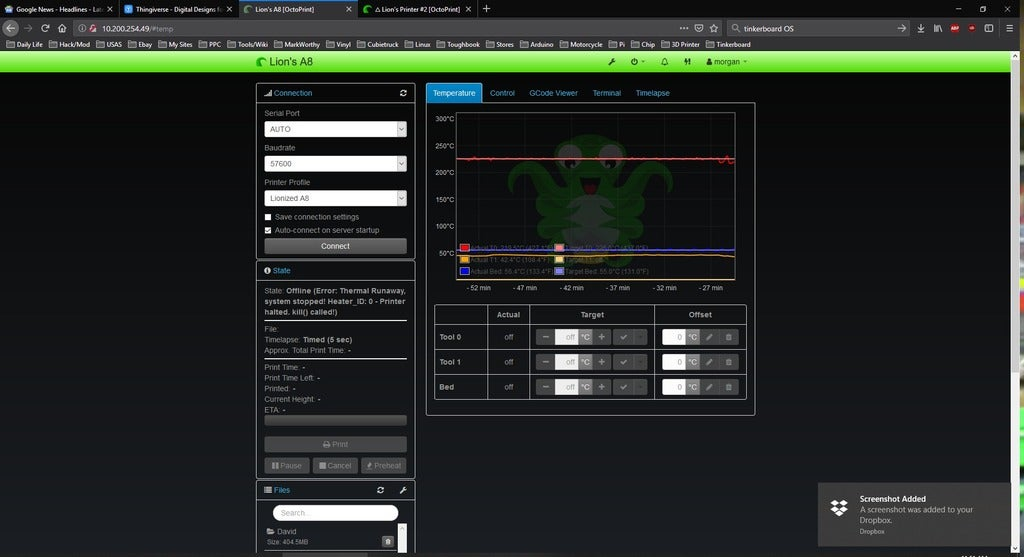
What this does is automate some of the actions. Like when it boots up the printer and light will turn on. If the print fails the printer power will be cut automatically. This is handy for temperature runaways and such too. A handy safety feature!!
Learn more at: http://docs.octoprint.org/en/master/events/index.html
With this done it's a good idea to go ahead and update your pi since you're connected.
In terminal type:
sudo apt-get update
then
sudo apt-get dist-upgrade
Once those are installed type:
sudo rpi-update
This will update the kernel. Once all are done reboot with "sudo reboot" and once up the printer should turn on with the light!
Now type "sudo reboot" to restart and finish the setup!
Next browse to your http://octopi.local and start using or customizing it with plugins!!

#Some
timelapse notes!
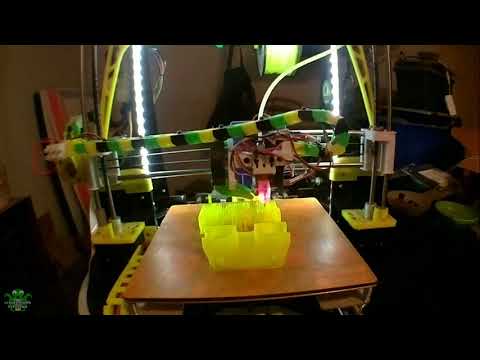
The timelapse in Octoprint is pretty sweet by default. I have uploaded some to my channel on Youtube such as this one of The Superlite! Carriage and head
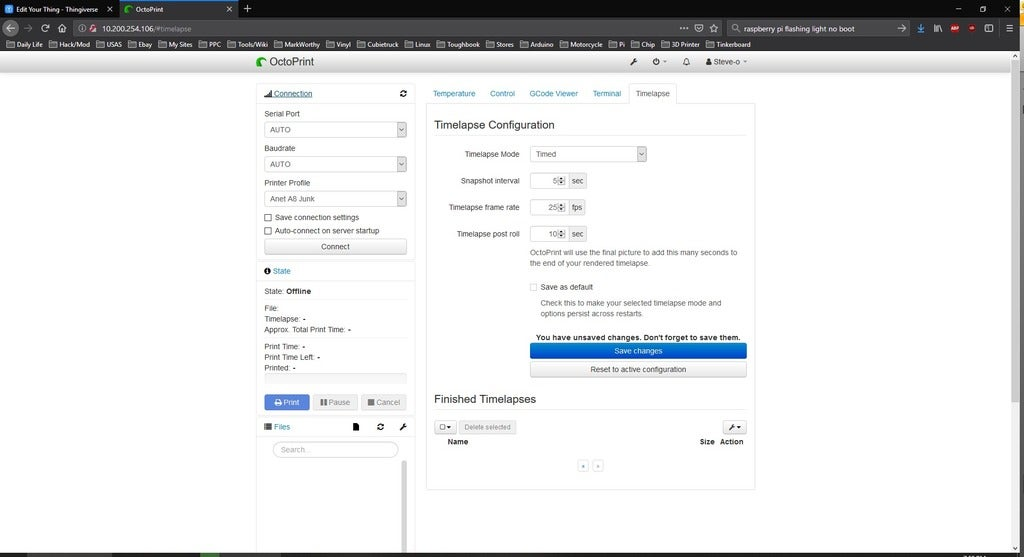
To set it up simply go to the Timelapse tab in Octoprint:

I run mine with those settings but you can of course customize it.
#There's tons of plugins and themes!
#Experiment
with it!
As an example I have custom scripts and actions for a delay shutdown. This is a two minute pause before shutdown at the end of each job to give me time to check out the part and stuff before the lights and power to the machine go out.
That script to turn the light off after 2 min is:
#!/bin/bash
{
sleep 2m
gpio export 23 out
gpio -g write 23 0
} &
Then in the config I have some extra code too like in the events:
- command: light_offd.sh
event: PrintCancelled
type: system
Light_offd.sh is the delayed light off script.
#I hope this helps!!
#Please
share and like!
:format(webp)/https://fbi.cults3d.com/uploaders/16051940/illustration-file/3b35884a-990a-4924-a588-b626ea767d18/PI_Gpio_bb.png)


/https://preview3d-images.cults3d.com/variants/6wcm98s2qsgqbfuf9eyp9nm7g40f/2c25dfac9c0c4b3fee1a07527bd1c6bb2fb599b319b4e1ae3ef1d256f7781447)


