UPDATE July 15, 2018: Version 2.0 is now available here: https://www.thingiverse.com/thing:2983846
UPDATE March 3, 2018: Uploaded a new platform with slots designed into it. This allows users to thread straps onto the platform to tie down containers of different sizes. File name is: NewPlatform.stl.
Alternative platforms have been designed and distributed by Thingiverse user Kabong here: https://www.thingiverse.com/thing:2812487 .
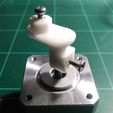
UPDATE February 7, 2018: We've found that the hex nut on the coupler slips. Hot gluing the coupler onto the stepper motor shaft works well and if you want to remove the rest of the motion control assembly, just unscrew the retainer holding the bearing on above the stepper.
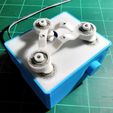
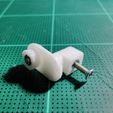
UPDATE: We've completely reworked the motion control system to use M3 bolts (3mm diameter threading, 12mm long threading, 2mm thick head, 5mm diameter head). This way, you can assemble and disassemble everything. We also created a shaft coupler for the stepper motor also using an M3 bolt & corresponding hex nuts.
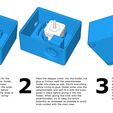
We found friction welding along the edge of the nuts keeps them in place when tightening the bolts. Hot glue is not strong enough. Close ups of the shaft coupling shows before and after friction welding the nuts in place.
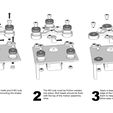
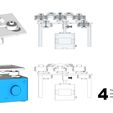
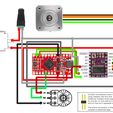
Assembly and wiring diagrams will be posted later.
The new design uses one less 608zz bearing meaning only 5 are necessary now.
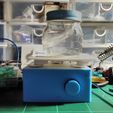
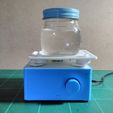
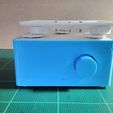
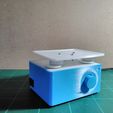
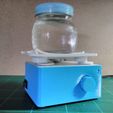
This is our first attempt at a DIYbio orbital shaker.
A video demo is available here: https://www.youtube.com/watch?v=TnfxUq-xGas
A video describing the assembly process for the motion control is here: https://www.youtube.com/watch?v=FlnDQZjm9aY&
Using 608ZZ bearings, the motion control is smooth, reliable, and quiet. Wiring diagram and assembly instructions coming soon. The files are here for those that want to take a crack at it or begin modifying the design.
The SketchUp file is also included.
Parts:
12V stepper motor
Pololu DRV8825 stepper driver
Arduino Micro Pro
Potentiometer
Rocker Switch
DC Adapter (Female)
608ZZ bearings (x5)
3mm bolts (x3)
3mm nuts (x3)
3mm screws (x3)
We used a combination of friction welding and hot glue to assemble the motion system. Hot glue is used after the bearings are inserted with a thin bead placed around the edge. This makes it possible to take off later to remove the bearings if desired. Nuts are friction welded in place.
Arduino sketch used:
// Simple Stepper Motor Control
//
// by Achim pieters, www.studiopieters.nl
//
//
// Defines pins numbers
const int stepPin = 7;
const int dirPin = 8;
int customDelay,customDelayMapped; // Defines variables
void setup() {
// Sets the two pins as Outputs
pinMode(stepPin,OUTPUT);
pinMode(dirPin,OUTPUT);
digitalWrite(dirPin,HIGH); //Enables the motor to move in a particular direction
}
void loop() {
customDelayMapped = speedUp(); // Gets custom delay values from the custom speedUp function
// Makes pules with custom delay, depending on the Potentiometer, from which the speed of the motor depends
digitalWrite(stepPin, HIGH);
delayMicroseconds(customDelayMapped);
digitalWrite(stepPin, LOW);
delayMicroseconds(customDelayMapped);
}
// Function for reading the Potentiometer
int speedUp() {
int customDelay = analogRead(A0); // Reads the potentiometer
int newCustom = map(customDelay, 0, 1023, 300,4000); // Convrests the read values of the potentiometer from 0 to 1023 into desireded delay values (300 to 4000)
return newCustom;
}

/https://fbi.cults3d.com/uploaders/14763281/illustration-file/8ae850d0-47d9-475b-a6ad-e3da01d963da/IMG_20171108_032926.jpg)


