Rafts:
No
Supports:
No
Resolution:
See notes below
Infill:
See notes below
Notes:
(I use Cura as my slicer, and I use Cura's names for the various printer settings in the notes below. Also, both of the printers that I used have a nozzle size of 0.4 mm.)
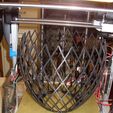
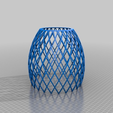
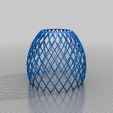
Printing the Lampshade Lattice Frame: Before you print either of the lampshade lattice frames, be sure your retraction settings are adjusted as well as possible to minimize stringing. (I recommend using one or more of the 'stringing test' models that have been posted to Thingiverse.) The STL model of the lattice frame should be placed on the build platform of your slicer 'upside-down', with the top surface down. I printed my lattice frames with a wall thickness of 0.8 mm at a speed of 45 mm/sec, with a travel speed of 175 mm/sec. My extrusion temperature was 205, and my layer height was 0.2 mm. (I also had the infill set at 20%, but I wonder if it would be just as well to set this to 0%.) To help minimize retractions, I also turned on the 'optimize wall printing order' setting. (In my version of Cura, this is under the 'experimental' section of print settings.) For some of my lattice prints, I did get some fine stringing that I was able to eliminate by (carefully) blowing on the lattices with a heat gun. Also, I did get some blobs inside some of the frames, but none of the outside. My printing time for each lampshade was about 20 hours.
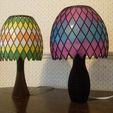
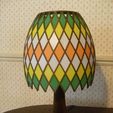
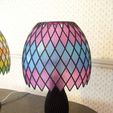
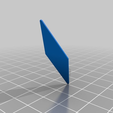
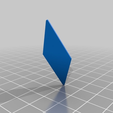
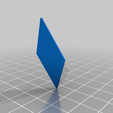
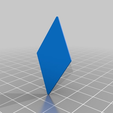
Printing the and Assembling the Tiles: The tiles are only 0.5 mm thick. I used an 0.2 mm layer height, with the first layer height set to 0.3 mm; therefore, my tiles were two layers thick. Because these tiles are so thin, I recommend checking your bed level before printing the tiles. Each lampshade has seven rows of 24 tiles each; the tile rows are numbered from row 1 at the top to row 7 at the bottom. I recommend starting from row 4 in the middle and working outward. Rather than print all 24 tiles of row 4 at the same time, you might consider printing only a few, and checking that they fit in the lattice frame before printing more. (Even though I sized the STL files very carefully, variables like 'elephant foot' may make your tiles print out at a slightly different size than mine.) When I printed the tiles in Cura, after using the 'lay flat' function to place the tile on the build plate, I rotated the tile so that the long diagonal of the diamond-shape was aligned with the diagonal of the print bed. This made the pattern of the layer lines vertical and horizontal for each tile. The lattice was designed so that the tiles would be inserted from the inside of the lattice frame and pushed out to snap in place. I found that the best way to place the tiles was to try to seat one of the sharp corners in the 'v' of the lattice opening, and then pressing the other corners of the tile into place. You may need two hands to do this, with one hand on the inside face of the tile and one on the outside. This is especially so for the middle row of tiles. If you find that the tiles are either too tight or too loose, you can try adjusting the 'horizontal expansion' setting (in the 'Shell' section of the Cura settings menu) to make the tiles print bigger or smaller. Since the tiles are so thin, even if you use non-transparent filament, light will shine through the tiles. I found that a lampshade with non-transparent colored tiles gives a 'softer' light than a lamp with transparent colored tiles. Except for the row-1 tiles, the tiles are symmetrical. For the row-1 tiles, I tried to include a small notch in the top that indicates the top corner of the tiles. (If you look carefully at the STL models of the row-1 tiles, you can see it. When you print the row-1 tiles, this 'notch' will print as a small mark in the corner of the tile.)
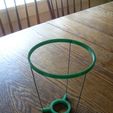
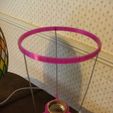
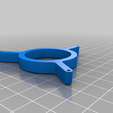
Printing and assembling the lampshade support: The lampshade support frame consists of and upper and lower ring, and three 16 ga. (1.5 mm) diameter x 125 mm long steel wires. I printed mine with a wall thickness of 0.8 mm, a layer height of 0.2 mm, with 20% infill. Use a drop of super glue at the ends of each of the wires to secure them to the corresponding holes in the rings. The top ring of the completed support frame assembly will snap into the tabs inside the top of the lattice frame. If the support frame seems loose (or if one or more of the tabs break), use a bit of super glue to hold it in place. The bottom ring of the support frame will sit over the top of the light bulb socket of the lamp.
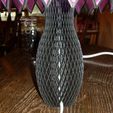
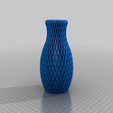
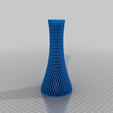
Printing the lamp body: I have two different shapes for the lamp body; either can be used with either size lampshade. The lamp bodies are intended to be printed in 'vase mode' with the Cura 'spiralize outer contour' setting turned on. I used an extrusion width of 0.6 mm and a 'layer height' of 0.3 mm, with the bottom set to 0.6 mm thick. My printing speed was set to 45 mm/sec.
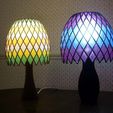
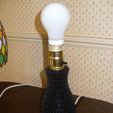
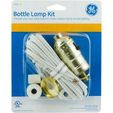
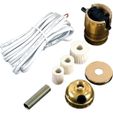
Assembling the lamp: You will not need all of the parts in the bottle-lamp kit; you will only need the lamp socket, the threaded nipple (with its small threaded ring), the electric cord, and the largest diameter (about 24 mm) rubber bushing. You will need to cut an opening near the bottom of the lamp body to pass the electric cord through. Carefully follow the instructions that come with the bottle lamp kit. If any of it seems unclear to you, consult someone with electrical wiring experience. After you install the light bulb socket in the lamp body, you might want to consider adding some weight to the inside of the lamp body. My wife inserted some glass marbles into the lamp body, and simply taped the bottom opening shut to keep them in. As shown in one of the photographs, the bottom ring of the lampshade support frame will fit over the light bulb socket. After placing the shade over the socket, you can install the lightbulb. DO NOT USE INCANDESCENT LIGHT BULBS WITH THIS LAMP. I strongly recommend that you use LED light bulbs instead.

/https://fbi.cults3d.com/uploaders/14833660/illustration-file/5c5ea0a8-9870-4726-b96b-67611d4dabcc/Mosaic_Lamps_02.JPG)


