Skip to content

Santa Whirligig

Advertising
?
Creation quality: 5.0/5 (1 vote)
Evaluation of members on the printability, utility, level of detail, etc.

  • 1.9k views
  • 2 likes
  • 45 downloads

License
3D design format
PDF and STL Folder details Close
  • Bag_of_Toys.stl
  • Base_Center.stl
  • Base_Front_Third.stl
  • Base_Rear_Third.stl
  • Base_coupler.stl
  • Crossbar.stl
  • Cutaway_View.pdf
  • Eccentric_Cam.stl
  • Reindeer.stl
  • Santa.stl
  • Sleigh.stl
  • Swivel.stl
  • Vane.stl
  • Vane_Base.stl
  • Waving_Arm.stl
  • Whirligig_Blade.stl

Learn more about the formats

Publication date 2020-04-02 at 01:06
?
Published to Thingiverse on: 2016-11-06 at 22:17
Design number 126948

3D printer file info

3D model description

Edit 11/11/2016: Made slight change to sleigh that strengthens the peg on the runner. Thanks ctgreybeard for finding this error.

Ho! Ho! Ho! Merry Christmas!

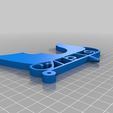
You will need to print:

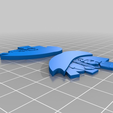
4 ea Whirligig blades
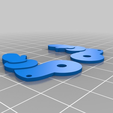
3 ea Eccentric cams
2 ea Crossbars
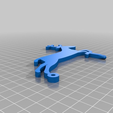
2 Reindeer
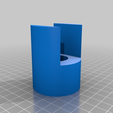
2 ea Base Couplers
1 ea all other parts

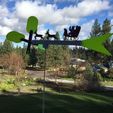
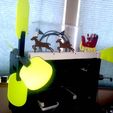
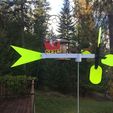
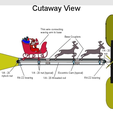
There is a cutaway view in the thing files called cutaway view.pdf showing how the model goes together.

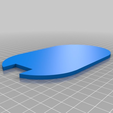
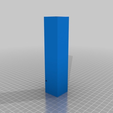
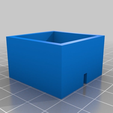
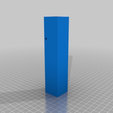
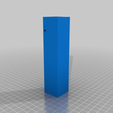
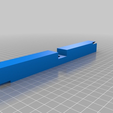
I printed the base sections vertically to minimize support and print time. The tallest one is 148mm. This is the maximum height I can print with my FlashForge Creator Pro with glass bed.

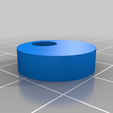
There are 3 cams that have to be placed on the quarter inch rod drive shaft such that they rest directly under the push rods from the reindeer and sleigh. Each cam needs to have a nut on either side to hold it in place and keep it locked to the drive shaft. When assembling, I recommend putting a drop of super glue on the nuts that hold the cams in place once they are positioned. Also, it is probably a nicer effect if the cams are offset from each other so the deer and sleigh are bobbing up and down slightly out of sych with each other.

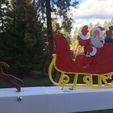
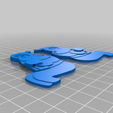
Because Santa and the bag of toys have details in relief to make painting easier, I have made them with mirror images that will need to be glued together. This way they can lay flat on the print bed. Just glue them together after printing and painting.

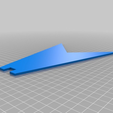
I didn't glue the three base sections together because I wanted to be able to disassemble the base if I needed to fix any of the internal parts. The threaded rod and nuts hold it together fine. For the same reason, I made the vane base a tight fit and didn't glue it to the base. The vane should be glued to the vane base, and the whirligig blades should be glued to the crossbars.

I used 6-32 X 1.5" round head screws and nylock nuts for the pivot hinges of the sleigh and reindeer.

For Santa's waving arm, I used an m3 X 10mm screw with internal hex key drive (allen screw) that I had in my printer spare parts box. I don't have a nylock nut for it, but recommend one if possible. I put a drop of super glue on the nut to keep it from unscrewing. I think maybe a 4-40 screw and nylock nut would work for this, but I used what I had on hand. Whatever you use, it needs to have a small diameter head and nut in order to fit into the space available for it. Feel free to substitute whatever you can find that will work for any of the hardware listed.

To make the arm wave, connect a short length of wire (about 20 gauge) from the hole in Santa's elbow, through the holes in the sleigh and base, and then back out of the base through the second hole. Adjust it for tension and to keep it from rubbing on anything.

Here is a video of Santa in action: https://www.youtube.com/watch?v=_GBQXN-hKXQ

Advertising


Issue with this design? Report a problem.

Would you like to support Cults?

You like Cults and you want to help us continue the adventure independently? Please note that we are a small team of 3 people, therefore it is very simple to support us to maintain the activity and create future developments. Here are 4 solutions accessible to all:

  • ADVERTISING: Disable your banner blocker (AdBlock, …) and click on our banner ads.

  • AFFILIATION: Make your purchases online by clicking on our affiliate links here Amazon.

  • DONATE: If you want, you can make a donation via Ko-Fi πŸ’œ.

  • WORD OF MOUTH: Invite your friends to come, discover the platform and the magnificent 3D files shared by the community!


Sharing and downloading on Cults3D guarantees that designs remain in makers community hands! And not in the hands of the 3D printing or software giants who own the competing platforms and exploit the designs for their own commercial interests.

Cults3D is an independent, self-financed site that is not accountable to any investor or brand. Almost all of the site's revenues are paid back to the platform's makers. The content published on the site serves only the interests of its authors and not those of 3D printer brands who also wish to control the 3D modeling market.

100% secure payment by credit card, PayPal, Apple Pay, Google Pay, etc.
View all payment options.