Okay, there is a dummy STL in the files 'cause the thing has to have a 3d file attached.
If You Are Going to Read this, Read the Whole Thing
This is a just a little guide for new Anet a8 3D printer users (like me 6 months ago). With that said, start reading!!
Welcome! If you are a new 3d printing enthusiast, this is for you. When I first started 3d printing, I found that I not only loved the end results from the printer, but I also liked the troubleshooting and upgrading. I received an Anet a8 one Christmas and immediately started upgrading. I've done a lot to the printer in only six months, so I thought I'd share some tips.
As a first tip: if you're gonna upgrade your printer, don't do it in little spurts. I got small upgrades printed first, and they were helpful. No problem with printed ones. But once I got to upgrading the mainboard, I started seeing other problems with the printer. I disregarded them, thinking, "I'll get to that later". And I did just that. I waited. I ended up having to make almost 25 different orders from Amazon all separately and the printer wasn't working right for about a month (actually when you add up the time it hasn't worked properly, it'd be around two months). Not worth it. If your gonna get upgrades, buy 'em all at the same time. I've added a list of of upgrades below. First are the printed ones (all located on thingiverse), then the purchases. Note: Purchases and printed items will go together often times, so I'm putting in the printed parts with the purchases on the same line.
Printed
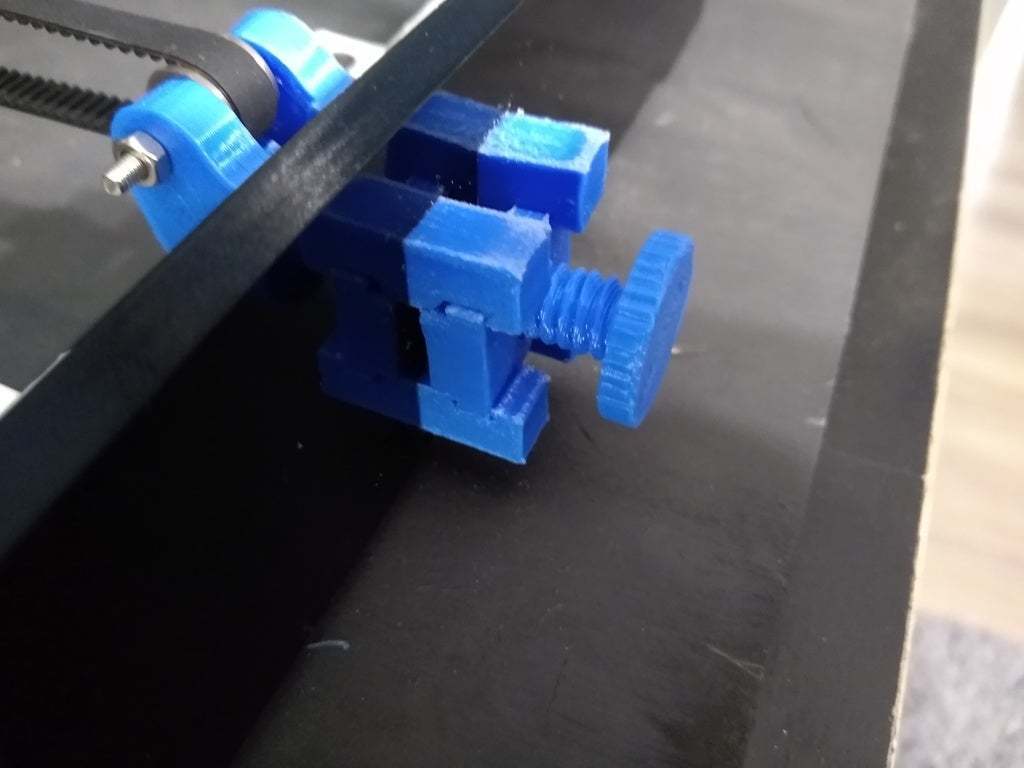
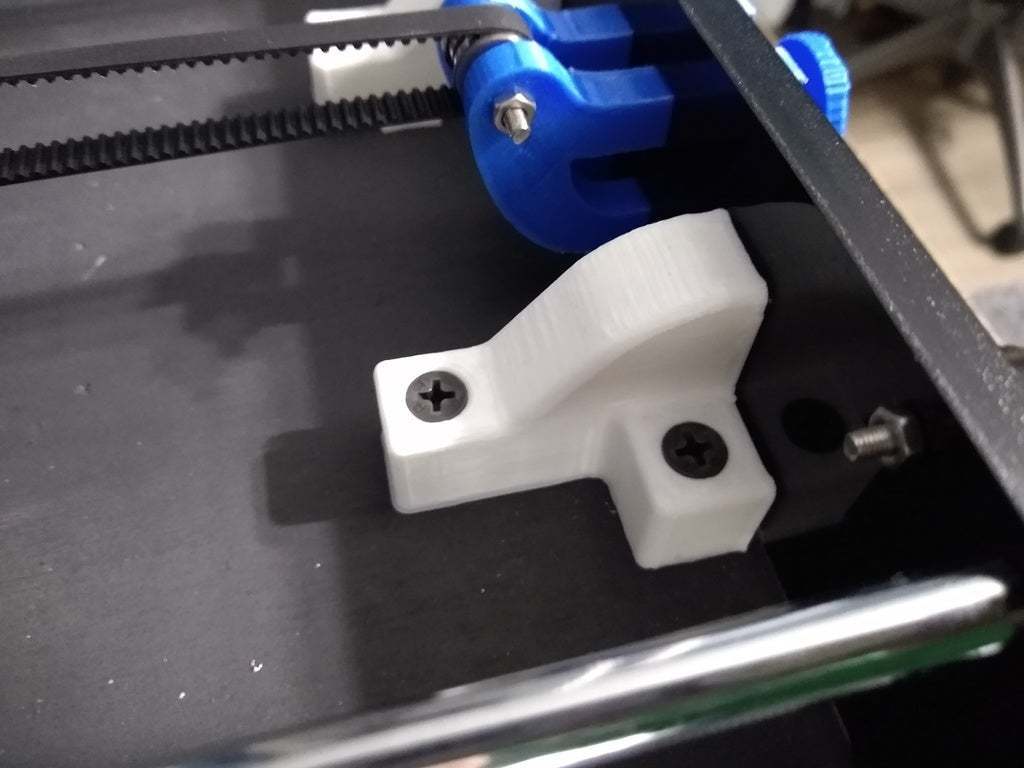
- Y Belt Tensioner (https://www.thingiverse.com/thing:2747511)
- X Belt Tensioner (https://www.thingiverse.com/thing:2507473)
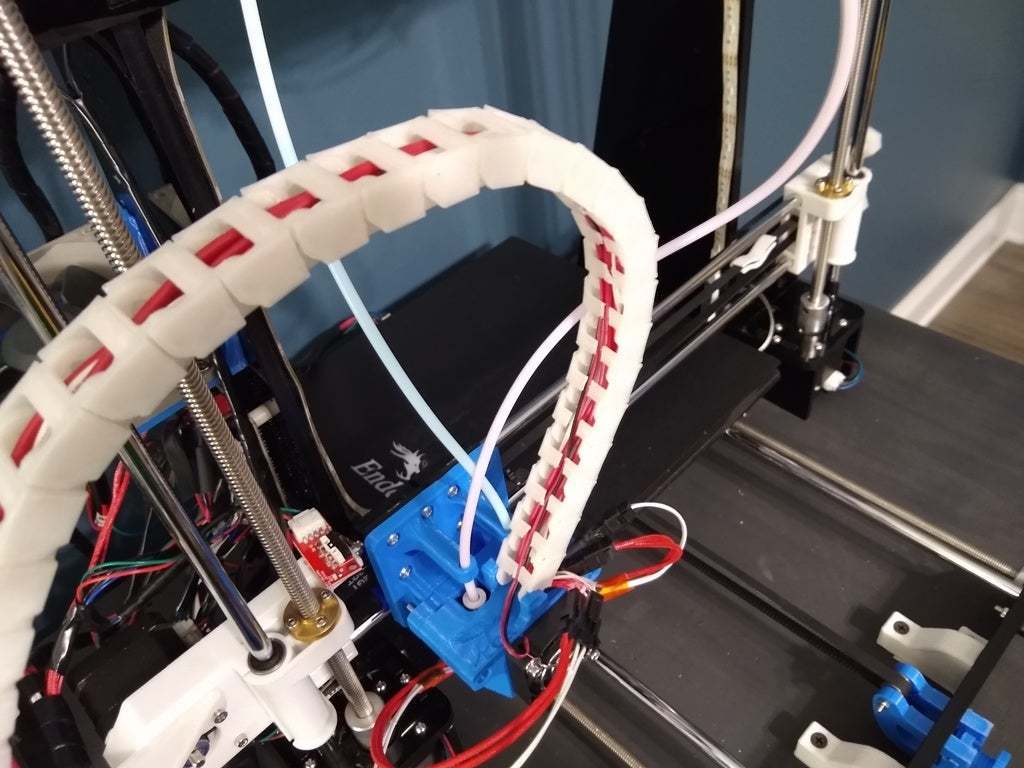
- Cable Chain for X (https://www.thingiverse.com/thing:3461545)
Purchases (and some printed for the purchase)
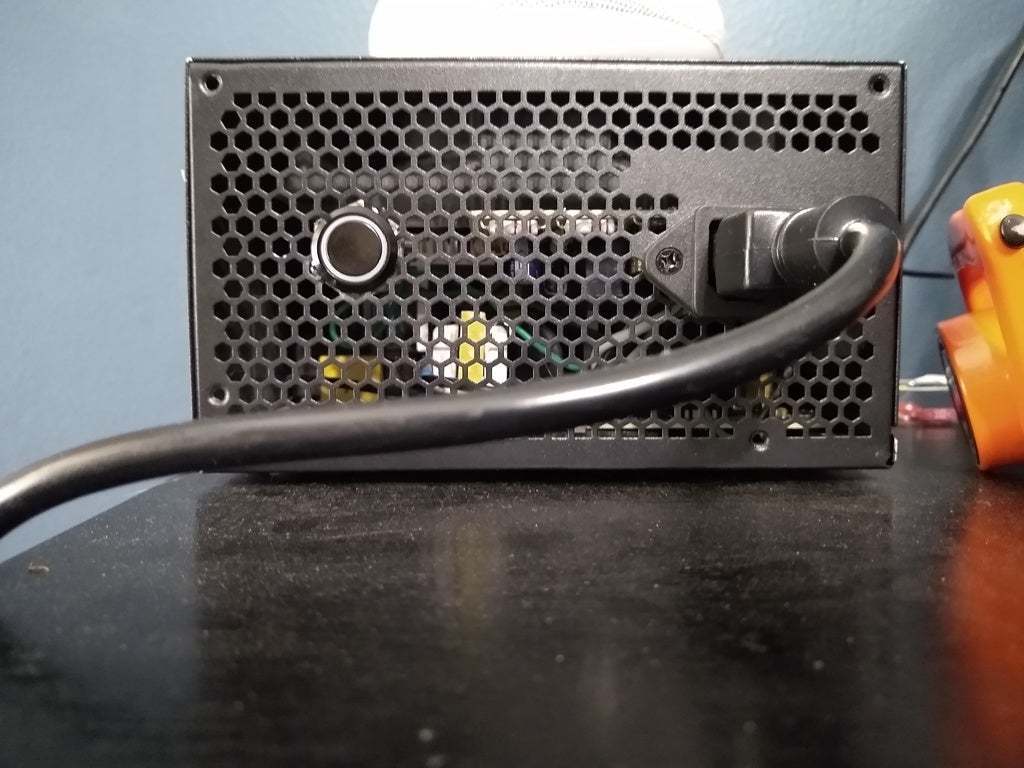
- New PSU Also, look at morganlowe's guide for modding a PC PSU (https://www.thingiverse.com/thing:4089158)
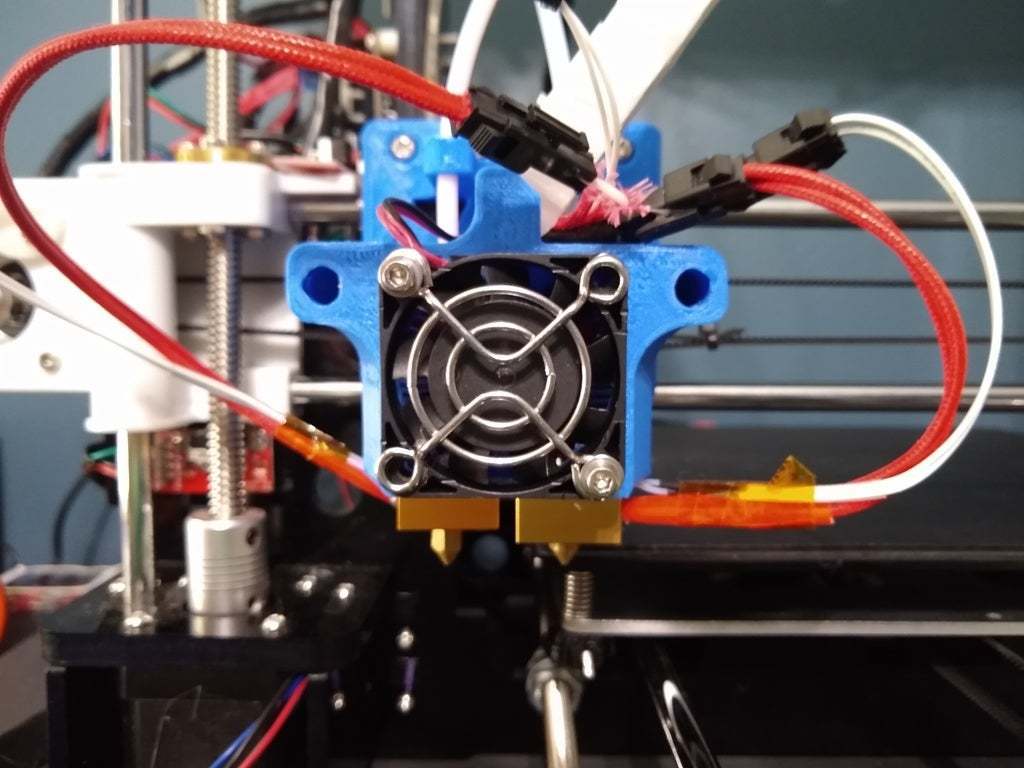
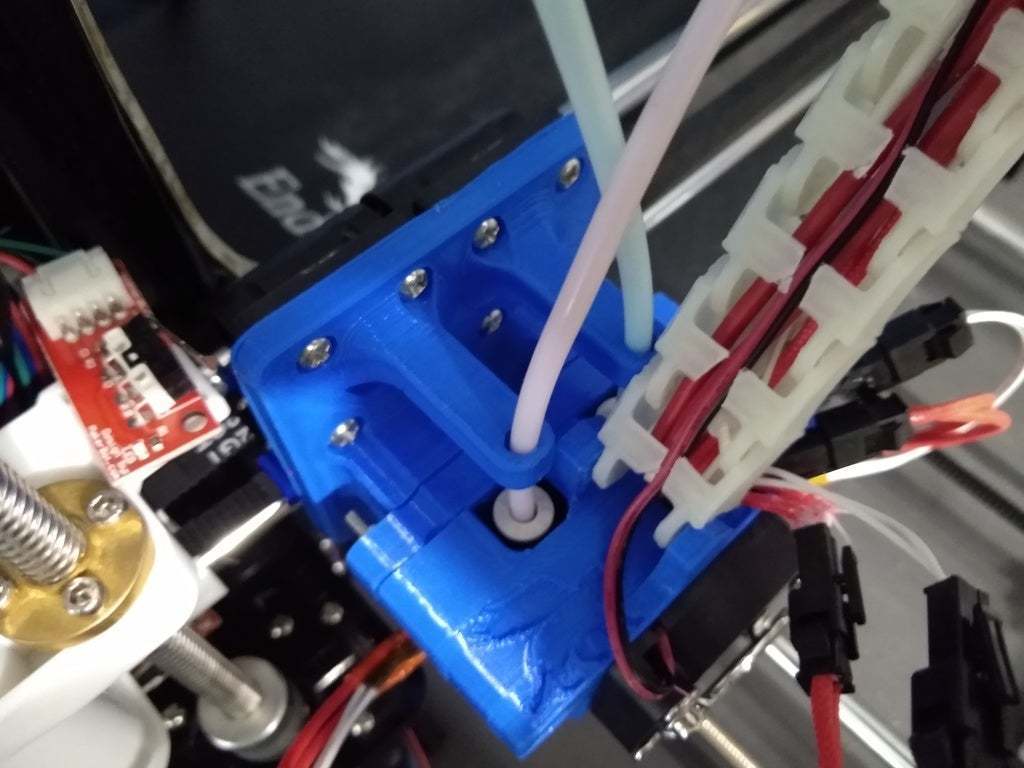
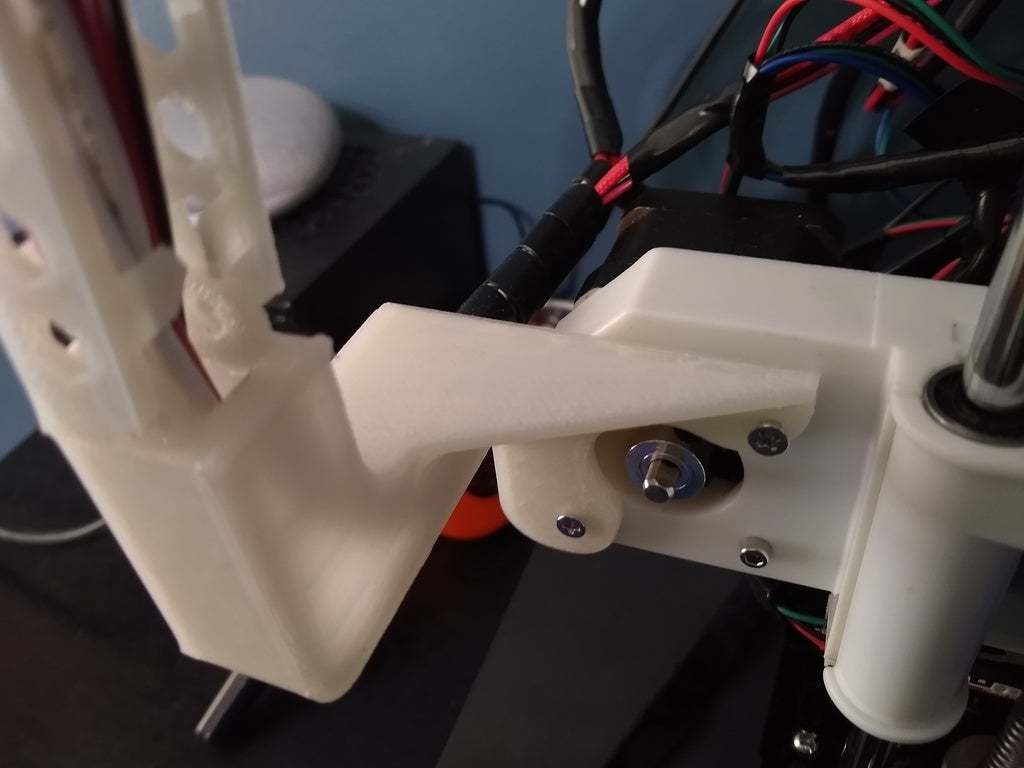
- New Extruder Check out morganlowe's carriage for that (https://www.thingiverse.com/thing:3962768)
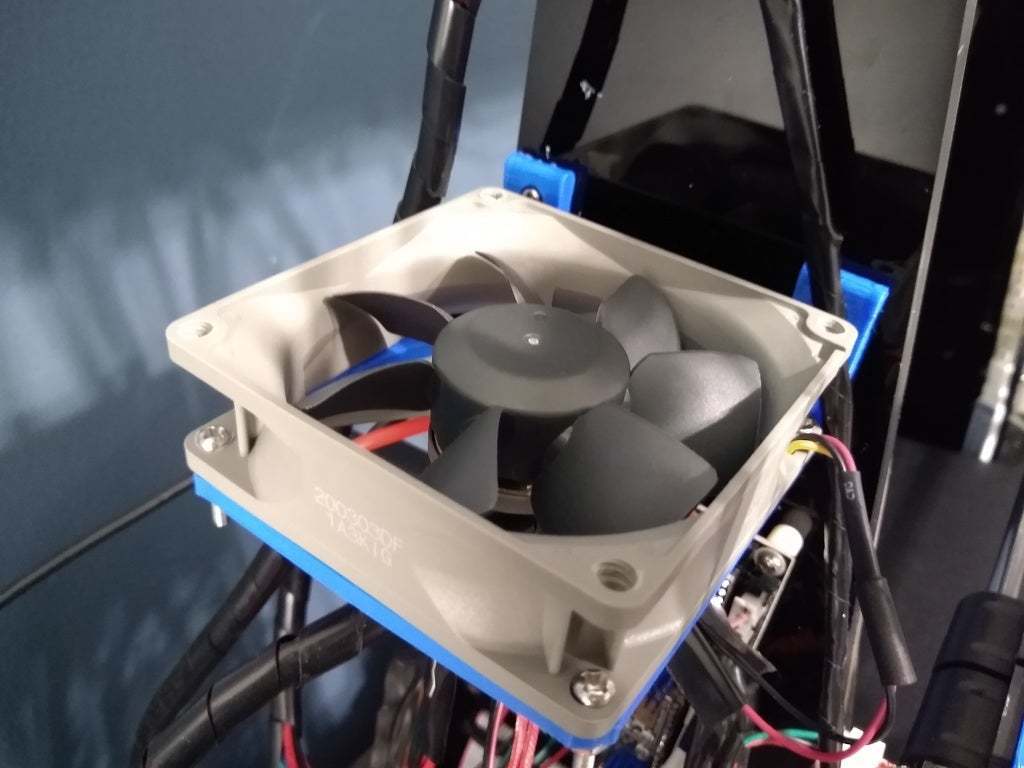
- Noctua 80mm fan with a holder (https://www.thingiverse.com/thing:305052)
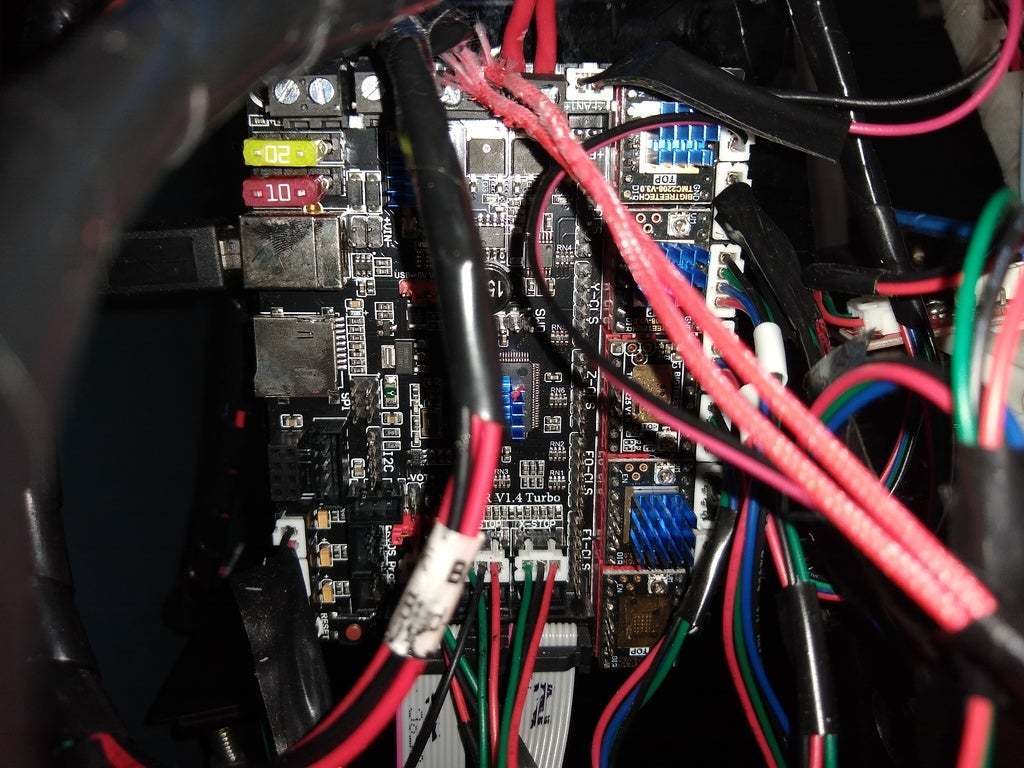
- Biggest of all, a new mainboard, SKR V1.4; TMC2208 drivers included
- New Endstops
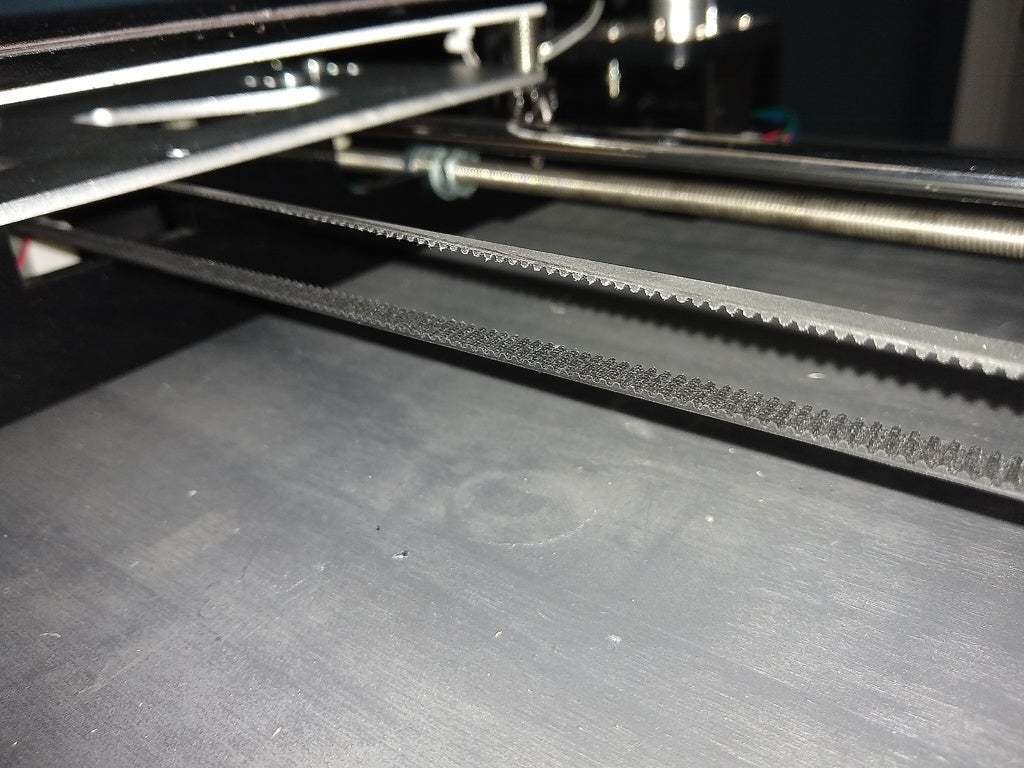
- New Belts Those old ones are junk
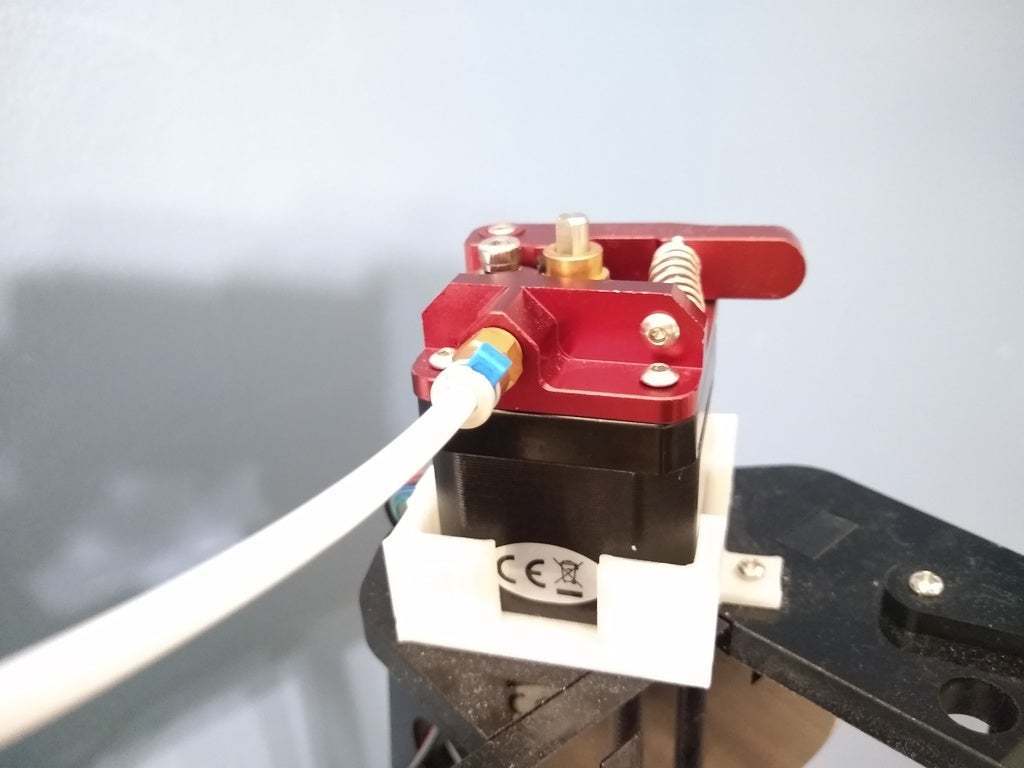
- New Extruder motors with bowden holders (I don't have a preference; search and find one you like on Thingiverse and gear
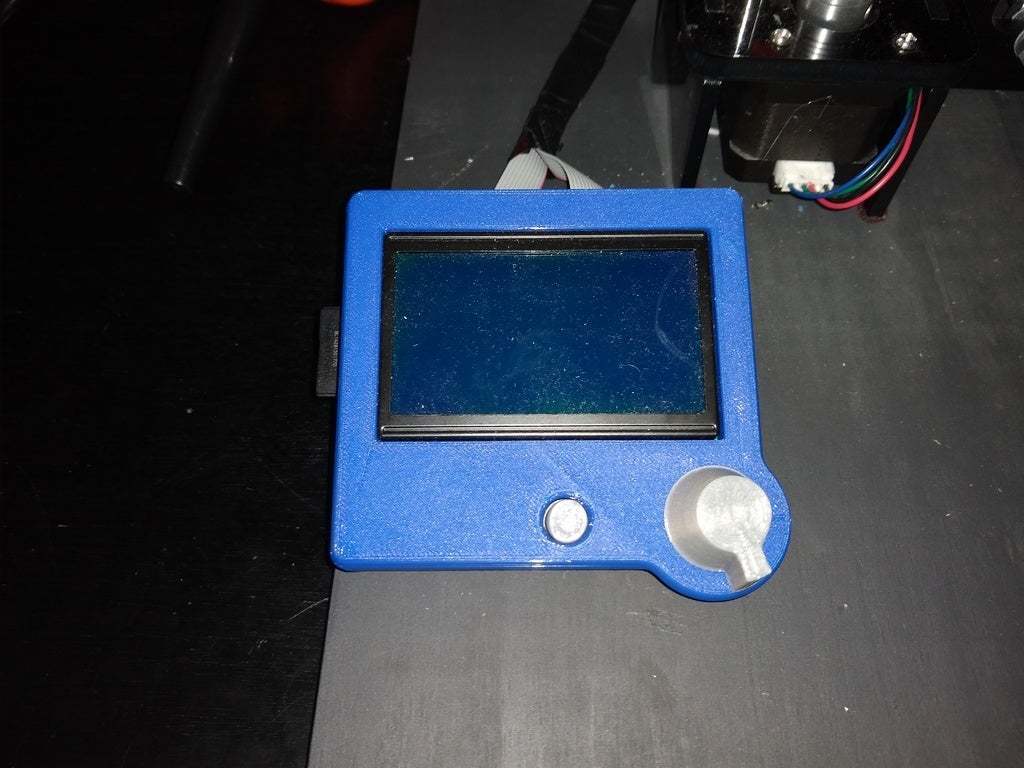
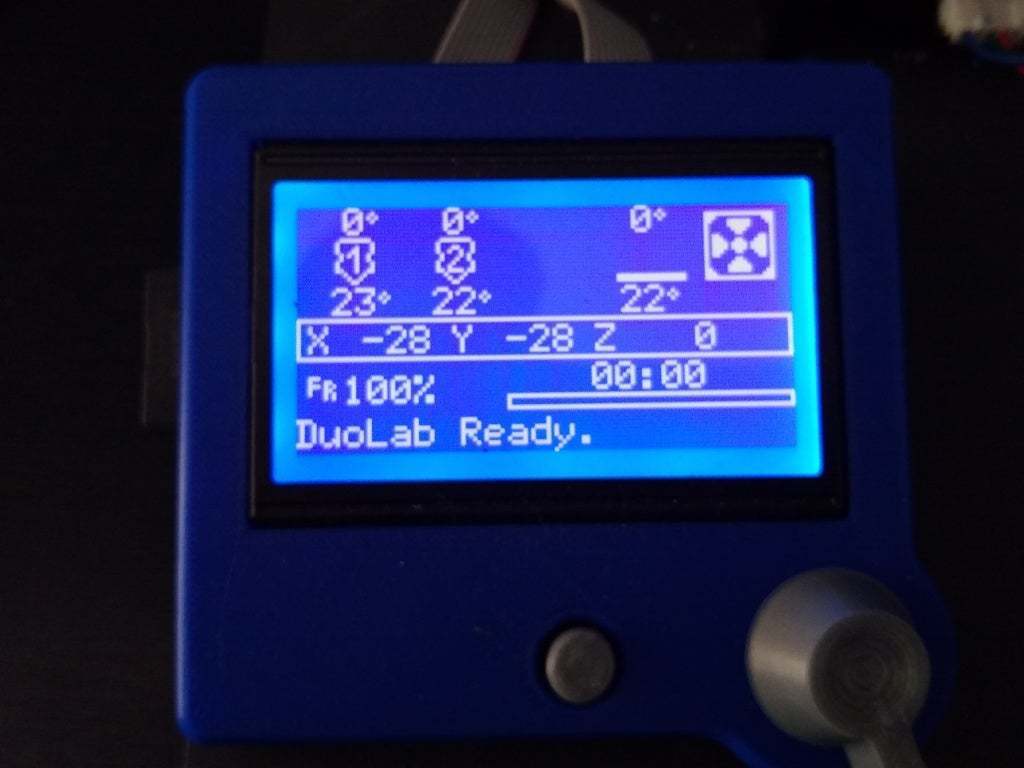
- New Screen with case (https://www.thingiverse.com/thing:2813298)
- Drylin bearings with new pillow blocks
- New bed and magnetic surface
- New bed Carriage
- Stick glue (get that from your nearest Walmart; terrible prices online)
- SD Card (You'll find one in that junk box of electronics that you last opened 3 years ago)
- Spare screws
- Spare connectors You never know when you'll have to change out some connections
- spare nozzles
- Some LED strip lights (choose whatever on Amazon; doesn't matter unless you want to connect to your board and control from the screen. If so, get some Neopixel ones
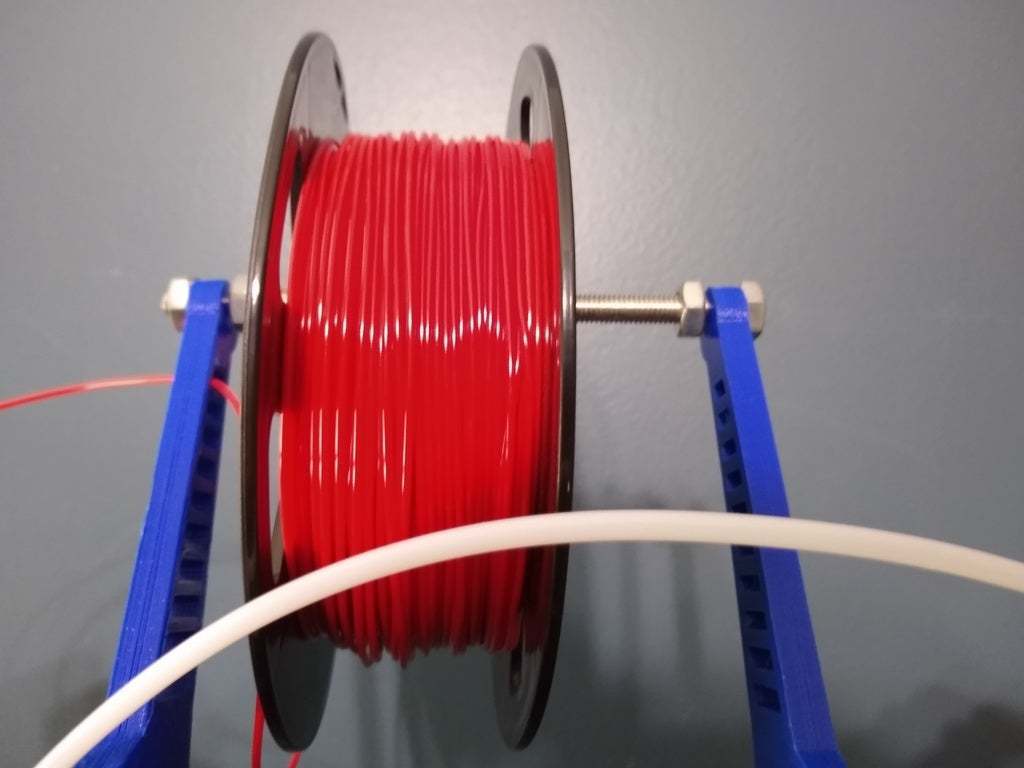
- filament (I like AIO Robotics stuff)
- part fan(s)
Some fun upgrades (I haven't done all of them; upgrade at your own risk!)
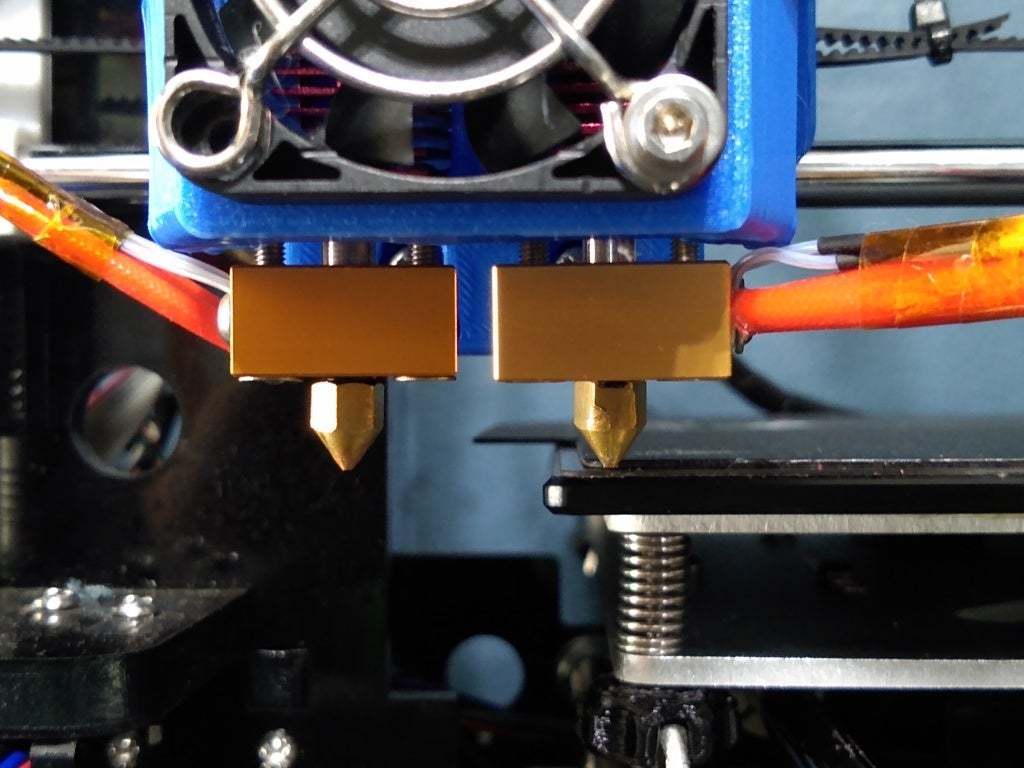
- go dual extrusion (https://www.thingiverse.com/thing:4259808) Just get yourself another one of those hottends.
- I haven't done this, but am looking at it. Consider going for a subscription service. You can get some cool parts and filament for a pretty good price monthly.
- Set up Octoprint on a RasPi. Maybe you don't want to print a case. If so, go for this one.
- This is something I need to do. Get a BLTouch. The carriage I pointed out is made so you can just slap that thing in there (but please don't actually slap it in there).
Some Other Tips
When I began upgrading, I started working with firmware a lot more. Firmware is really not that tricky of a thing, once you get used to it. I use Marlin 2.0.5.3. Great firmware. The things you can do with your printer via just some coding really is astounding. I've experimented with firmware. Now that was a bad idea. If you don't know what something is, ask on a group (https://www.thingiverse.com/groups/anet-a8-prusa-i3), or DON'T MESS WITH IT. I haven't had any big accidents, but just don't mess around. I like to use VSCode for my compiler. Check out morganlowe's guide on that (https://www.thingiverse.com/thing:4068645).
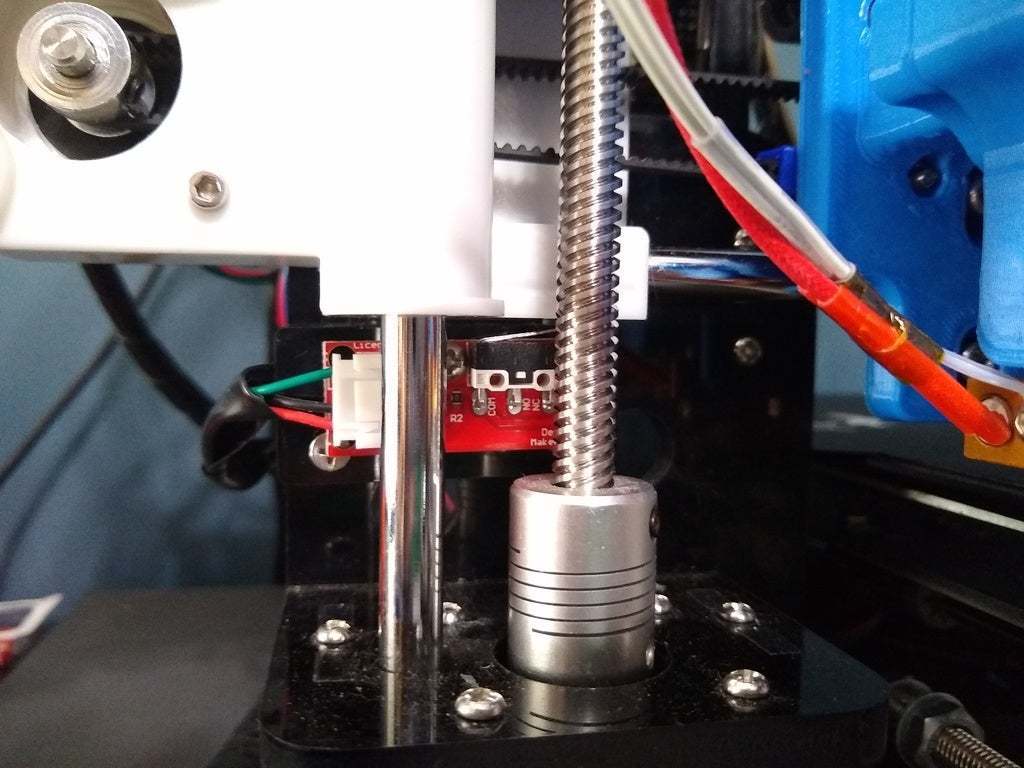
Moving to the next part. Wiring. Wiring is a big part of your printer, and when you start messin' around, you can ruin a mainboard or, if you're very, very lucky, you can just blow a fuse. I learned the hard way not to just remember how to wire something. I was having trouble with my endstops not activating correctly, so I switched around the wires, turned on the printer, and activated the endstop. I ended up blowing the whole header. I was fortunate to figure out I could trick the firmware and say the physical max endstop connections were the min. Everything worked out until I blew the Z axis endstop (no idea how that happened). I had to replace that board. Went dual extrusion and somehow part of my wiring was messed up. I only blew a fuse. Went to Walmart and bought fuses; no big deal. Just be careful. Never "wing" anything.
Moving on to slicers. This is a tough subject for many people. Whatever I say here you don't have go by. I have a preference, you'll find yours. I'm just saying what I learned. With slicers, my preference is Ultimaker Cura, a very universal slicer. I got to using it and understanding settings with it when it came with my MP Select Mini. I've since updated to the new Cura 4.1 and continue to love it. Factory settings are poor, but then again, what factory settings are good (except for the slicers made for only like 3 printers. Those can be great: Flashprint)? I've tuned up my settings really well. I've got the printer running 0.2mm layers at a base print speed of 60mm/s. Travel speed is 75mm/s; wall count 3; 20% triangle infill; 200C nozzle temp; 55C bed temp; retractions enabled (speed 35mm/s); for dual extrusion prime tower is enabled; part cooling enabled (I need to get some fans. Ha!! So really part cooling isn't happening right now). On the note of slicers, I'd also warn the crazy people who are doing dual extrusion NOT to use nozzle offsets. Do that in your firmware, not in your slicer.
I think that should be it! If there is something I'm missing, please PM me. Thanks!!!
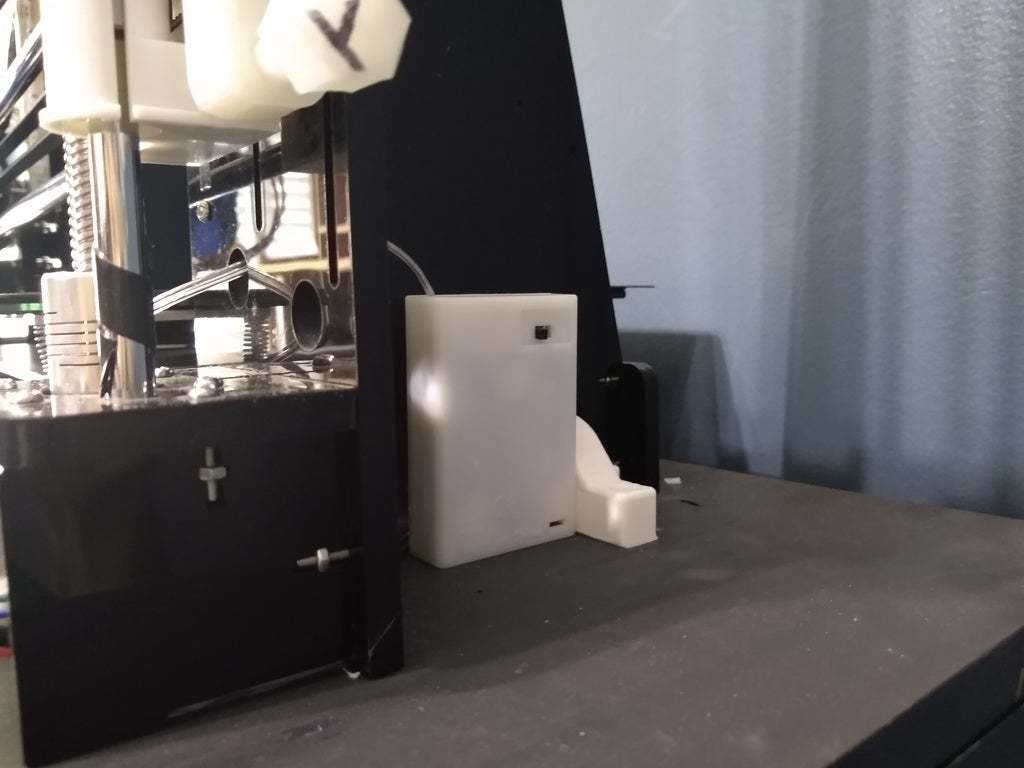
Disclaimer: Pictures of my printer will be updated a lot as its current state is not true to the advice I've given (part fan installed, BLTouch installed, etc.). Updated pictures are below, while original pictures are still above.
UPDATES
BLTouch was added and calibrated; pictures will come soon. After BLTouch was added, hottend E0 was disassembled and put back (having undergone some relatively large changes) to mirror the opposite hottend. Again, updated pictures will come soon.
Got rid of cable chain (looking to replace, but my Voxel seems to not like printing them very much). Will add pictures of the new cable chain when it is printed and installed.
Extra silent 50mm fan was added (this was taken from a broken home theater); a fan adapter (https://www.thingiverse.com/thing:47146) was used for this.
Added Drylin bearings to X axis, only on top though for reasons that are rather
embarrassing: I put in the bottom rod too far so now I can't get it out. WOW.
New fan added along with my duct (https://www.thingiverse.com/thing:4555270)
:format(webp)/https://fbi.cults3d.com/uploaders/16094255/illustration-file/514f0a53-41ff-4c31-93ae-7ea5fae74709/IMG_20200616_174812388.jpg)


/https://preview3d-images.cults3d.com/variants/q6tojx1lqepiasrl4l0yewnsksz1/740653c6971db8cfdca21475487b95b09ce19114e42428007af25545a7f8a383)


