Skip to content

Anycubic Kossel Linear Plus E3D V6 Effector

Advertising
Advertising
?
Creation quality: 5.0/5 (1 vote)
Evaluation of members on the printability, utility, level of detail, etc.

  • 2.1k views
  • 34 downloads

License
3D design format
STL Folder details Close
  • E3D_V6_effector.stl
  • E3D_V6_effector_3_clips.stl
  • E3D_V6_effector_cam_clip.stl
  • E3D_V6_effector_collar.stl
  • E3D_V6_effector_stand.stl
  • Sarunas-elektrinis.stl
  • carriage.stl

Learn more about the formats

Publication date 2020-10-27 at 15:13
?
Published to Thingiverse on: 2017-11-12 at 02:02
Design number 218238

3D printer file info

3D model description

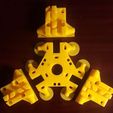
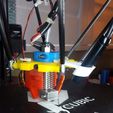
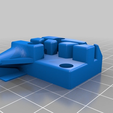
I made the connecting rod mounting points longer so I don't have to use the copper spacers anymore.
They are 52mm wide without spacers.
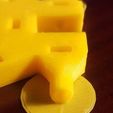
I added a small round brim under each mounting point to help minimize warping. Trim away post print.
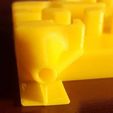
I added a nut pocket so I can use a 3mm X 20mm bolt with a nut and with the rod end installed, the bolt will just reach the nut.

I have noticed with repeated assembly and disassembly that the mounting hole for the E3D will start to get a little loose, so I added 3 screw holes pointing in towards the center, to help lock down the E3D.
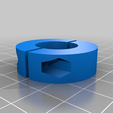
The top collar does a pretty good job of holding it secure, but it is better with the 3 screws. Just don't over tighten them, snug is enough.

The top collar - will take (2) 3mm x 15-20mm screws and nuts. 20's will work but 15's look a little better.

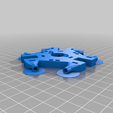
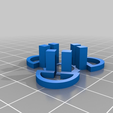
I have 2 square holes on each side. You can either pass wires through the holes, or use the holes as anchor points for wire ties, or use my little wire clips.

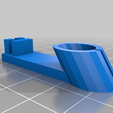
I made a holder for my bore scope, a tiny camera inside a 10mm diameter housing.

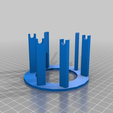
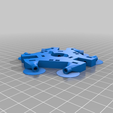
I made a stand for my effector with the extended rod bearing anchor points. Makes it a little easier to work on. Also doubles as a display stand for your spares.

I am still working on the carriages. I have them printed but not installed yet. Same thing, no copper spacers. The rod end mounting points are 52mm wide. These were just a very minor remix. I placed the nut pockets on top because, well, gravity sucks. I added a tiny brim and support for accuracy and non warping. Trim away post print.

I re-mixed (again) some carriages that really are belt tensioners too.
https://www.thingiverse.com/thing:2653647

I printed these in ABS with 50% infill.

effector 2640121
carriages 2653647
fan shroud 2846998
UBL adapter 2847002

Advertising


Issue with this design? Report a problem.

Would you like to support Cults?

You like Cults and you want to help us continue the adventure independently? Please note that we are a small team of 3 people, therefore it is very simple to support us to maintain the activity and create future developments. Here are 4 solutions accessible to all:

  • ADVERTISING: Disable your banner blocker (AdBlock, …) and click on our banner ads.

  • AFFILIATION: Make your purchases online by clicking on our affiliate links here Amazon.

  • DONATE: If you want, you can make a donation via Ko-Fi 💜.

  • WORD OF MOUTH: Invite your friends to come, discover the platform and the magnificent 3D files shared by the community!


Sharing and downloading on Cults3D guarantees that designs remain in makers community hands! And not in the hands of the 3D printing or software giants who own the competing platforms and exploit the designs for their own commercial interests.

Cults3D is an independent, self-financed site that is not accountable to any investor or brand. Almost all of the site's revenues are paid back to the platform's makers. The content published on the site serves only the interests of its authors and not those of 3D printer brands who also wish to control the 3D modeling market.

100% secure payment by credit card, PayPal, Apple Pay, Google Pay, etc.
View all payment options.