I have a bare 8-slot MDB Systems Qbus backplane which I am building into a rack mounted PDP-11 using a modern server power supply and a discarded rack-mount General Robotics LSI-11 box (which came with no contents except the rusted power supply and seized fans unfortunately).
It is well known that these machines require a specific power-up sequence for the BDCOK and other signals, and a number of people have made small circuits from TTL to provide the logic as well as the status LEDs and switches. One of these designs cleverly uses a small Arduino to generate the signals:
(see the QBUS Front Panel Project http://avitech.com.au/?page_id=1657).
What I want is a similar setup, but instead of a bespoke console panel setup, it would I thought be very nice to have a replica of the original (3-1/2" high 2RU) PDP-11/03 bezel and console that is the same as the original in size, switch paddles, LED arrangement and mounting hole placement and overall look and feel.
That way if I ever find the cast Mazak (Zamak in the USA) PDP-11/03 (5-1/4" high 3RU height) fascia panel then the replica should fit nicely.An Ardiuno Pro Mini SOC board should attach to the top of the replica circuit board with room to spare both at the edges and height-wise.
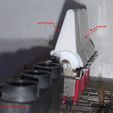
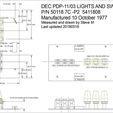
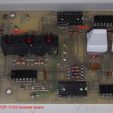
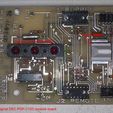
So, here's my work in progress. I've measured an original Lights and Switches Board (yes, that is what is etched on the PCB pattern) to be made from regular fibreglass PC board material. The dimensions are on the 3-view if you want to make your own board. This console was fixed to the front of the DEC H780-H power supply as an integral unit.
The switches on the original console board are C&K 7121 on-on SPDT pivot switches. Sometimes these appear on eBay, but I think the C&K 7101 side-mounted toggle switches ought to also be useable by just trimming the leads and removing the metal side support if necessary. The DPDT on-on switches might fit too.
Simply adjust the pivot diameter and width variables for your switch in the parametric OpenSCAD script, hit F5 then F6 then save your STL.
The only thing to do is to ensure the switch pivot centre is 15.2mm above the circuit board.
The original console connects to the power supply and backplane through the top 16-pin DIP socket. The lower socket was for the optional remote controller unit.
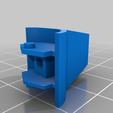
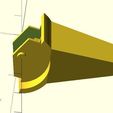
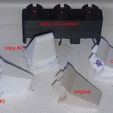
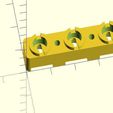
The DEC switch paddle was tackled next. I think this was a special DEC moulding, part number 1210786. The original is an ivory or off-white colour, made from ABS. I measured and scripted the paddle in OpenSCAD and you can find it here. I printed some samples from PLA with good results, and although mine were in white PLA I have some closer 'ivory tint' PLA which I have not tried yet. You can see the result on the original board where I have substituted the leftmost paddle of the three with the printed replica.
It looks good, fits well and operates smoothly so I'm pretty happy with it. This switch paddle was also used for the Unibus PDP-11/05 where twenty-two are required.
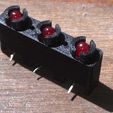
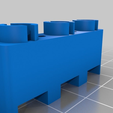
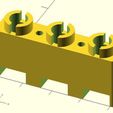
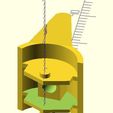
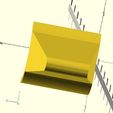
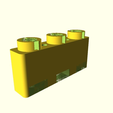
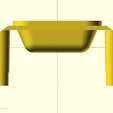
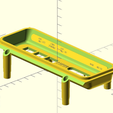
The next item was the LED receptacle, to provide a standoff support for the three LEDs. The original is a dark charcoal grey but I printed it in black ABS and it looks very good. On the original, the LED top is about 1mm below the top of the receptacle. The old red LEDs I found in my spares box are a bit taller by about 1mm than the originals, so adjust the value LED_DEPTH_FROM_TOP to suit.
The PDP-11/03 requires just one of these receptacles. It is also used in the PDP-11/05 where seven are required (one has only one LED).
I think (but could be wrong) the PDP-8/E console also uses this receptacle.
August 2018.
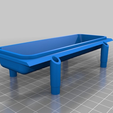
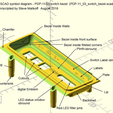
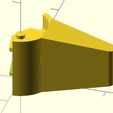
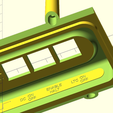
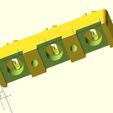
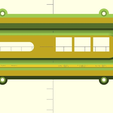
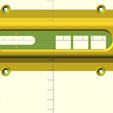
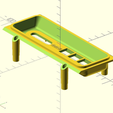
I finally finished the bezel! I haven't printed it yet, but the OpenSCAD model turned out pretty well. See the additional .scad file, .stl and the explanatory symbols image. The original bezel is dark grey with a textured interior except for the plinth and label obrounds.
This bezel is close but slightly different to the PDP-11/23 and PDP-11/03 in the 5-1/4" high 3RU chassis..
TO DO
Just the drawing for the dark red LED filter window. It's just an obround with two indents where the pins are, they are melted over to hold the filter.
NOTE: this takes a while to render in OpenSCAD as $fn is set to 170, but drop it to 25 for a more prompt preview/render result if you just want to examine the code.
November 2018.
I've now put up a seperate new thing for all the PDP-11 LED mounting receptacles with all sizes from one to eight LEDs. You'll find it on my list of Things.

/https://fbi.cults3d.com/uploaders/16254473/illustration-file/949eea62-adda-41bf-a742-c6027b442a9c/DEC_PDP-11_03_console_board_3.jpg)
