Elevador de Leonardo , según el dibujo de Leonardo da vinci.


Elevador de Leonardo , según el dibujo de Leonardo da vinci.
Published 2020-04-29T04:40:13+00:00
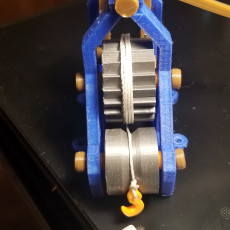
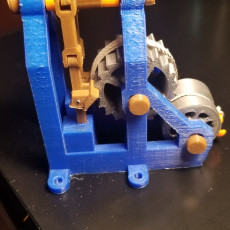
Elevador de Leonardo
Mecanismo elevador, según el dibujo de Leonardo da vinci.
Recogido en el códice Madrid I. p 142
Pequeño video del montaje
https://www.youtube.com/watch?v=9lVRZZ5ib8g
video de funcionamiento real.
https://youtu.be/jMmGgYap2BM
Diseño para impresión 3d.
Hola. He diseñado esta pequeña maqueta según un dibujo de Leonardo que recoge en el Códice Madrid I.
Esta optimizado para que las piezas encajen bien, solo habrá que quitar las rebabas de la base de las piezas.
Marcar soporte en todas partes. Solo necesitan soporte en los agujeros y sera muy fácil de quitar.
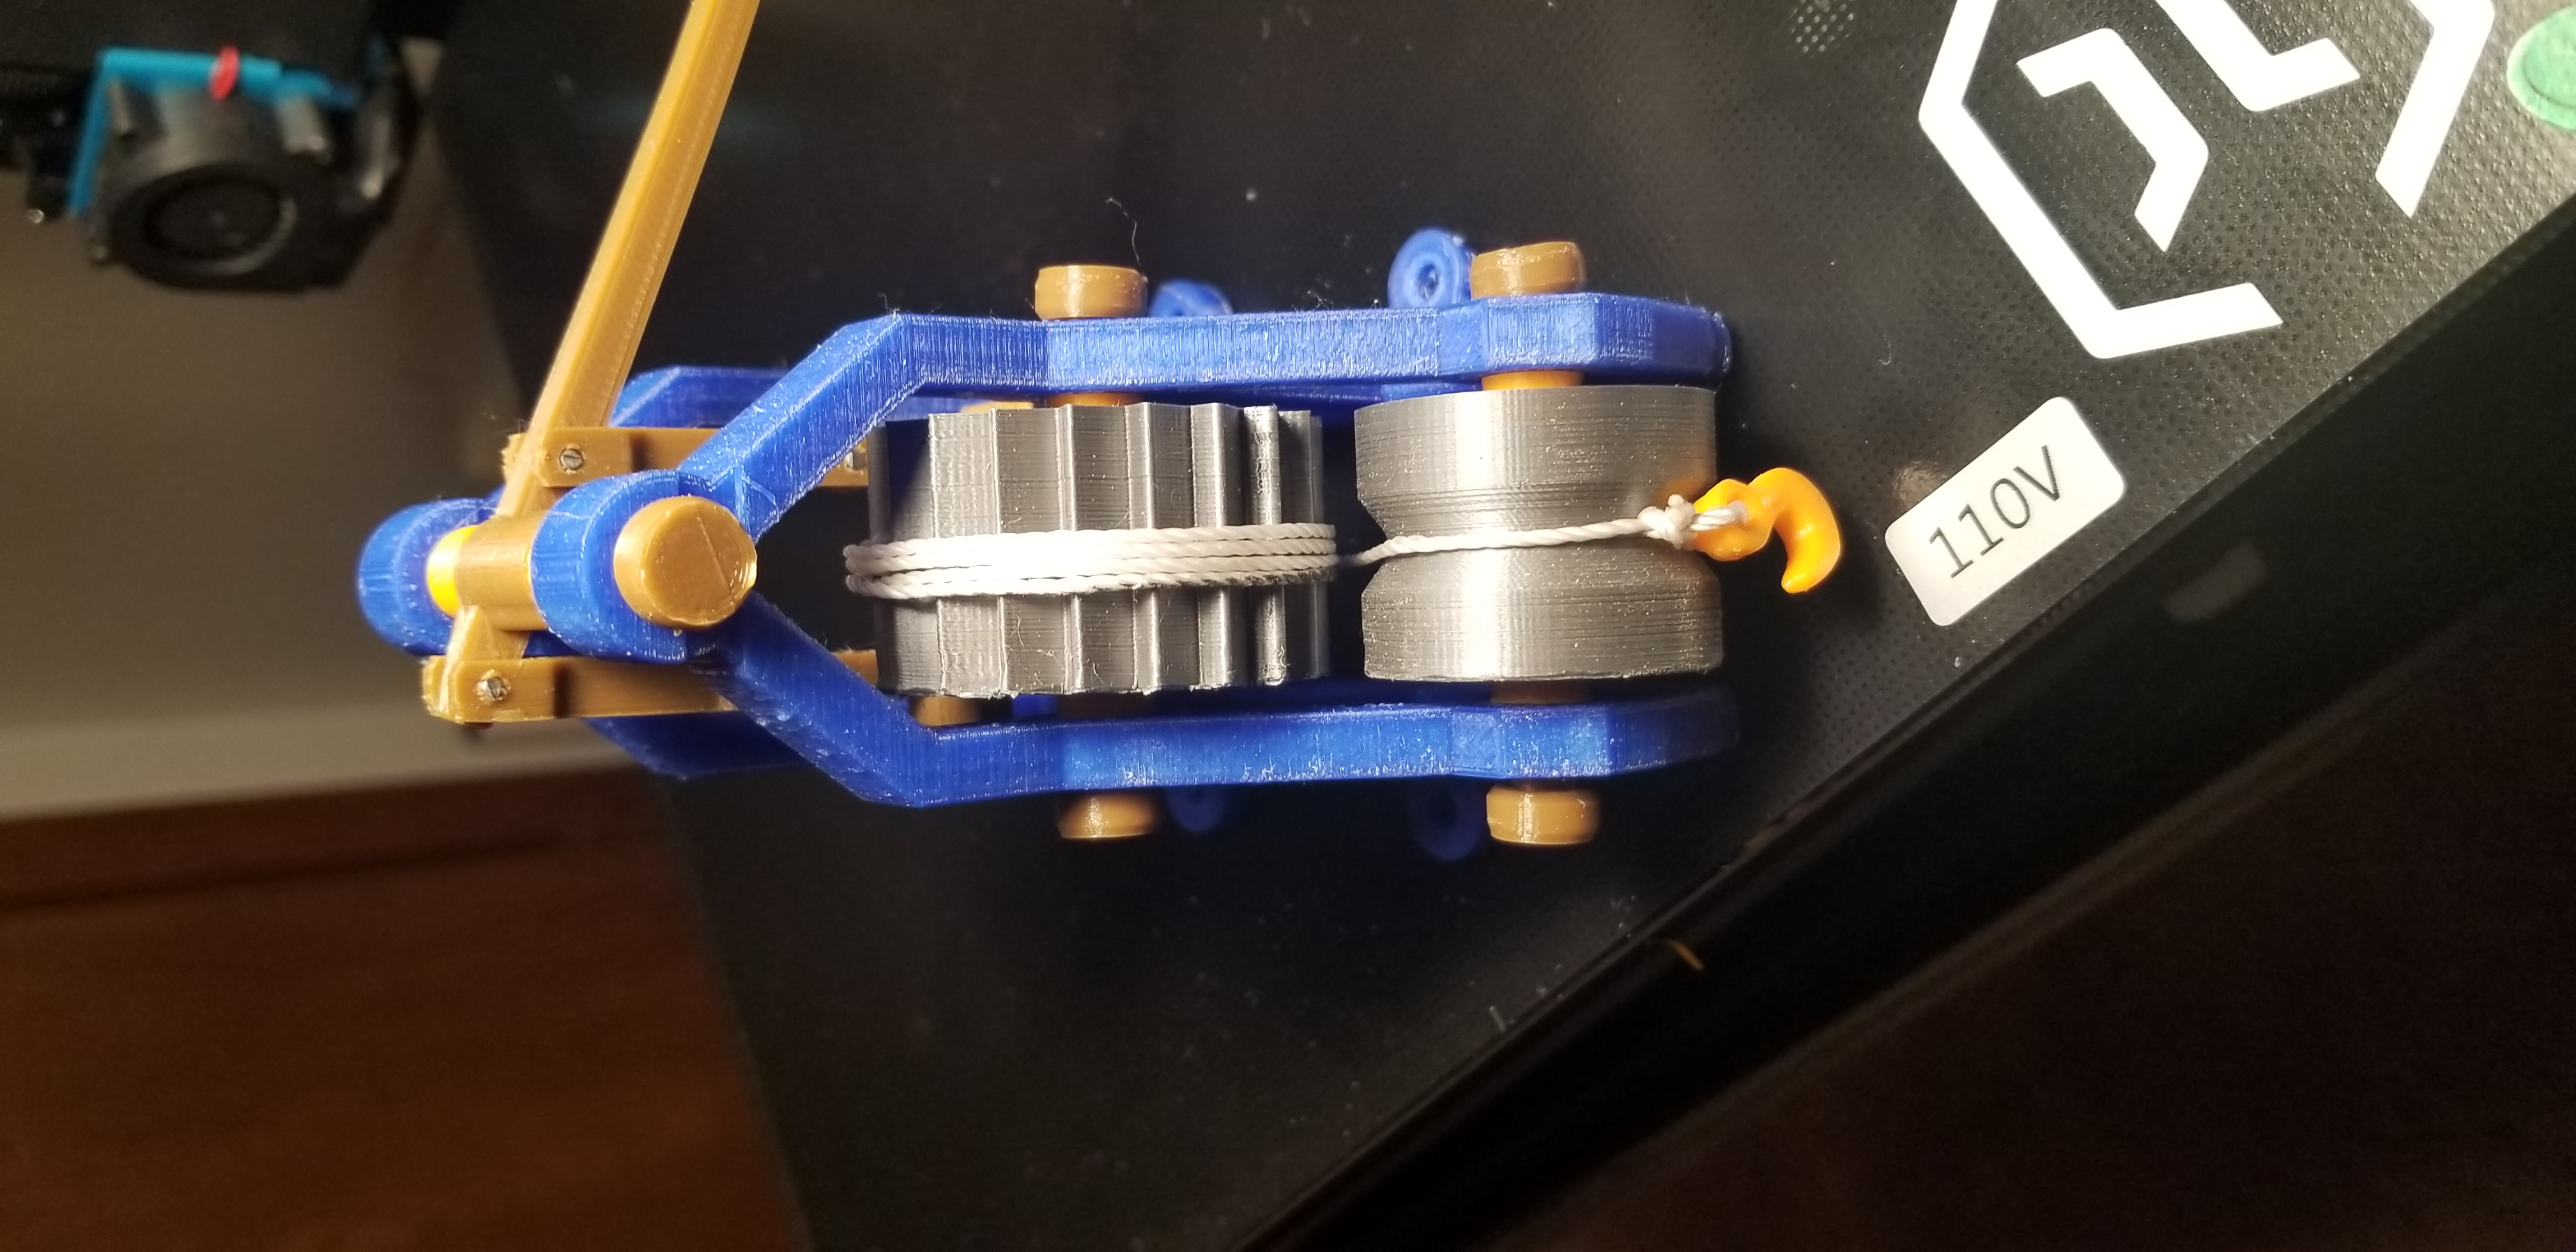
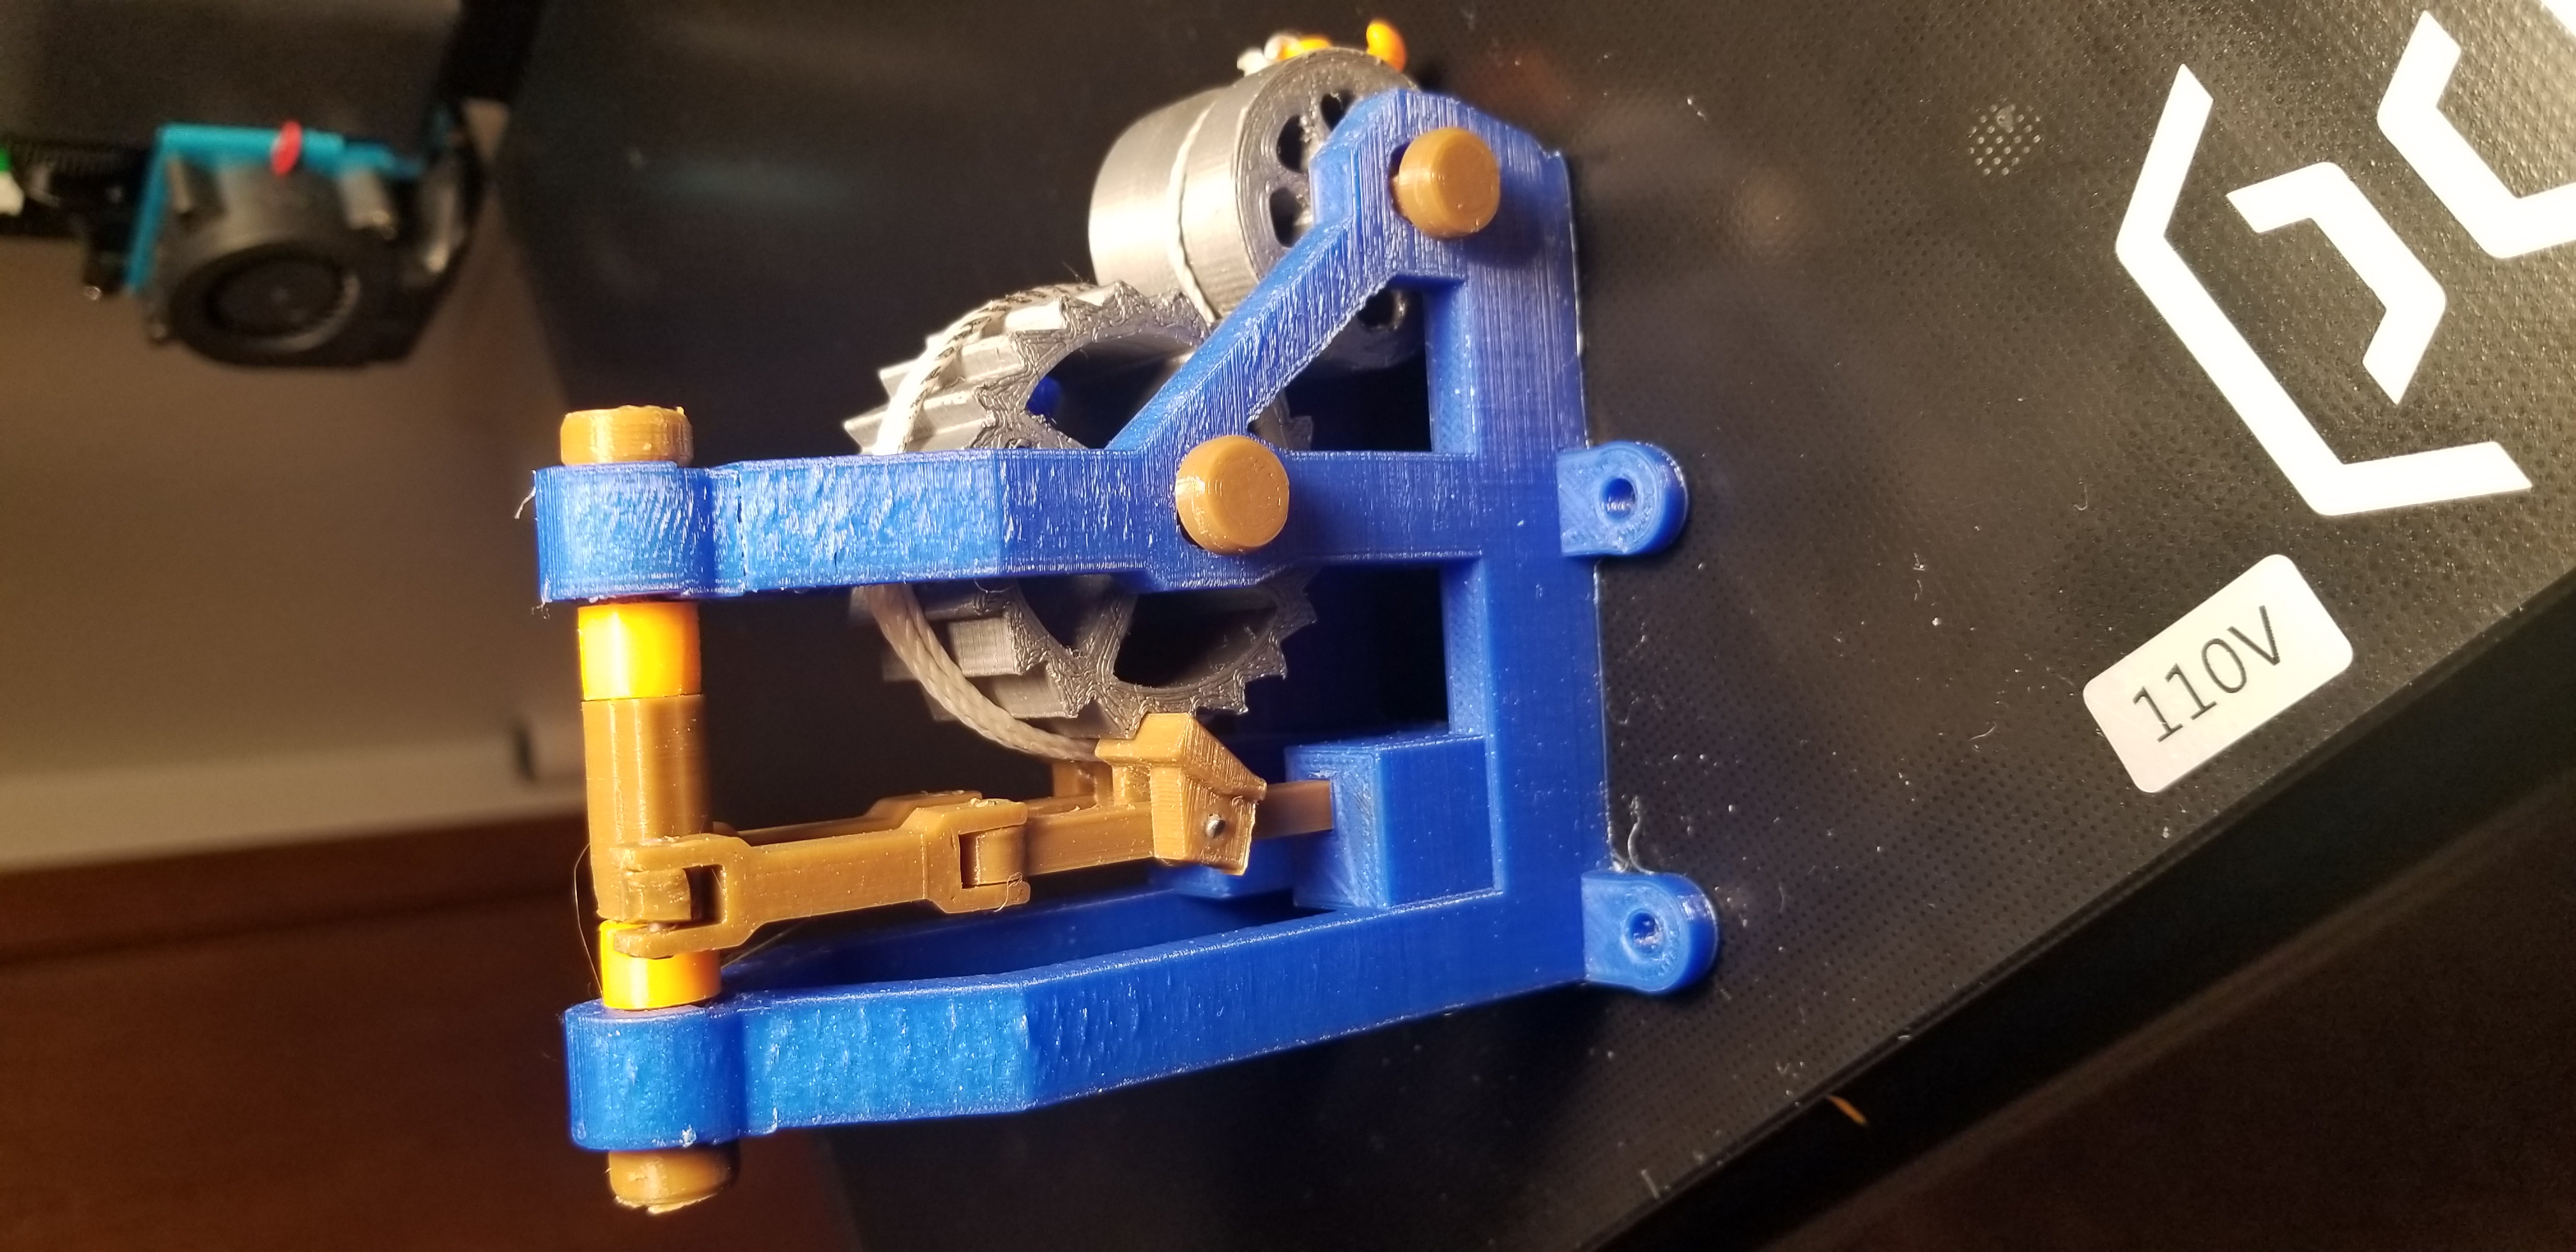
Las piezas que sirven de separadores (en color azul en los dibujos), han de hacerse en modo ESPIRALIZADO.
El cuerpo, la rueda y la polea, están bien al 45 % de relleno y una velocidad entorno a 40 mm/s
Las demás piezas pueden ser al 100% y 30 mm/s.
Como ejes para los pequeños agujeros usamos filamento de 1,75 mm. Necesitamos pequeños trozos de 10 mm aprox.
Utilizamos calor en las puntas para que estas queden ligeramente aplanadas, esto evitara que se salga el eje, repetir en el otro extremo. (unos segundos con alguna fuente de calor como la punta del soldador o encendedor)
Gracias por mirar mi objeto, cualquier pregunta o comentario es bienvenido.
Leonardo's elevator
Lifting mechanism, according to the drawing by Leonardo da vinci.
Collected in the Madrid I. codex p 142
Design for 3d printing.
Hi. I have designed this small model according to a drawing by Leonardo that he collects in the Madrid I Codex.
It is optimized so that the pieces fit together, you just have to remove the burrs from the base of the pieces.
Mark support everywhere. They only need support in the holes and it will be very easy to remove.
The pieces that serve as spacers (in blue in the drawings), must be done in SPIRALIZED mode.
The body, the wheel and the pulley, are well at 45% of filling and a speed around 40 mm / s
The other pieces can be 100% and 30 mm / s.
As shafts for the small holes we use 1.75 mm filament. We need small pieces of 10 mm approx.
We use heat on the tips so that they are slightly flattened, this will prevent the shaft from falling out, repeat at the other end. (a few seconds with a heat source such as the soldering iron tip or lighter)
Thanks for looking at my object, any questions or comments are welcome.


Hola. He diseñado esta pequeña maqueta según un dibujo de Leonardo que recoge en el Códice Madrid I.
Esta optimizado para que las piezas encajen bien, solo habrá que quitar las rebabas de la base de las piezas.
Marcar soporte en todas partes. Solo necesitan soporte en los agujeros y sera muy fácil de quitar.
Leonardo's elevator
Lifting mechanism, according to the drawing by Leonardo da vinci.
Collected in the Madrid I. codex p 142
Design for 3d printing.
Hi. I have designed this small model according to a drawing by Leonardo that he collects in the Madrid I Codex.
It is optimized so that the pieces fit together, you just have to remove the burrs from the base of the pieces.
Mark support everywhere. They only need support in the holes and it will be very easy to remove.
The pieces that serve as spacers (in blue in the drawings), must be done in SPIRALIZED mode.
The body, the wheel and the pulley, are well at 45% of filling and a speed around 40 mm / s
The other pieces can be 100% and 30 mm / s.
As shafts for the small holes we use 1.75 mm filament. We need small pieces of 10 mm approx.
We use heat on the tips so that they are slightly flattened, this will prevent the shaft from falling out, repeat at the other end. (a few seconds with a heat source such as the soldering iron tip or lighter)
Thanks for looking at my object, any questions or comments are welcome.
Las piezas que sirven de separadores (en color azul en los dibujos), han de hacerse en modo ESPIRALIZADO.
El cuerpo, la rueda y la polea, están bien al 45 % de relleno y una velocidad entorno a 40 mm/s
Las demás piezas pueden ser al 100% y 30 mm/s.
Como ejes para los pequeños agujeros usamos filamento de 1,75 mm. Necesitamos pequeños trozos de 10 mm aprox.
Utilizamos calor en las puntas para que estas queden ligeramente aplanadas, esto evitara que se salga el eje, repetir en el otro extremo. (unos segundos con alguna fuente de calor como la punta del soldador o encendedor)
Gracias por mirar mi objeto, cualquier pregunta o comentario es bienvenido.
| Date published | 29/04/2020 |
First big print on my new printer. Lots of fun printing and assembling. Thanks for the STL's.