3D model description
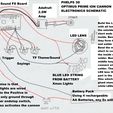
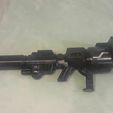
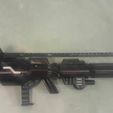
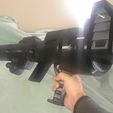
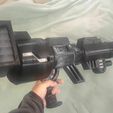
This project was inspired by I Like To Make Stuff’s YouTube video, but unlike him I wanted the entire thing to be 3D Printed (rather than parts fitting to 4” PVC pipe). I also wanted it to be a bit smaller so that I could one-hand wield the cannon like Optimus does about 80% of the time on the original G1 cartoon. I also decided that, unlike him, I would release the details on my electronics setup. I opted to remove the Ardino nano entirely since it is not necessary to make the LEDs light up. In the pictures and in my YouTube video you see what is Version 4 of the ion cannon https://youtu.be/fmPHhIFVWGQ , the current version 5 has some changes to it:
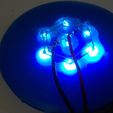
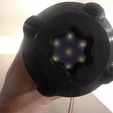
• The Front Lens and the LED Ring parts were integrated into one piece.
• I added a little block to segment 3 to better support the round part (in the video I say I knocked it off twice).
• The cuts in the grip handle were made a few millimeters smaller for more comfort.
• The trigger guard was changed from an extrude to a torus for more comfort on the index finger. Unlike the extrude I previously used which hung inside a hole notch inside Section 2, the torus can be superglued to add more strength to the grip handle.
• The trigger was made slimmer to make it easier to maneuver.
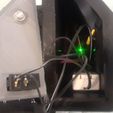
• Holes were cut into the grip handle and front speaker lens to accommodate wiring in the endstop limit switches.
• A notch block/hole were added to the interface between the rear portion and Section 1 part B so you can’t make the slanted mistake I did in version 4.
• Holes to accommodate 5 mm LEDs were cut into Section 2’s small lenses. (In case you decide you want them to light up when you pull the trigger too.)
The parts were all printed on my Ender 3. I used 0.28 mm layer height, 70 mm/s print speed, and recommend 10% infill (in the video I say I tried 5% and the parts were very brittle). I was using a 0.4 mm nozzle. This project is not for the faint of heart when it comes to time. Took nearly 2 weeks for me to print all the parts with a few over 20-hour pieces. I have oriented the files so they are facing the way I would print them. I like a 6 mm brim instead of a raft. Because I split Section 2 in half to try to avoid supports you will most likely need a raft to keep that part from warping. I would use supports on everything except the front lens, speaker lenses, and Section 2 Lenses. You might get away with no supports on the handle grip, but that depends on how well tuned your printer is. A tip to aligning the front LEDs with the barrel on Section 4 is to hold it by the wires and then up to a light. The LEDs should let more light through the lens.
BOM:
3 KG Black Filament (I suggest buying them all from the same manufacturer/source. I didn’t and they varied greatly in color with some shiny and others very dull. I ended up spray painting it to make it uniform and also to hide the “repairs” I made or the way superglue whitens after it dries.)
500 G Translucent Filament (approx. I used translucent white for my lenses, but you could pick and choose if you wanted other colors).
100 G Silver/Gray Filament (for the rear louvers).
Adafruit Sound FX Board
Adafruit 3.5w Amp Board (If you want stereo, you’ll need 2 of these and 2 speakers).
4w speaker
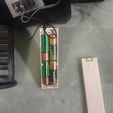
5V Battery (I used 4 rechargeable AA batteries which came in just under that but still worked. An idea that came up later was one of those little keychain battery boosters for cell phones.)
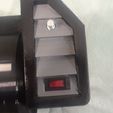
PC Type Power Switch
3 x Endstop Switches (You could use just about any type of switch instead.)
About 3 meters/yards of wires (the longest wires are the ones going to the front lens, speaker(s), and two front switches).
8 x 5mm white LED bulbs (10 if you use the Segment 2 lenses too).
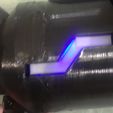
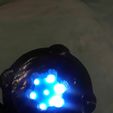
Small xmas type blue LED string (placed into Segment 1 to light the lenses there).
Solder (I did all the switches and even re-soldered the leads on the speaker).
Electric Wire Shrink Wrap or some other means of insulating the many joined wires.
Super glue (I would guess I used about 8 of the 4.5 oz bottles, but I did apply it very liberally).
Hot Glue (Used to put all the lenses in place and to secure the endstop limit switches.
Velcro Strip (Used to keep my battery pack in place in the rear section.
M5 Bolt, 2 washers, 2 nuts (Used to help pull the rear louver electronics cover out).
3D printing settings
0.28 mm layer height
10% Infill
70 mm/s print speed
Supports on all but front lens/led ring, speaker lenses and section 2 lenses.
Rafts on section 2's parts. I used brims on everything else.

/https://fbi.cults3d.com/uploaders/17008160/illustration-file/30ab7b77-8c29-4cc6-86bd-ee21512fcae7/20210116_094653.jpg)
