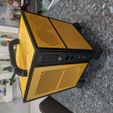
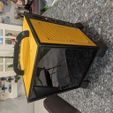
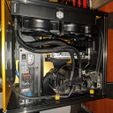
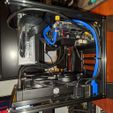
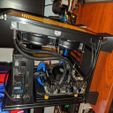
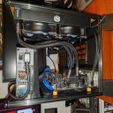
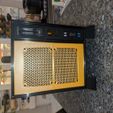
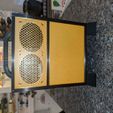
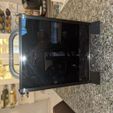
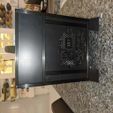
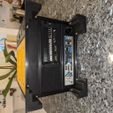
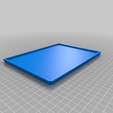
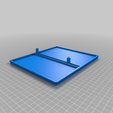
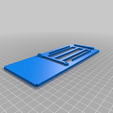
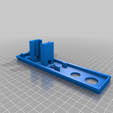
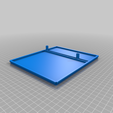
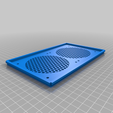
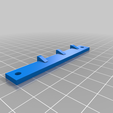
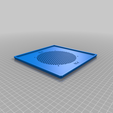
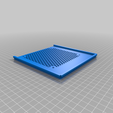
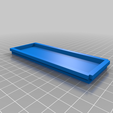
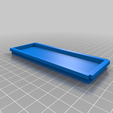
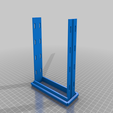
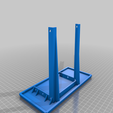
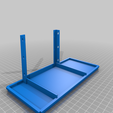
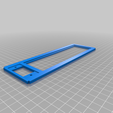
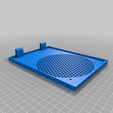
Update 3: Redesigned the back motherboard plate. It now has press-tabs that will allow you to quickly remove the plate without having to take apart the entire case. This will give you easy access to the back of your motherboard.
I also added round feet, because my roommate said he hated the square ziggurat feet.
Update 2: Added an alternate version of the PSU Holder. With this version you can fit a full 300mm graphics card instead of only 220mm by turning the PSU 90 degrees on it's side. Keep in mind that this alternate version precludes the ability to have a 140mm fan in the top plate.
I also updated the regular PSU Holder to add additional support for the PSU, and lift it up an additional 10mm, allowing for a 220mm graphics card.
Update 1: Added an alternate version of the Right Riser Card Support. This piece is for a slightly altered configuration that allows for a 300mm graphics card instead of only 220mm by moving the bottom PCIe plate to the front of the case, instead of in the middle.
This precludes the ability to use a 240mm radiator in the front of the case... but it opens up space to have a pretty beefy CPU air-cooler. The front-panel section should also be swapped to the left instead of the right, as you probably wont have enough space for cabling if it was on the right.
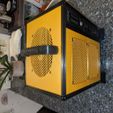
I was looking for a no compromises small form factor (SFF) PC case. Unfortunately, nothing like this actually exists. Every SFF case has some sort of compromise; whether it be lack of cooling options, lack of IO or even a lack of portability. So my aim was to create a case that fits all these needs...
Features:
* 15.5L: 220mm x 220mm x 320mm
* Fits a mITX motherboard
* Fits a SFX power supply
* Fits a 3-slot graphics card up to 220mm
* Fits a 3-slot graphics card up to 300mm (alternates)
* 2x 120mm fan on front (or radiator)
* 1x 140mm fan on top
* 2x 92mm fan on the right
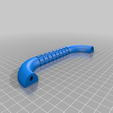
* Optional carry handle
Since all the pieces to this case are modular, you could theoretically re-arrange things how you want. With some simple design changes, you could move the front-panel I/O section to the left, instead of the right. You could lay the case on it's side by re-arranging the feet.. or flip the entire thing upside down to put the motherboard and graphics I/O on the top instead of the bottom.
I also wanted to make the case so that, unlike my other 3D printed cases, did not require any cutting of aluminum. This way I could share it publicly, as it uses all default Makerbeam lengths and does not require any additional work.
Requires:
* 5x Makerbeam 300mm
* 10x Makerbeam 200mm
* 12x Makerbeam T-slot Nuts
* 8x Makerbeam Corner Cube
* 4x Makerbeam Standoffs
* 1x Phanteks 90deg Riser Cable
In addition to the above, unless you want your front I/O to look exactly like mine, you'll need to design your front panels to fit your I/O requirements. I used some stackable USB adapters, a Dell Vostro HD-audio plug I found on eBay, and some 32mm M3 screws
Everything uses M3 screws, I tended to use lots of extra screws which come with various Makerbeam kits. You can buy them separately, but that can be a bit expensive since they only sell them at high quantities... so except for the square bolts, buy generics.
Screws:
* 14x Makerbeam M3 Square Bolts to hold cross-beams, I believe a few of them come in the standoff kit...
* 8x 8mm length M3 screws for the bottom feet.
* 2x 32mm length M3 screws for the front panel audio if you use the Dell Vostro cable I linked.
* 2x 8mm length M3 screws for the front panel USB if you use the stackable USB cables I linked.
* 6x Heat Set Inserts for the riser card and handle.
* miscellaneous screws for your fans/radiator, motherboard and power supply.
In my photos, you can see that I chose not to print a left panel and instead use a polycarbonate glass sheet. When the RGB turns on, it lights up the smoke panel very nice. If you want you can also add a cross bar of a 100mm length below the PSU for some aded support, but that will reduce the height of your GPU by 10mm.

/https://fbi.cults3d.com/uploaders/17173594/illustration-file/9dca017e-316c-4c44-8cc9-63bd010d0c88/IMG_20200102_091530.jpg)
