Skip to content

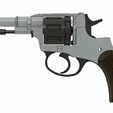
Replica Russian M1895 Revolver

πŸ”« 3D models of guns or weapons are dummy objects or prop toys and have no real functionality as weapons. They are intended for entertainment or decorative purposes only. For any design violating our T&Cs, please report them.

Advertising
Advertising
?
Creation quality: 4.3/5 (4 votes)
Evaluation of members on the printability, utility, level of detail, etc.

  • 18.2k views
  • 88 likes
  • 1k downloads
  • 2 collections
  • 2 comments
  • 1 make

License
3D design format
RAR and STL Folder details Close
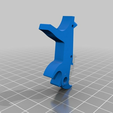
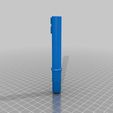
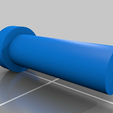
  • Barrel.stl
  • Breech_Face.stl
  • Breech_Pivot_Pin.stl
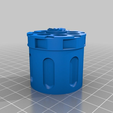
  • Cylinder.stl
  • Cylinder_Pin.stl
  • Cylinder_Spring_Axis.stl
  • Double_Action_Pawl.stl
  • Drop_Safety_Block.stl
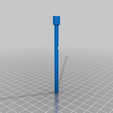
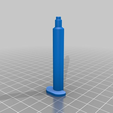
  • Ejector_Rod.stl
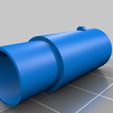
  • Ejector_Sleeve.stl
  • Firing_Pin.stl
  • Front_Sight.stl
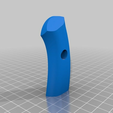
  • Grip_Left.stl
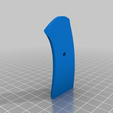
  • Grip_Right.stl
  • Hammer.stl
  • Hammer_Firing_Pin_Connector_Pin.stl
  • Hand.stl
  • Lanyard_Loop_Buttplate.stl
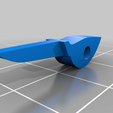
  • Loading_Gate.stl
  • Loading_Gate_Nut.stl
  • Loading_Gate_Screw.stl
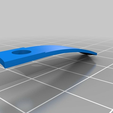
  • Loading_Gate_Spring.stl
  • Nagant_M1895.rar
  • Rear_Grip_Insert.stl
  • Receiver.stl
  • Side_Plate.stl
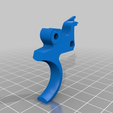
  • Trigger.stl
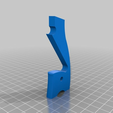
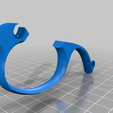
  • Trigger_Guard.stl
  • Trigger_Guard_Retainer_Screw.stl

Learn more about the formats

Publication date 2021-02-10 at 01:30
?
Published to Thingiverse on: 2018-10-08 at 03:23
Design number 289333

3D printer file info

3D model description

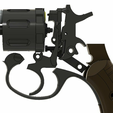
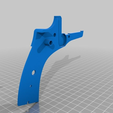
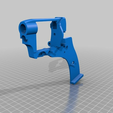
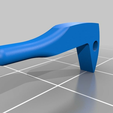
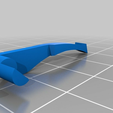
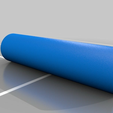
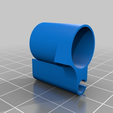
This upload is for a PROP or REPLICA of the Russian M1895 Nagant Revolver. This is NOT SUITABLE for creating a firing weapon. Great for theater or shelf, terrible for trying to make a real gun. The barrel isn't rifled, doesn't thread into the receiver, isn't nearly thick enough for pressure, and none of the parts would survive.

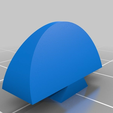
This is an early pattern of the M1895, perhaps from the Tsarist era, distinguished by the half moon sight on the front among other things. Also, if anyone cares, it's an officer's model if you print the double action pawl and put it in place, conscripts only get single action. I did not model/sketch any proof marks, serial numbers, or arsenal markings. That's a whole essay on it's own! Feel free to add whatever marks you feel are appropriate when you paint and age it.

I tried to create each part of the revolver as its own piece to minimize (HA!!!) the amount of work you'll have to do in post processing to paint and weather the parts. I like having each part separate so I don't have to mask anything off. Each piece gets it's own weathering.

There is one pin, three/four screws, and three springs missing.

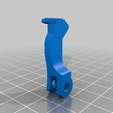
The pin that connects the firing pin to the hammer can also hold the double action pawl in place, print/make two. Honestly, it's a 1mm diameter pin, find some wire and snip it, or print it if you thing your printer is up to it.

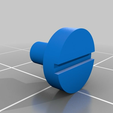
There is a side plate screw that is missing M2.5x16mm Cheese Head Slotted, goes from the right side to the left . There are two grip screws, M2x6mm Pan Head Slotted. Normally these would be flat head screw installed from the inside of the receiver or side plate going out with an escutcheon in the grip to screw into, but please forgive me that bit of historical inaccuracy. There is one screw for the loading gate retainer spring and trigger guard M2x6mm Cheese Head Slotted.

There is one spring hidden inside the cylinder and is held in place with the "cylinder spring axis". It presses the cylinder to the rear where the action can engage the cams on the back of the cylinder. I do not have a good part number or size to tell you here, I'm gonna wing it. There is a very small spring between the double action pawl and the hammer that presses the pawl forward so the trigger can also advance the cylinder. Normally a thin V leaf spring, the spring from a ballpoint pen may suit this need if you snip just a few coils of it from the middle. The mainspring extends into the grips and is a large flat V of steel that produces a ridiculous amount of tension and would break 3d printed parts before you could cock the hammer or pull the trigger. A bent piece of coat hanger wire may serve to provide just enough springy resistance to make the action work.

There's a rather nice assembly/disassembly video on Youtube at https://www.youtube.com/watch?v=0cuhKtlUtH4 that shows how all this fits together on a real revolver.


I have not printed this myself yet, but I'm working on it. All parts are modeled from an original in my own collection and should be accurate in regards to dimensions 1:1 with the real thing.

Advertising


Issue with this design? Report a problem.

Would you like to support Cults?

You like Cults and you want to help us continue the adventure independently? Please note that we are a small team of 3 people, therefore it is very simple to support us to maintain the activity and create future developments. Here are 4 solutions accessible to all:

  • ADVERTISING: Disable your banner blocker (AdBlock, …) and click on our banner ads.

  • AFFILIATION: Make your purchases online by clicking on our affiliate links here Amazon.

  • DONATE: If you want, you can make a donation via Ko-Fi πŸ’œ.

  • WORD OF MOUTH: Invite your friends to come, discover the platform and the magnificent 3D files shared by the community!


Sharing and downloading on Cults3D guarantees that designs remain in makers community hands! And not in the hands of the 3D printing or software giants who own the competing platforms and exploit the designs for their own commercial interests.

Cults3D is an independent, self-financed site that is not accountable to any investor or brand. Almost all of the site's revenues are paid back to the platform's makers. The content published on the site serves only the interests of its authors and not those of 3D printer brands who also wish to control the 3D modeling market.

100% secure payment by credit card, PayPal, Apple Pay, Google Pay, etc.
View all payment options.