Skip to content

Labyrinth Toy - simple mechanism, no strings attached (literally)

Advertising
Advertising
?
Creation quality: 0.0/5 (0 votes)
Evaluation of members on the printability, utility, level of detail, etc.

  • 2k views
  • 2 likes
  • 2 downloads

License
3D design format
STL Folder details Close
  • Axle Support.STL
  • Cap.STL
  • Container.STL
  • Knob.STL
  • Main Board.STL
  • Motion Ring.STL
  • Spacer Ring.STL
  • X-rod Short.STL
  • X-rod.STL

Learn more about the formats

Publication date 2021-02-16 at 20:11
Design number 295166

3D printer file info

3D model description

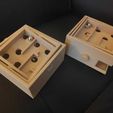
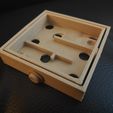
My third product design project: a classic labyrinth maze toy, built from scratch in SolidWorks.

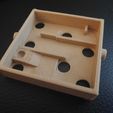
The tilting mechanism of a traditional labyrinth toy relies on strings tied to board to hold the X/Y frames in place and limit the tilt angle. With the re-design mechanism, tilting movements of both X/Y frames can be regulated / limited by axle supports formed of simple shapes.

The whole assembly contains the following:

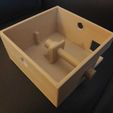
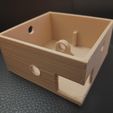
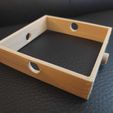
1 x Container (Outer shell)
1 x Motion Ring (X-tilting frame)
1 x Main Board (Y-tilting maze board)
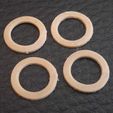
4 x Spacer Rings (to create clearance gaps between the tilting frames)
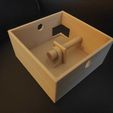
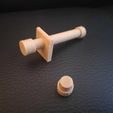
1 x X-rod (longer rod to control the X-tilt movement)
1 x Axle-support (an X-tilt movement triggering device, to be slided on to the longer rod, positioned close to the centre of the container)
1 x X-rod short (shorter rod to control the Y-tilt movement)
1 x Cap (to restrict the axial movement of the longer rod inside the container)
2 x Knobs (cover the exposed ends of the rods)

Ball bearings are not included of course ;)
The maze is designed for a 8mm dia. ball bearing. They can be bought from eBay at cheap, say pack of 10 for Β£2.

The caps and knobs were designed to create tight-fit so no glues are required (however, use it if the knobs / caps are loose on the rods)

Highly recommend Wood PLA for the classic appearance.

3D printing settings

Print with supports at places where holes exist.
100% infill recommended, particularly applied to the rods (I broke some of those even they are printed at 50% infill)

Recommend a resolution of less than 0.2mm to get better clearance tolerance, otherwise you may need some sandpaper to smooth out the hole / rod surfaces or create larger clearance even.

Advertising


Issue with this design? Report a problem.

Would you like to support Cults?

You like Cults and you want to help us continue the adventure independently? Please note that we are a small team of 3 people, therefore it is very simple to support us to maintain the activity and create future developments. Here are 4 solutions accessible to all:

  • ADVERTISING: Disable your banner blocker (AdBlock, …) and click on our banner ads.

  • AFFILIATION: Make your purchases online by clicking on our affiliate links here Amazon.

  • DONATE: If you want, you can make a donation via Ko-Fi πŸ’œ.

  • WORD OF MOUTH: Invite your friends to come, discover the platform and the magnificent 3D files shared by the community!


Sharing and downloading on Cults3D guarantees that designs remain in makers community hands! And not in the hands of the 3D printing or software giants who own the competing platforms and exploit the designs for their own commercial interests.

Cults3D is an independent, self-financed site that is not accountable to any investor or brand. Almost all of the site's revenues are paid back to the platform's makers. The content published on the site serves only the interests of its authors and not those of 3D printer brands who also wish to control the 3D modeling market.

100% secure payment by credit card, PayPal, Apple Pay, Google Pay, etc.
View all payment options.