2021.12.13 UPDATE:
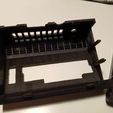
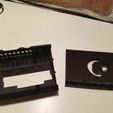
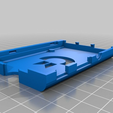
Added a version from the screw together design for the Raspberry Pi 4 board. Enjoy!
HUGE UPDATE 2018.10.08:
This case was my first try to design something for 3D printing and honestly, it was a Frankenstein creation with tons cobbled together surfaces and inelegant but functional edits in Tinkercad to get to the finished design.
I always intended to redo the whole thing and have a nicer, cleaner design once i got more familiar with 3D designing softwares such as Fusion360. In the end i again stuck with Tinkercad as i still find myself most comfortable with that tool even though Fusion360 is much more sophisticated.
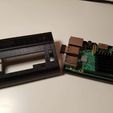
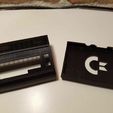
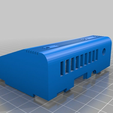
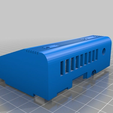
Changes compared to my V1 design: I redid the whole design from scratch and cleaned up surfaces that had some unfortunate seams in some places as well as improved on the general design of the top part. While i was at it i created a couple of improvements and different flavors to choose from.
There are now two main branches of design which basically differ in the way the two halves are fixed together. One uses screws and one is a snapfit design.
Under these branches I added 2 additional flavors to choose from for the top of the case. 1. Normal, 2. with hole for a small momentum switch for power off function. All versions also now have a small hole to fit a 3mm led diode as the power led.
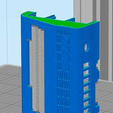
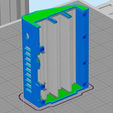
All parts have been test printed to make sure everything fits together nicely (snap fit joints, diode, power switch). For the best surface finish it is highly recommended to print the top part standing upright with the solid sidewall facing the build plate. This way the supports will all be vertical and built on the inside of the top part and even if they leave marks they won't be visible on the outside. Most of the inside will also have a nice surface finish this way. Bottom part you can print flat on its back but you will not get best model accuracy that way because of the curved side lines. Here i would also suggest to print the bottom vertically with supports on the inside of the case. Same with the top half this way you will have minimal support scarring and even those will only be in the inside of the case. Takes a bit longer to print in this orientation but for the better surface finish i say its worth it.
I had to minimally alter the two keyboard pieces as well to make them fit in the new screw design so if you have printed the previous V1 case and you want to try the new V2.0 screw version make sure you reprint the keyboards as well or manually adjust your old ones to fit. For the snapfit case version you don't need to reprint the keyboards as there is no clearance issue there.
For the Safe power off switch function i used a small momentun switch attach it to GPIO pins 5 and 6. You also need to add a small script to your raspberry pi which does the actual safe power down. You can find it here it here with detailed instructions: https://retropie.org.uk/forum/topic/14537/tutorial-adding-a-dedicated-on-off-switch
For the Power Led i used a 3mm 12V diode. You can get these cheap on ebay or on aliexpress. To connect the diode use GPIO PIN 8 (called GPIO 14) for the positive lead and GPIO PIN 39 (ground) for the negative lead. This way you don't need to add a resistor to the led. Additionally to make this work go to your Raspberry Pi config and enable Serial by going to Advanced Options and enabling it via menu option Serial.
The old V1 models have been removed. If anyone would still want them for some reason throw me a message.
Happy Printing!
P.s.: To the guy who took my V1 design and sells cases on ebay. You suck man.
Original Post:
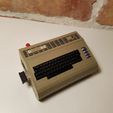
Inspired by a number of Mini console and mini computer cases for the Raspberry Pi i wanted to take a crack at it with designing my own flavor based on my very first computer a Commodore C64.
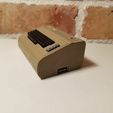
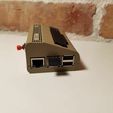
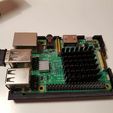
This is not a 100% from scratch design on my part as I mainly used some existing designs of a simple miniature Commodore 64 found on the net and altered the design to fit the Raspberry Pi 3 board and some other small details.
Still need to paint it to appropriately to make it look as close to the the original C64 breadbox case as possible.
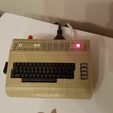
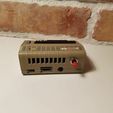
Update 2016.12.15: Added some pictures of the painted case. Painting is not really my strong side so i am aware that the paintjob sucks in quallity and also is not really close to the C64 breadbox color which i remember but for this first go it will make due :)

/https://fbi.cults3d.com/uploaders/13702556/illustration-file/a2cfaa01-3298-47de-b23b-b03bdc70239b/20181019_203502.jpg)
