3D model description
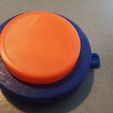
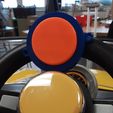
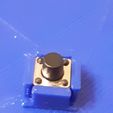
This is a project that I have worked on for a few years now, and will still be updating the designs. After working in a few Go-Baby-Go Events (see below for details about what Go-Baby-Go is), I realized that the most expensive part of a GBG car other than the PowerWheels Car itself is the button that is mounted to the steering wheel to allow the child to "hit the gas" on the cars. The buttons that were previously used cost $65 each. I knew there had to be a way to cut down this cost, and increase functionality at the same time by using 3D printing. I designed the button as a large case around a small two wire microswitch. (https://www.amazon.com/gp/product/B06XT3FLVM/ref=ppx_yo_dt_b_search_asin_title?ie=UTF8&psc=1)
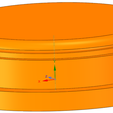
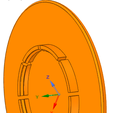
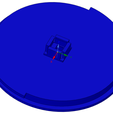
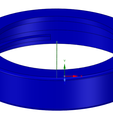
The button is made of four 3D printed parts, and the microswitch. All of the parts can be printed without supports except for the twist lock ring, unless you print it without the mounts. With that said, the button small button top could benefit from some basic support under the hole in the bottom if your printer struggles with overhangs. To print the parts, I recommend the following part orientations:
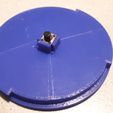
-- Switch Mount Base: print with the bottom flat on the print bed. No support needed.
-- Button Top: Print with the hole side down on the print bed. Support may be needed in the hole on the bottom
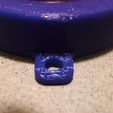
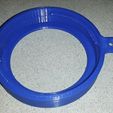
--Switch twist lock ring: I printed it upside down with the flat top side against the print bed and support under the mounting tabs
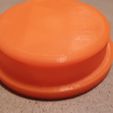
-Large Button Top: Print with the large flat side down against the build plate. No support needed.
Assembly:
To assemble, snap the microswitch into the switch mount base as can be seen in the pictures. Put the button top into the Twist lock ring. Put the Switch mount base into the Twist lock ring with the microswitch facing the bottom of the button top. Hold the Twist Lock Ring and rotate the Switch Base Clockwise until it locks into place. To attach the large button top, push it down over the top of the assembled button until it snaps on.
Wiring the Button:
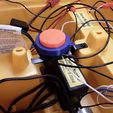
I have wired the button a few different ways. The first is to carefully solder wires onto the pins on the microswitch. Be careful, it is easy to overheat the switch and melt it. The second method is by using a 3 pin plug with connectors/wires in the two outer holes. I recommend this method of wiring.
These designs are still under development and may improve over time if problems arise. Please feel free to contact me if you have any questions about the button, or if you are having any problems with printing it.
Go-Baby-Go
GBG is a program that takes Powerwheels Ride on toy cars and converts them into inexpensive accessible mobility vehicles for children with disabilities. Learn more at:
https://adaptivesportsconnection.org/sports-programs/go-baby-go/
https://www.facebook.com/GBGCT/
This design is protected under a Attribution-NonCommercial-ShareAlike 4.0 International (CC BY-NC-SA 4.0)
https://creativecommons.org/licenses/by-nc-sa/4.0/
Feel free to modify and adapt these designs as you need, but please do not under any circumstances sell these files or any adaptations of them. I created these files with the intent to improve a program that helps children with disabilities at no cost to the child's family.
3D printing settings
I printed in PLA, although any non flexible filament would work (PLA, ABS, PETG, Nylon, etc.)
Supports may be needed as described in the general description.

/https://fbi.cults3d.com/uploaders/15904724/illustration-file/52c91410-3e3d-48c8-8bab-cdd803b82e96/Assembled-button.jpg)
