Skip to content

Bohr Model for Aluminum

Advertising
?
Creation quality: 5.0/5 (1 vote)
Evaluation of members on the printability, utility, level of detail, etc.

  • 4.9k views
  • 3 likes
  • 47 downloads
  • 1 comment

License
3D design format
STL Folder details Close
  • ATOM_KEY.stl
  • Electron_Side1.stl
  • Electron_Side2.stl
  • My_Hook.stl
  • Nucleus_Side1.stl
  • Nucleus_Side_2.stl
  • joint.stl
  • joint_Nucleus.stl
  • orbit.stl

Learn more about the formats

Publication date 2021-03-04 at 01:21
?
Published to Thingiverse on: 2018-06-19 at 08:28
Design number 320581

3D printer file info

3D model description

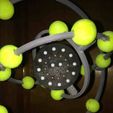
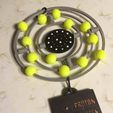
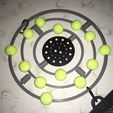
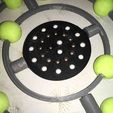
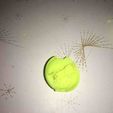
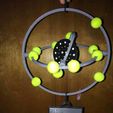
My daughter needed to create a model of an element for her 9th grade science class so we sat down together and drew up the electrons, orbit and nucleus. Decided to give it a little more "wow" and put it on a modified gyroscope. If you're doing the Aluminum element, you will need:

14 Airsoft BB's - Any color
13 Copper BB's
Superglue

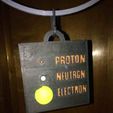
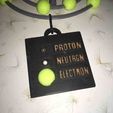
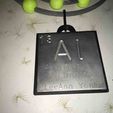
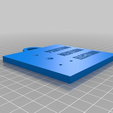
All other items are 3D printed except the Plaque which I made with my CNC from 3mm Aluminum. If you need to print one, just make sure it will fit in the back of the Key.

You will need to print the following:

(13) Electron_Side1
(13) Electron_Side2
(4) Joint
(2) Joint_Nucleus
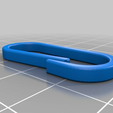
(2) My Hook
and 1 each of:
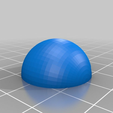
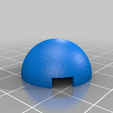
Nucleus_Side1
Nucleus_Side_2
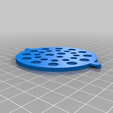
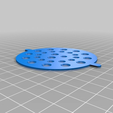
Atom Key
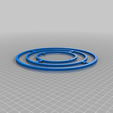
Orbit

I used the following Settings:
Electrons - No Top or Bottom Layers
- .6mm Nozzle
- .2mm layer
- 0% Infill
- 8 perimeters
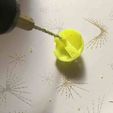
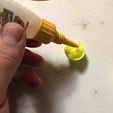
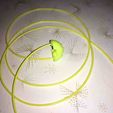
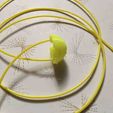
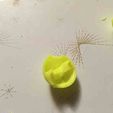
After printing each side of the electron, select one of the sides (they're mirrored) and use a 2mm drill bit to hollow out the holes. Glue a short piece of 1.75mm filament in the holes. Glue the electrons onto the orbits. Make sure you put them in their proper locations.

Orbits
- .6mm nozzle
- .3mm layer height
- 2 Bottom Layers
- 3 Top Layers
- Infill - Optional
- 3 ( or 4) Perimeters

Nucleus
- .3mm nozzle
- .2mm layer height
- 3 bottom layers
- 3 top layers
- 4 Perimeters
- Light infill
The nucleus is designed to allow the BB's to free float inside their holes. You'll need to glue the 2 halves together but it makes for a much "cleaner" look to have the BB's free floating.

Joints:
- Any nozzle, any layer height
- LOTS of perimeters

I used different types of plastic for each of the items (except the joints). The assignment was to use different types of material for the different items. We had great fun putting this thing together and the teacher seemed to appreciate the extra hard work. Hope this helps someone else on their project.

3D printing settings

-

Advertising


Issue with this design? Report a problem.

Would you like to support Cults?

You like Cults and you want to help us continue the adventure independently? Please note that we are a small team of 3 people, therefore it is very simple to support us to maintain the activity and create future developments. Here are 4 solutions accessible to all:

  • ADVERTISING: Disable your banner blocker (AdBlock, …) and click on our banner ads.

  • AFFILIATION: Make your purchases online by clicking on our affiliate links here Amazon.

  • DONATE: If you want, you can make a donation via Ko-Fi πŸ’œ.

  • WORD OF MOUTH: Invite your friends to come, discover the platform and the magnificent 3D files shared by the community!


Sharing and downloading on Cults3D guarantees that designs remain in makers community hands! And not in the hands of the 3D printing or software giants who own the competing platforms and exploit the designs for their own commercial interests.

Cults3D is an independent, self-financed site that is not accountable to any investor or brand. Almost all of the site's revenues are paid back to the platform's makers. The content published on the site serves only the interests of its authors and not those of 3D printer brands who also wish to control the 3D modeling market.

100% secure payment by credit card, PayPal, Apple Pay, Google Pay, etc.
View all payment options.