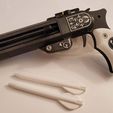
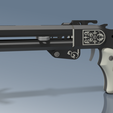
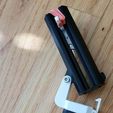
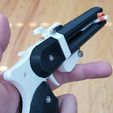
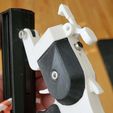
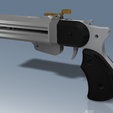
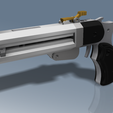
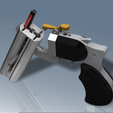
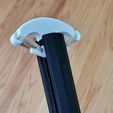
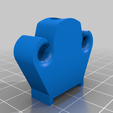
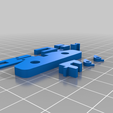
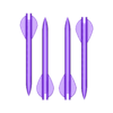
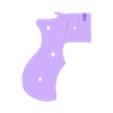
The Double D is a compact crossbow pistol which fires two arrows at the same time. It can be pre loaded with the two arrows ready in its chamber and can then be cocked quickly and fired. It has a break-action and is breech loaded.
DISCLAIMER: By downloading these files, you agree that I shall not be liable for any damage, injury or harm resulting directly or indirectly from the use of these files or instructions. Always be safe and aware when operating these mechanical toys and enjoy!
Required Parts:
M4 Screws and nuts: 2x M4x20, 1x M4x12, 1x M4x10
M3 Screws and nuts: 3x M3x12, 1x M3x20
Small Rubber Bands
Large Rubber Bands
3x Magnets 5mm Diameter x 3mm cylindrical neodymium
Super Glue
If you dont have the magnets, print the _NonMagnetic part variants which use a different Barrel Latch mechanism.
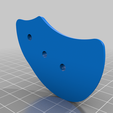
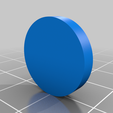
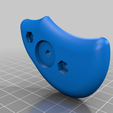
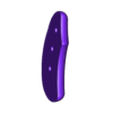
UPDATE: Added engraved parts, updated arrows and slightly modified the SledMechanism so that its front is flush with the SledGrip. Included GripScales with Emblem hole and a sample Medallion to place in the hole. If you want to make your own medallion, the holes in the grip are 17mm Diameter and 3mm deep.
Assembly Guide
Grip and Receiver
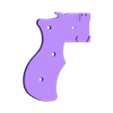
Gather the Grip_Left, Grip_Right, GripScale_Left, GripScale_Right, GripReceiverSidePlate_Left, GripReceiverSidePlate_Right, the Receiver, 2 M4x20 screws, 3 M3x12, an M3x20 and the small rubber band
Take one of the grip halves and the corresponding ReceiverSidePlate and feed the M3x20 screw into the hole in the ReceiverSidePlate and then through the Grip half's hole for the trigger. Place the trigger onto the screw through the other side of the Grip so it sits in the cut out chamber. Loop the rubber band around the trigger in the small notch and pull the band upwards so that it sits in the small channel in the top of the Grip. Then connect the other grip half with the screw and place the other ReceiverSidePlate on top, securing with the end of the screw and a hex nut. Loop the rubber band around the small hook on the grip and make sure that it has good tension, the stronger the better
Screw the GripScales onto the grip with the M4x20 screws and nuts.
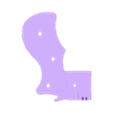
Next, place the flat face of the Receiver against the front of the Grip and secure with two M3x12 screws. Make sure the screw heads are fully inserted into the Receiver so that the front surface is flat.
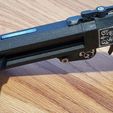
Check the images at the bottom for help assembling the latch
Take the BarrelLockLever halves and glue them together. Insert a magnet into the small hole in the thumb rest of the lever and glue into place. Place the other two magnets, stacked, in the small hole on the top of the Grip and ensure they have the opposite polarity as the one in the lever so that they repel. Screw the lever into the Receiver's hinge with the M3x12 screw. You should be able to press down the lever and have it spring back.
Alternatively, if youve printed the NonMagnetic parts, screw the M3x12 through the LockLever_NonMagnetic's top hole, then apply a bit of glue to the end of the screw once it comes out the other side. Screw this into the hole in the top of the Grip (the NonMagnetic version of the grip has a smaller, deeper hole than the regular version). Ensure the LockLever can rotate freely, yet is tight against the top face of the grip and doesnt wobble.
Barrel
Gather the Barrel, two ArrowRetentionTabs, BarrelLockLatch, BarrelHinge and BarrelBreechPlate, along with an M4x12 screw.
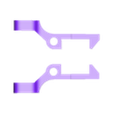
Insert the BarrelHinge into the rectangular slot on the bottom of the Barrel, closest to the breech, and glue in place. Insert the BarrelLockLatch into the small square slot on the top of the Barrel and glue into place. Ensure the angled slope faces towards the breech end. If using the NonMagnetic latch, ensure the longer thinner end is pointing towards the breech. Insert each ArrowRetentionTab into the long open rectangular slots on the barrel, glue the flat squarish face of the tab onto the small indent in the slot. The raised portion of the tab should point inward to the center of the barrel. These tabs keep the arrows in place when theyre inserted and prevent them from sliding out.
Sled
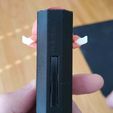
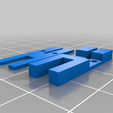
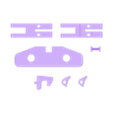
Gather all of the parts from the Sled_Assembly and get a short peice of filament (1.75mm). Check the images for the names of each part. This part is a bit of a pain to assemble and can be fragile. Ensure you print all of these parts at 100% infill density.
Ive also found the tolerances can vary depending on material (I recommend low warping material like PLA). For example, I printed it in Hatchbox White PLA and had the parts fit well without needing to sand, but when printing with Hatchbox Black PLA, the fits were tighter and I needed to sand both the ActuatorPin and the slot in SledMechanism where it fits in to to have it slide freely.
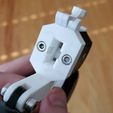
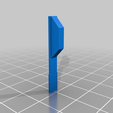
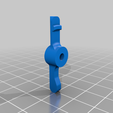
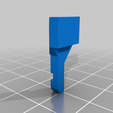
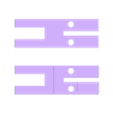
Glue the two rectangular peices together such that the two holes are aligned. Insert the two SledTabs into the slot in the SledMechanism and feed a peice of the filament through each hole such that the tabs can rotate. Use a knife to cut the filament so it is flush with each side of the SledMechanism.
Insert the SledGrip onto the SledMechanism via the slots and glue together. Insert the SledActuator into the thin slot on the rear of the SledMechanism. Ensure that it can slide back and forth and push up the two SledTabs so that they extend outwards. If its sticking / has too much friction, sand down the actuator and the slot in the sled mechanism. Finally, glue the SledTriggerHook onto the back of the SledMechaism so that it contains the SledActuator. Make sure to glue this very strongly as it holds all of the tension in the Derringer.
You can now insert the assembled sled into the barrel with the hook end facing towards the breech. It should slide freely along the channel in the barrel. You should be able to push arrows into the barrel via the breech and have them push the SledTabs downward and thus move the actuator back.
Final Assembly
With the Sled inserted into the barrel channel, place the BarrelBreechPlate onto the breech end of the barrel with the two small pegs inserted into the small holes on the Barrel. If the fit is fairly tight, you can leave it like this without glue to make it easier to remove if you need to repair or remove the sled.
Connect the BarrelHinge to the Receiver with an M4x12 screw so that it can rotate freely. You should be able to rotate the barrel so that its flush with the Receiver and have the LockLever catch it and hold it in place.
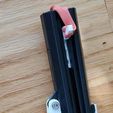
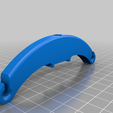
Take the BarrelFrontBandSupport, or MuzzleBowArms / MuzzleBowArms_Compact and place it on the muzzle of the barrel. Use an M4x10 screw to secure it to the barrel. Loop a strong rubber band through the holes in the Sled such that each end of the band is connected to one of the sides of the Sled. The band should then be pulled over the FrontBandSupport and rest in its curved channel.
Alternatively, print the MuzzleBowArms part and use instead. Its a bit less streamlined but itll allow for more power!
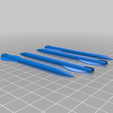
Congrats! Youre done :) Just print two (or more) arrows and glue the halves together.
Note on the Arrows: Ive had the best results with a bit of slicer manipulation: I added a modifier to the tip of the arrows such that the tips are printed at 100% density while the shafts are printed at 20%. This will help balance the arrows in flight.
Loading and Firing
To load, first press down on the LockLever to open the barrel breech. Push the arrows into the shafts in the barrel. You should feel the SledTabs click down. The rear end of the arrows should be pressed in a small way so that theyre a bit past the face of the breech plate. Close the barrel so the LockLever locks it in place.
Now just pull the sled back all the way. It should click into place, pushing the SledActuator forward, rotating the SledTabs outward so that they can push against the rear end of the arrows when fired. Aim the Derringer and pull the trigger to fire both arrows at once! You can also optionally load a single arrow if you desire. Enjoy!

/https://fbi.cults3d.com/uploaders/17487350/illustration-file/192f77ed-ec51-4087-8526-2c1a11526b13/Derringer_Engraved.jpg)
