Skip to content

Servo Bracket with 60mm LED light ring mount and remixed parts

Advertising
Advertising
?
Creation quality: 5.0/5 (1 vote)
Evaluation of members on the printability, utility, level of detail, etc.

  • 830 views
  • 1 like
  • 5 downloads

License
3D design format
STL Folder details Close
  • Servo_Arm_Remixed_rev2.stl
  • Servo_Bracket_Remixed.stl
  • Servo_Bracket_Remixed_Rev2.stl

Learn more about the formats

Publication date 2021-03-10 at 00:15
?
Published to Thingiverse on: 2015-01-02 at 00:04
Design number 326400

3D printer file info

3D model description

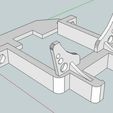
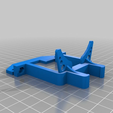
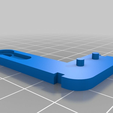
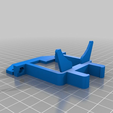
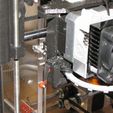
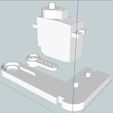
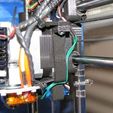
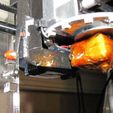
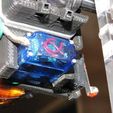
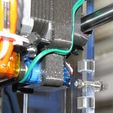
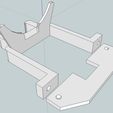
The original bracket is great, but my Prusa i3 uses a short (36oz.in.) NEMA 17 stepper, placing the servo too close to (touching) my hot end. I redesigned the top clamp to accommodate the stepper plug, thus allowing me to move the bracket to the back of the stepper. I also shortened the switch arm to the minimum length that would fold up beside the bracket, and I modified the recess for the servo horn to accommodate the non-tapered single horn that came with my 9g. servo. The horn simply glues into place with the screw side exposed for removal if needed.

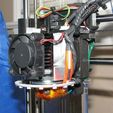
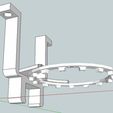
Another change was adding arms to support a 60mm LED ring. The ring is attached to the bracket using two zip ties, which holds the ring flat and securely. (You MUST insulate the top of the LED ring to prevent heat from the individual LEDs from weakening the arms. See updates in the instructions.)

See the drawings and photos!

3D printing settings

I printed the items in the photos using black PLA, 0.3mm layers, solid fill, with extruder at 200C and bed at 50C. The LED ring is from ebay (search for 60mm Angel Eyes) and has 15LEDs, operating at 12v. It is attached to the bracket with two zip ties.

UPDATE 01/03/2015: After a long duration print job, the heat from the bed caused the LED arms to droop. I updated the design to include some support beneath the arms as well as a few holes to help cooling.

UPDATE 01/072015: The dropping arms was not caused by heat radiating from the heated bed or the hot end. After replacing the clamp with the updated version I inspected the old one and found swells in the PLA above each of the LEDs in the ring. They are obviously the cause of the heat-related failure of the arms. I have insulated the LED ring using silicone impregnated fiberglass material and have had no further problems. Either design (holes/no holes) should work fine -David

Advertising


Issue with this design? Report a problem.

Would you like to support Cults?

You like Cults and you want to help us continue the adventure independently? Please note that we are a small team of 3 people, therefore it is very simple to support us to maintain the activity and create future developments. Here are 4 solutions accessible to all:

  • ADVERTISING: Disable your banner blocker (AdBlock, …) and click on our banner ads.

  • AFFILIATION: Make your purchases online by clicking on our affiliate links here Amazon.

  • DONATE: If you want, you can make a donation via Ko-Fi πŸ’œ.

  • WORD OF MOUTH: Invite your friends to come, discover the platform and the magnificent 3D files shared by the community!


Sharing and downloading on Cults3D guarantees that designs remain in makers community hands! And not in the hands of the 3D printing or software giants who own the competing platforms and exploit the designs for their own commercial interests.

Cults3D is an independent, self-financed site that is not accountable to any investor or brand. Almost all of the site's revenues are paid back to the platform's makers. The content published on the site serves only the interests of its authors and not those of 3D printer brands who also wish to control the 3D modeling market.

100% secure payment by credit card, PayPal, Apple Pay, Google Pay, etc.
View all payment options.