Skip to content

Adafruit 2.2

Advertising
Advertising
?
Creation quality: 5.0/5 (1 vote)
Evaluation of members on the printability, utility, level of detail, etc.

  • 699 views
  • 2 likes
  • 5 downloads

License
3D design format
STL Folder details Close
  • pi22-bot.stl
  • pi22-buttons.stl
  • pi22-case.stl
  • pi22-standoffs.stl
  • pi22-top.stl

Learn more about the formats

Publication date 2021-03-26 at 23:19
?
Published to Thingiverse on: 2015-08-31 at 19:33
Design number 343530

3D printer file info

3D model description

https://www.youtube.com/watch?v=smpAkdBX2bM
UPDATE: Added Ninjaflex buttons

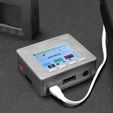
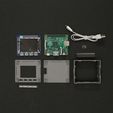
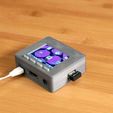
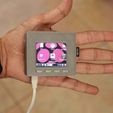
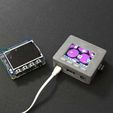
The Adafruit 2.2" PiTFT HAT is a perfect mini display for all sorts of Raspberry Pi projects. In this project, we're going to 3D print an enclosure to fit the Pi A+ and the 2.2" PiTFT.

With this project, we can make a small astrobox that puts our 3D printer on the Wifi Network. The Astroprint image is easy to install and lets us control the printer with any device on the network.

Full Tutorial

https://learn.adafruit.com/3d-printed-2-2-pitft-raspberry-pi-a-plus-enclosure/3d-printing

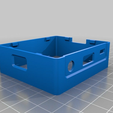
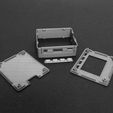
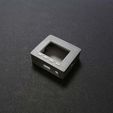
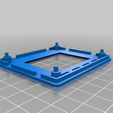
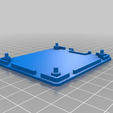
We put together the enclosure in Fusion 360 using sketches. The 3 parts snap fit together with friction and most of the ports are accessible.

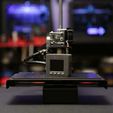
The parts fit nicely on the Printrbot Simple Metal and You can pick one up from the Adafruit Shop!

The Zebra plate from"Print-In-Z" makes removing the prints much easier and beats blue painters tape.

The parts print with no support material and takes just under 2 hours.

They came out looking exceptional using CURA with the default settings and slicing profile.

You only need to solder the socket header to the GPIO pinout on the display.

It’s a lot easier if you tack the header to the PCB and a use pana-vise to keep it sturdy while you solder.

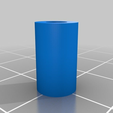
The PiTFT snaps on top of the Raspberry Pi and 3D printed spacer keeps the two PCBs in place.

It slides into the case at an angle and clips on the edges keep them from coming out.

Ports line up nicely with the cutouts and everything just snap fits together.

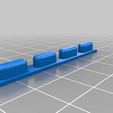
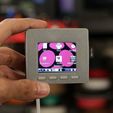
Ninjaflex make great rubber actuators for the buttons on the Display.

Keep the protective film on until the last step!

Place the cover over the display and press the edges into the case to close it up.

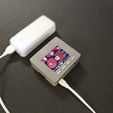
Use any 5V battery or power source with a microUSB cable, and now we have our mini astrobox.

The PiTFT's make great displays for small Raspberry Pi projects.

3D printing settings

But be sure to check out the guide linked below for a full tutorial.

https://learn.adafruit.com/3d-printed-2-2-pitft-raspberry-pi-a-plus-enclosure/3d-printing

Advertising


Issue with this design? Report a problem.

Would you like to support Cults?

You like Cults and you want to help us continue the adventure independently? Please note that we are a small team of 3 people, therefore it is very simple to support us to maintain the activity and create future developments. Here are 4 solutions accessible to all:

  • ADVERTISING: Disable your banner blocker (AdBlock, …) and click on our banner ads.

  • AFFILIATION: Make your purchases online by clicking on our affiliate links here Amazon.

  • DONATE: If you want, you can make a donation via Ko-Fi πŸ’œ.

  • WORD OF MOUTH: Invite your friends to come, discover the platform and the magnificent 3D files shared by the community!


Sharing and downloading on Cults3D guarantees that designs remain in makers community hands! And not in the hands of the 3D printing or software giants who own the competing platforms and exploit the designs for their own commercial interests.

Cults3D is an independent, self-financed site that is not accountable to any investor or brand. Almost all of the site's revenues are paid back to the platform's makers. The content published on the site serves only the interests of its authors and not those of 3D printer brands who also wish to control the 3D modeling market.

100% secure payment by credit card, PayPal, Apple Pay, Google Pay, etc.
View all payment options.