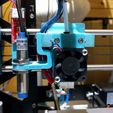
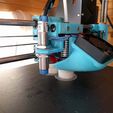
EDIT 16/4/16: I feel that I have finally completed this thing and I have re uploaded it here. I would recommend you use the updated design, however this one is still fully functional
EDIT 29/3/16: The Pins should be multiplied to have a total of 4
-I REALLY recommend to print and use this (https://www.thingiverse.com/thing:1104946) x-axis endstop holder as it seemed to have a perfect position to be triggered by this x-carriage.
EDIT 21/02/16: As promised, I updated everything that I mentioned in the comments:
Over the next week, I will be making some changes to the model:
1) Made the space for the heatsink a little larger because I had some issue getting the hotend in, and resulted in me taking a hammer to it to get it in (even after some filing.
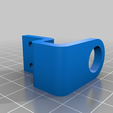
2) I have added another set of holes for the inductive sensor mount to be places on the other side of the hotend mount, to give a user a choice where they want it, depending on their desired configuration.
3) I have made the bearing holders in the x-carriage a little larger because I had to sand mine a LOT to be able to put in the bearings without flexing the actual carriage.
4) I have enlarged the belt retention system.
5) I have added a little more tolerance into the hotend clamp, as that also seemed a little tight to insert without sanding.
6) Modified the pin design for easier insertion.
7) Changed the wire retention bracket because both times that I printed the hotend mount, I snapped it off.
8)The inductive sensor distance also changed to an offset of [40, 0] since at [35, 0] the sensor would be pushed sideways by the screws.
The model is again printable. Happy printing!
EDIT 15/02/2016: Got my MOSFETS, turned out it was my ATMEL chip, fixed that and I go the x-carriage printed. I do not recommend you print this right now because a lot will be changed by the end of the week. Stay tuned.
I'm in the process of designing a new x-carriage for my P3Steel while I'm waiting for replacement MOSFETs (I have hence not printed this yet).
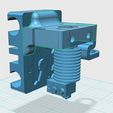
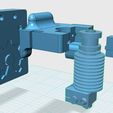
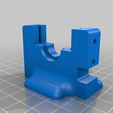
My main goal for this project is to make an easily removable E3D v6 hot end mount, which would be able to snap together with magnets (and stabilisation pins) to allow for easy work or modifications to be done to the hot end.
The hot end mount includes an inductive sensor mount (offset [40,0] from the tip of the hot end)
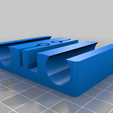
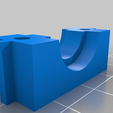
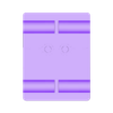
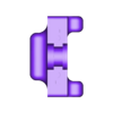
To make this, I have modified Toolsons x-carriage (http://www.thingiverse.com/thing:1036871) and made the magnetic hot end mount to fit into it. The mount is designed to use four 6x3mm magnets and 4 3D printed pins (4) that should be super glued into the hot end mount (2) to add stability. I have also tried to maximise the Z height by mounting the hot end as high as I could.
In my final build, I will be using this fan shroud (http://www.thingiverse.com/thing:1165614) by Neo_Usagi to cool my hot end and provide cooling for PLA prints since I will be able to have the 2 fans and sensor mounted compactly together (will definitely post pictures when I get the chance to print it).
I will greatly appreciate any criticism that you guys may have, so let me know if there is anything I can improve in the comments.
I can't wait to see your prints of this! Happy printing!

/https://fbi.cults3d.com/uploaders/8477881/illustration-file/59a6fe1f-e03a-4419-bef6-7d2b14b87640/IMG-20160216-WA0010.jpg)
