3D model description
The CR10/CR10S Control Box Removal and Y Axis Rail Mod!
Source files included!
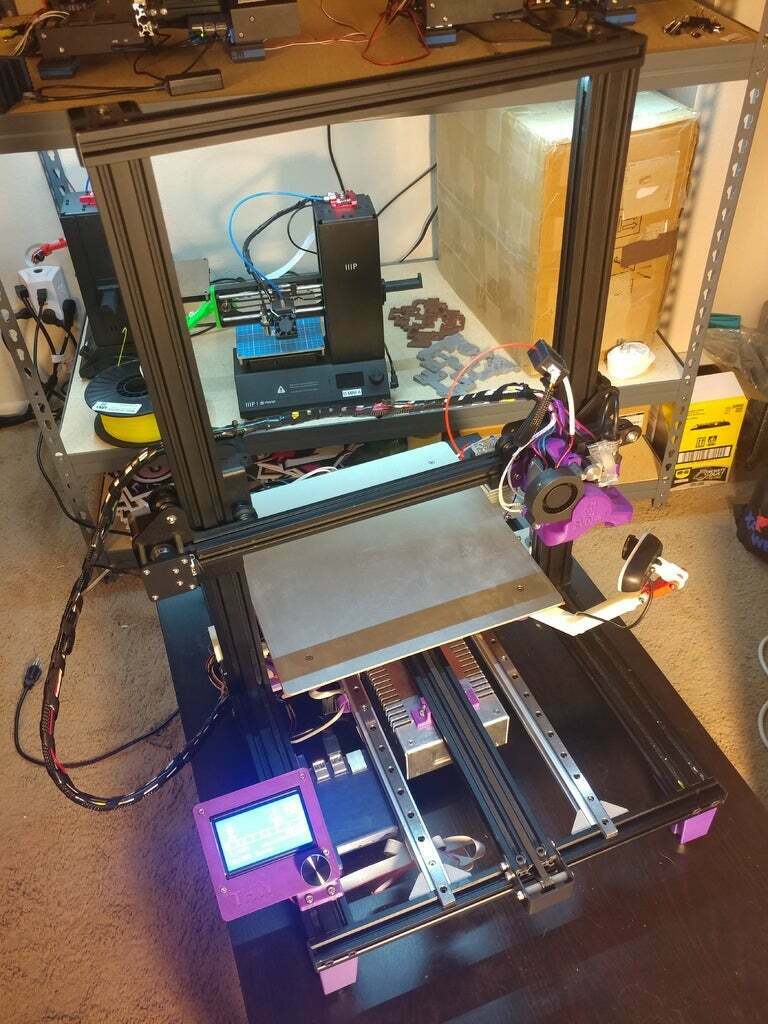
This mod allows you to remove the control box and mount all parts to the frame of the printer, resulting in a standalone AIO printer. You can also remove the bed wheels for Linear Rails (MGN12H). You are able to do either one of these mods on their own, or both together!
NOTE: I have tested this mod on my CR10S, and is working great. I am 99.5% sure that the BOM is correct for the hardware. However I may have forgotten something. Please let me know if anything is missing.
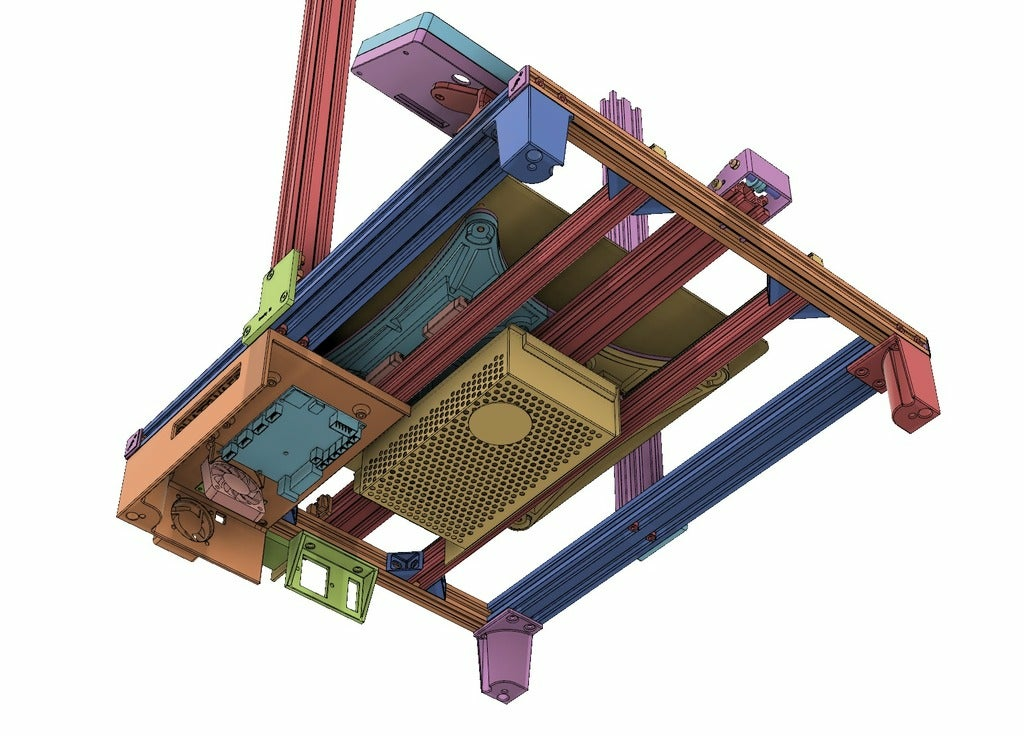
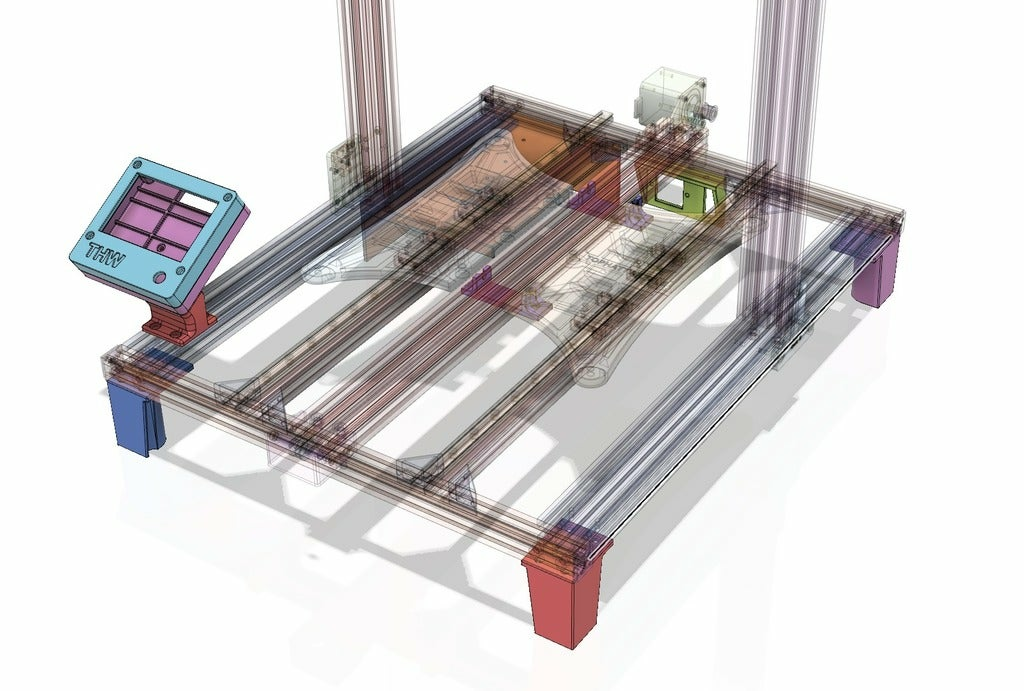
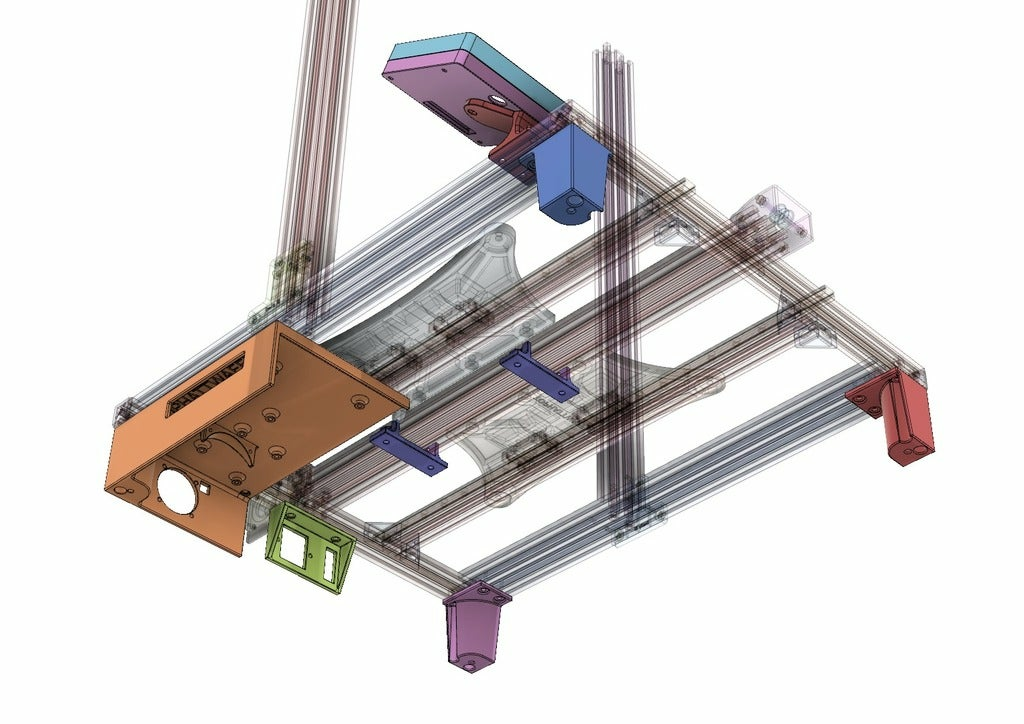
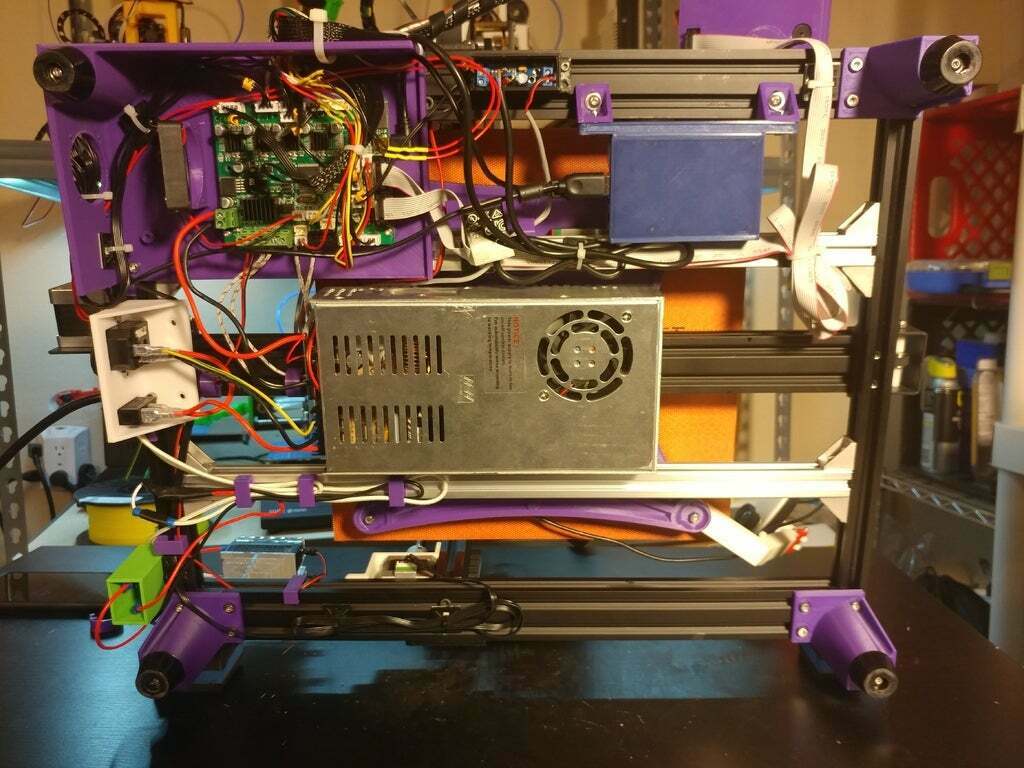
Control Box Removal
Hold up! If you're looking to do the control box removal on a CR10 (non S), it is currently untested. Proceed only if you're willing to mess with things. I will be testing on a CR10 soon. The linear rail mod works fine on CR10 machines.
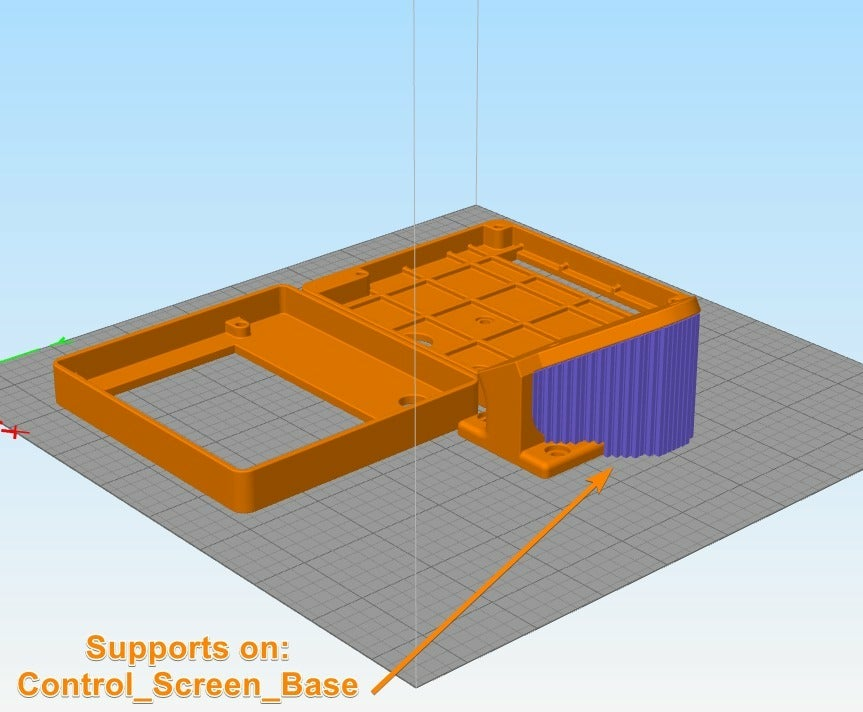
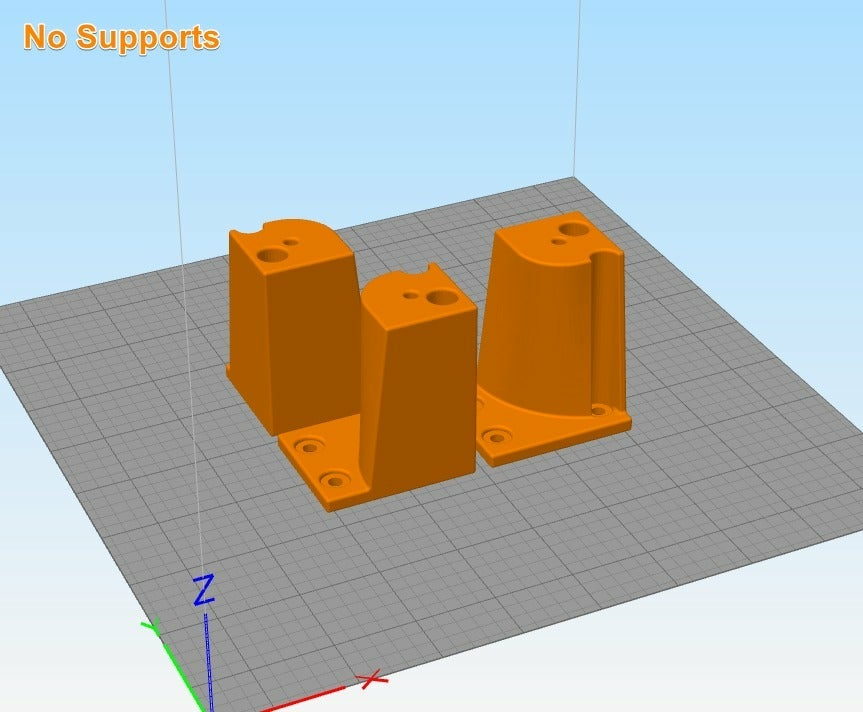
The control box removal mod is pretty straight forward. Reference the screenshots for ideal slicing orientations / supports.
Print the following parts:
2 of Control_2x_PSU_Bracket.stl
35% infill, 4 shells
Control_Foot_1.stl
35% infill, 4 shells
Control_Foot_2.stl
35% infill, 4 shells
Control_Foot_3.stl
35% infill, 4 shells
Control_Board_Mount.stl
35% infill, 4 shells
Control_Screen_Back.stl
20% infill, 3 shells
Control_Screen_Front.stl
20% infill, 3 shells
Control_Screen_Stand.stl
20% infill, 3 shells
Control_PSU_Plugs.stl
35% infill, 4 shells
Have the following on hand:
Soldering Iron
Solder
Heat shrink
Side Cutters
Wire strippers
Screw Driver Set
Control Box Removal BOM:
Feet
16x m4x8
16x m4 tnut
PSU Mounts
4x M4 Tnuts
4x m4x8
Screen
2x 50-60cm 10pin IDC female-female cable
2x M3x8
2x M3 nut
4x M3x16
4x M4x8
4x M4 Tnut
Installation
If you're going to be installing the Linear Rails part of this mod as well, please do that first! It is easier to install the rails without the control box parts installed.
Remove all components from the existing control box. Then mount all printed parts to the under side of the printer. Mount control box components as pictured in images. The bed mosfet (Not pictured due to AC bed) gets mounted on the 3 standoffs on the control board mount, between the 2 fan mounts. To install the PSU mounts, you'll need to attach the printed parts to the underside of the 2040 first, then attach the PSU.
To complete the wiring you will be removing the quick disconnect plugs. They do nothing by add mass and un-needed length. For my uses it was easier to just cut them off. If you want to keep them, this mod isn't for you (sorry!). You will need a soldering iron to attach the plug ends onto the cables from the hot end and bed to the control board. Once all the ends have been soldered on, connect everything to the board, and you're done!
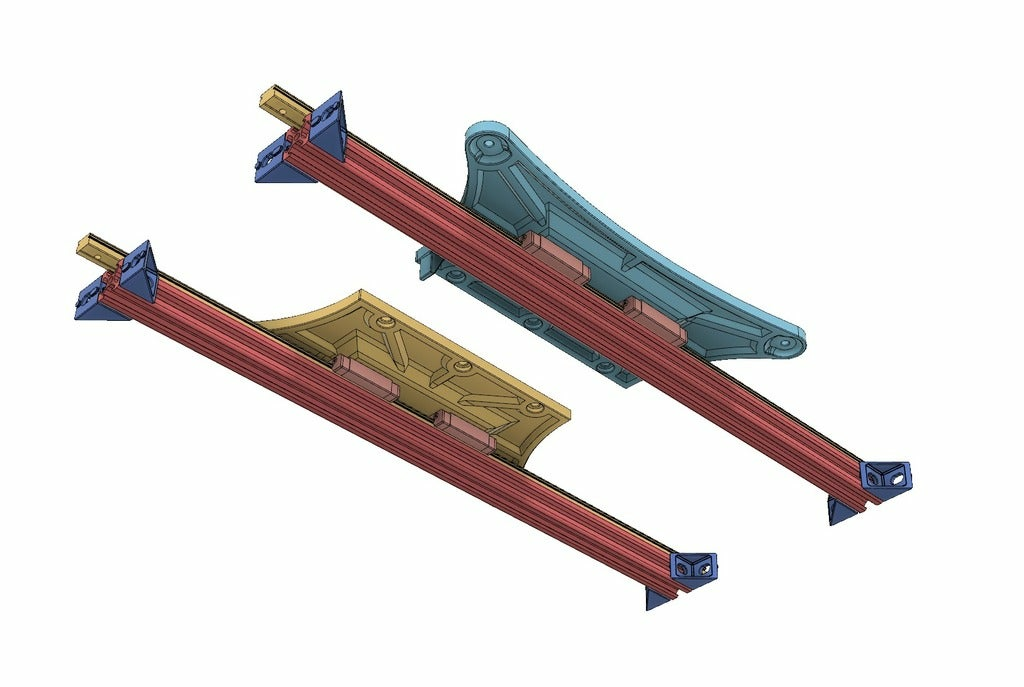
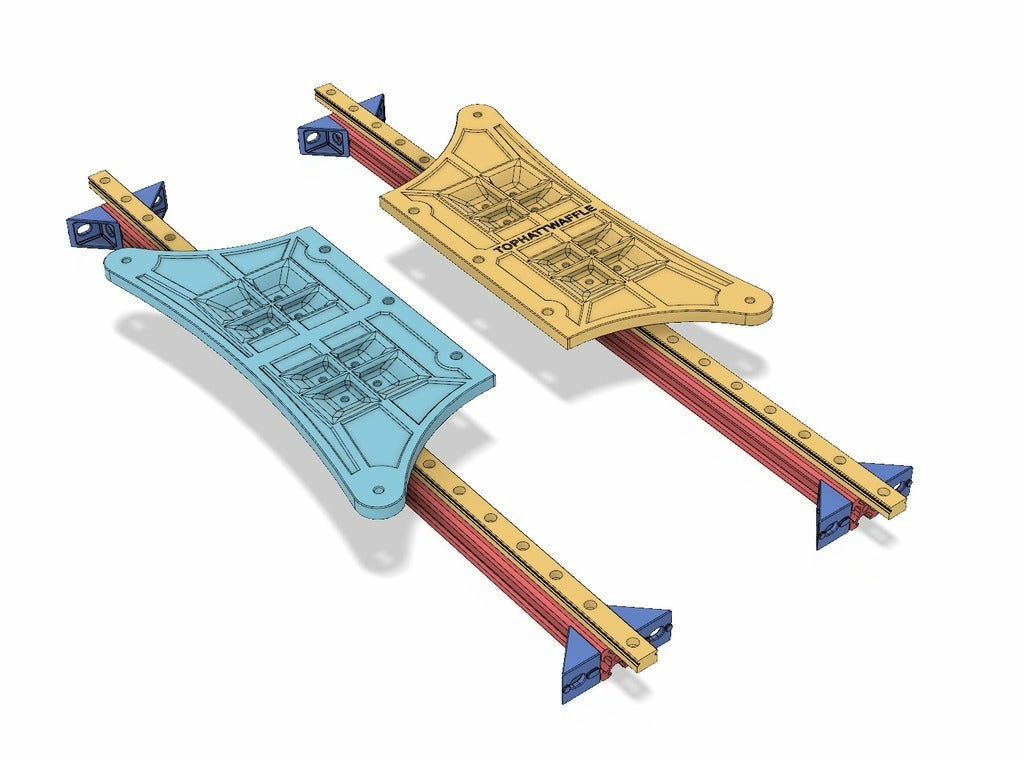
Linear Rail Mod
This mod expects that you're using the stock Y tensioner and stock belt. Using a 3rd party tensioner may result in loss of Y travel. When using the stock tensioner, there is no Y loss. There is no Z loss with this mod. There is also no drilling!
Print the following parts with 4 shells and at least 35% infill. These parts print standing upwards. Reference the screenshots for ideal slicing orientations / supports. (This was done to accomidate my ABS printer with a smaller build volume.):
RAIL_PlateLEFT.stl
Requires Supports.
35% infill, 4 shells
RAIL_PlateRight.stl
35% infill, 4 shells
Have the following on hand:
Screw Driver Set
Solid Mounts
Mesh / ABL leveling will likely be required
Dry lube for rails (WD40 Dry Lube PTFE works great)
Linear Rail Mod BOM:
2x 500mm MGN12 Linear Rails
8x M3 Tnut
8x M3x8
4x MGN12H Linear Rail Blocks
2x 2020 Extrusion @ 460mm
8x Corner 2020 Brackets
16x M5 Tnut
16x M5x8
8x M3x8 (16x if you want 4 screws on each block instead of 2, but 2 each is fine)
6x M5 Nylon Lock Nut
4X M4 Nylon Lock Nut
Solid bed mounts (I am using the ones from TH3D)
Installation
Disassemble the existing bed assembly completely until just the 2040 rail is left on the chassy.
Clean off the default grease / oil on the linear rails
Mount the 2020 extrusion to the base of the printer using 4 corner brackets each.
Leave them loose so they slide left and right some. This is for alignment later
Mount the printed Rail Plates to the MGN12H blocks, keeping them on the rails.
I used a paper clip through the end holes on the rails to prevent them from sliding off during mounting.
Make sure that once mounted, the movement of the single plate is smooth. If it is not, you may need to loosen the screws on the MGN12H blocks and re-tighten them down 1-by-1 until the movement is smooth.
Mount the rail plates to the bed carriage using the 6 bed wheel bolts (M5x30 Bolts). This will join them together into a single bed assembly.
Make sure that RAIL_PlateLeft is on the correct stop. This part has an extended part that triggers the Y endstop.
Put the bed assembly onto the bottom frame of the printer using the M3x8 bolts and M3 Tnuts.
Insert T Nuts into each end of the frame and slightly thread the M3 bolts into them, allowing them to slide some.
The holes on the linear rails may only align at 1 end. If this is the case, just put them in 1 end. We will use the newly mounted 2020 to secure the rail for the rest of the length.
Insert the remaining T Nuts into the newly added 2020 and loosely thread them in.
There should be 4 bolts in each rail once done.
Start to tighten down the bolts on the liear rails.
While moving the bed along the rails, start to tighten down the bolts 1 by one. Ensure that movement is smooth after tightening the bolts. It can take some love to tighten it all down while keeping the movement smooth.
Tighten down the bolts on the 2020 profile
Just like the rails, tighten down the bolts while moving the bed back and forth. Ensure that movement remains smooth after tightening.
Reattach the heated bed to the bed carriage using solid mounts and M4 Nylon lock nuts.
Do not use the adjustable knobs. This mod is to make the bed as solid as possible without having the mess with it.
Lubricate the linear rails with a dry lubricants. I am using WD40 Dry Lube PTFE
Done!
Change Log
5/24/2019
Updated item description.
Updated screen mount STLs.
Added source files.
Added slicing suggetions.
4/11/2019
Redesigned PSU mount to work with bed wheels.
3/27/2019
Added missing STL file for PSU holder.
Renamed PSU files to be accurate.
:format(webp)/https://fbi.cults3d.com/uploaders/14819242/illustration-file/06da07f1-7afa-4f95-ba54-9f93a1ff5629/2019-03-24_15-54-54.png)


/https://preview3d-images.cults3d.com/acgtgwjy9rjoqkdv4tqn08rt7gjj)
/https://preview3d-images.cults3d.com/963ker86roc9c4mz0kad07qocd3o)
/https://preview3d-images.cults3d.com/qaftuvmouonbjvtvzcrp2flho8y1)
/https://preview3d-images.cults3d.com/ad6t3h44fwijupsqw4vutaijpswk)
/https://preview3d-images.cults3d.com/3721pgsihsyux3dfwlo0jw1id9n7)
/https://preview3d-images.cults3d.com/o0tbfafivhsxyybecqcwtht44i8w)
/https://preview3d-images.cults3d.com/6npkwo4t0wyn4u6dqc9x4pjpuyre)
/https://preview3d-images.cults3d.com/15pgjead8pmh2goqalu52k8l89bw)
/https://preview3d-images.cults3d.com/5cilnz9uj3u8twn7kmi6nfyu7uad)
/https://preview3d-images.cults3d.com/4tn0u0zxgisguudxqoyp1mye0sd5)
/https://preview3d-images.cults3d.com/ne66qd3noarpl7grlu2x1oe8i1hl)


