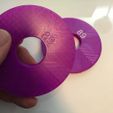
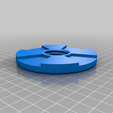
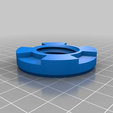
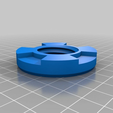
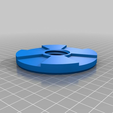
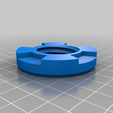
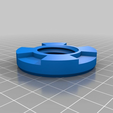
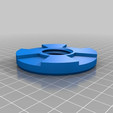
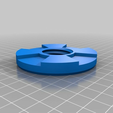
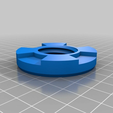
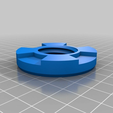
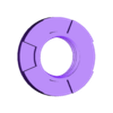
These are designed to thread onto the hub from Vincent Groenhuis (https://www.thingiverse.com/VincentGroenhuis)'s Universal Auto-Rewind Spool Holder (https://www.thingiverse.com/thing:3338467). By placing one on the hub before your spool you can keep the spool centered more easily. A second one can be used to improve the stability of wide spools, or in some cases, as a nut to hold the spool in place!
For example, the 89mm version is sized to go inside the WIDE half of a spool from ProtoParadigm. I thread that on first and put it almost all the way to the end of the hub. then slide the spool on and finally tighten it down with a curved nut. Or if the filament is spooled on in the opposite direction, you can place a smaller 52mm centering ring on first, then the narrow side of the spool and finally spin an 89mm spacer on following it to center the wider portion of the spool. While I have successfully followed that with an XL Curved nut from the original project, it only barely grabs on the wide side of the spool. It turns out however that you can tighten the 89mm spacer down against the and it will function both as a spacer AND as a nut.

view full screen at SmugMug
Why this is needed
I designed this after having a print failure while using the Auto-Rewind Spool Holder with a brand new spool of filament. I had used a curved nut to hold a spool on the hub. Only one, on the opposite side from the clutch mechanism. The other side was wedged up against the back of the clutch, so I didn't think it was going anywhere. But over the course of the print the weight of the spool managed to work it's way loose and it ended up dropping down to the point that it was all on one side and the printer didn't have enough pull to lift the off center weight up and over the axle.
Two variations of each part
For those who already have working Multi-material setups, there is a MM version that will use a contrasting color for a size marking. This is only on the first 0.25mm (should only be one layer, maybe two if you slice really thin.) Just split that object in your slicer and then select the appropriate extruder for each of the objects that results (set all to accent color, then change the first body to the main extruder. The single color version has the size notched out one layer, so it will show a different print finish for the numbers. This spot can serve as a coloring guide with a sharpie if you want added contrast, or is often visible in the surface finish from the print.

view full screen at SmugMug
Known filament spools and the size needed for them
- Amazon Basics: 54mm
- Hatchbox: 54mm
- ProtoParadigm: 89mm on one side, 52mm on the other.
- 3D Solutech: two 56mm, one on each side. Just be careful they are all the way at the outside so the spool doesn't fall with them in the middle.
If there are other sizes folks need just comment below, or if you find the above sizes work for other spools please also comment below so I can expand the above table.
Usage
Step 1: install spacer on clutch side of hub

view full screen at SmugMug
Step 2: insert hub with spacer into center of spool

view full screen at SmugMug

view full screen at SmugMug

view full screen at SmugMug
It is important that the spool still fits flush against the clutch plate on the end of the hub. Most spools only have one diameter and this will not be an issue. Some spools, such as these from ProtoParadigm, have a different opening diameter on each side.
Step 3: install spacer on the opposite side
If you choose to use only one spacer, adjust it to be centered in the middle of the hub. Otherwise, install a second one from the opposite side and set it down under the edge of the spool far enough to get the nut fully seated.
Step 4: install nut on the opposite side from the clutch
This is basically as normal... the only difference is you no longer have to worry about keeping the spool centered axially on the hub, the spacers will do that for you. This means that the normal flat nut for example can be used in far more spools in place of the curved or curved XL nut. Or those nuts can be used with the curves to the outside for easier tightening.

view full screen at SmugMug
This nut has NOT been properly seated, note the gaps between the spool and the flat nut flanges. There are two possible solutions in this case:
1. spin the spacer IN a bit farther so that the nut has enough room to tighten.
2. flip the nut around so that the barrel part is facing outward... the spacer will do the job of keeping the spool centered on the hub's shaft, so that functionality is not needed.

/https://fbi.cults3d.com/uploaders/16829486/illustration-file/6910f6ee-54d9-46f7-822a-ec5821c4f19e/IMG_7743.jpg)
