#This
project has been discontinued, as I no longer use my Anet and has since been dismantled#
*If you have questions or concerns about the design please post a comment. I will take any and feedback or suggestions.*
4/10/2019 @ 0845 hours EST
Still modifying the design files, should be put up this evening with the photos. In the meantime I wanted to get this typed and out of my head. This all take me more time than it should as I have a personal life and family to attend to. Please be patient with request, or when waiting for a reply. I will definitely respond to everyone in a timely matter
4/11/2019- Will be adding a second version which will be a single non moving part. it will have to be removed before each print, but it is for those who cannot get the needed hardware or do not wish to buy the hardware. To single part design will also have reduced printing time and filament consumption. Will be labeled X leveler AIO. I also forgot to add the gcode for cura and slic3r( I have not printed this with Slic3r, i dont see the point of printing it twice thats all. But I can if needed, say people have issues
#DISCLAIMER
THIS A FUNCTIONAL WORK IN PROGRESS DESIGN. CURRENTLY IN THAT STATE DUE TO ME CHANGING THE DESIGN FOR REDUCED MATERIAL USAGE, ACCURACY, AND OVERALL LOOK. THIS THINGI WAS DESIGNED IN A WAY TO STAY ON THE PRINTER, BUT CAN STILL BE EASILY REMOVED IF NEEDED. THOSE WITH LARGER BED THUMBWHEELS, MAY NOT BE ABLE TO LEAVE THEM IN PLACE AND ALLOW MOVEMENT (BUT ANYTHING LARGER THAN 30MM DIAMETER CANNOT BE USED ON THE ANET A8 DUE TO CLEARING THE FRAME), ALONG WITH THOSE WHO HAVE CABLE CHAINS FOR THE HEAT BED WIRES AMOUNT ON THE LEFT SIDE (THE LOWER X QUADRANT) OF THE HEATBED, AS THE CHAIN AND LEVELER WILL COLLIDE. FOR THOSE WITH DIFFERENT PLACEMENT OF THE BED CHAIN OR NO CHAIN YOU CAN LEAVE INSTALLED ON THE PRINTER AND USE WHEN NEEDED.
Firstly this is an original design. Meaning I did not use anyone else's files for the design, but I did reference this thingi, *https://www.thingiverse.com/thing:3462192*, for the design concept, as it was shared to me directly and inspired a real Anet A8 X axis leveler design. All the others were lacking in achieving the desired result for their intended use, leaving me unsatisfied. This design allows for a more accurately leveled X axis, which in turn results in better adhesion of the first larger, increased surface detail, and accurately sized prints on the Z axis.
If you decide to use the bed leveling and mounting Guide, or if you are using an Ender 3 or something with a similar Y carriage plate I recommend using this *https://www.thingiverse.com/thing:3193722* in part with the guide
#INTRO
This is a design to better assist with ensuring that your x axis is level to the frame on each side of the x axis. Some consider this Z axis leveling, but are you really leveling the Z axis, not really since you are leveling the plane on which the X axis travels. This is to be used separately or in conjunction with Makeitmakeitmakeit's *https://www.thingiverse.com/thing:3415460* Universal 3-point mounting bed leveling guide, starting half way through page 6 and into page 7. I say "UNIVERSAL" as I have used it on my Anet A8 and 2 Ender 3's.
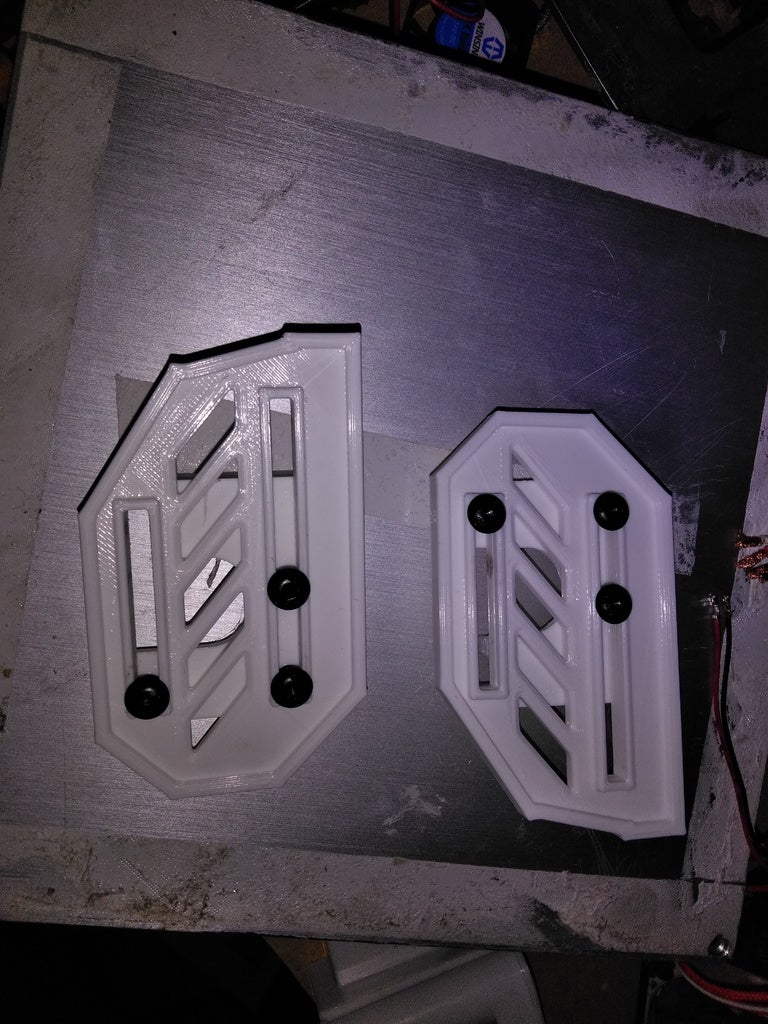
The parts are already in the best printing orientation (reference the photos if yours does not lay on the flat side, no supports, rafts, or brims are needed (unless you have adhesion issues, then I recommend you reference the previously linked guide. You will need 2 of each part, 2 mounting brackets and 2 slide plates.
#BOM
2x mounting brackets
2x slider plate
3x M5-0.8 x 12mm (at least) *i used m5-0.8 x 10mm as that was the only size I had on hand other than 25mm M5 bolts. You can use other sized bolts (M3 or M4) files are uploaded for adjustments, I can and will upload different sized models.*
*OPTIONAL PARTS*
3x WASHERS (desired size)
3x Nyloc Nuts (desired size)
#HOW
TO PRINT
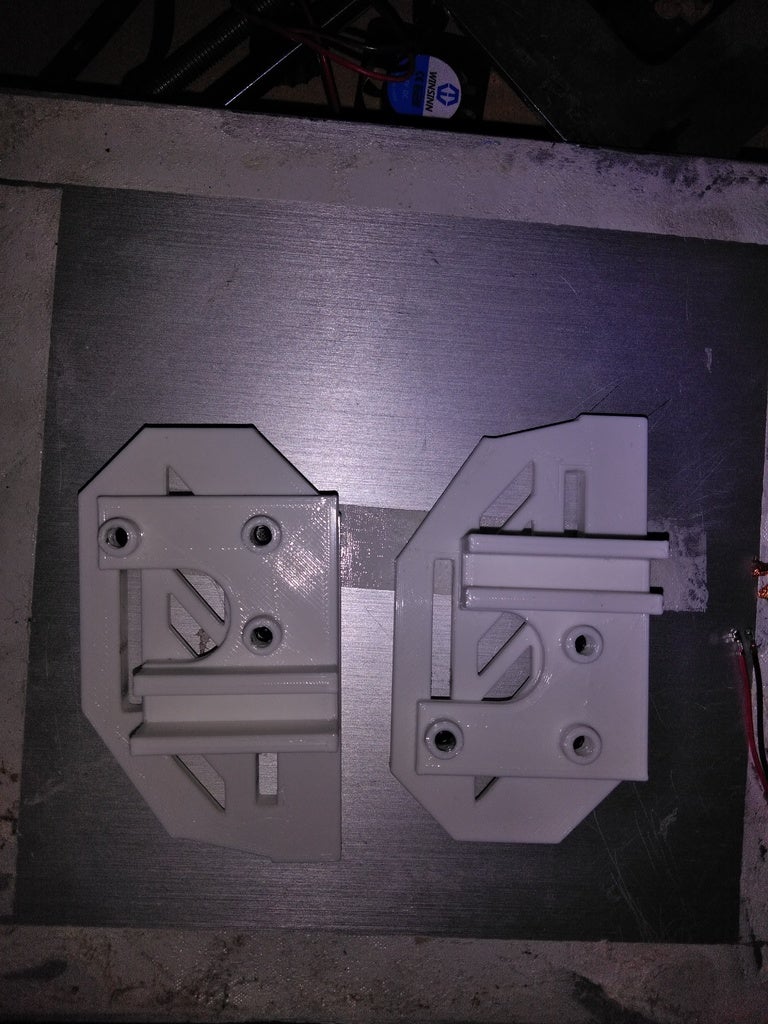
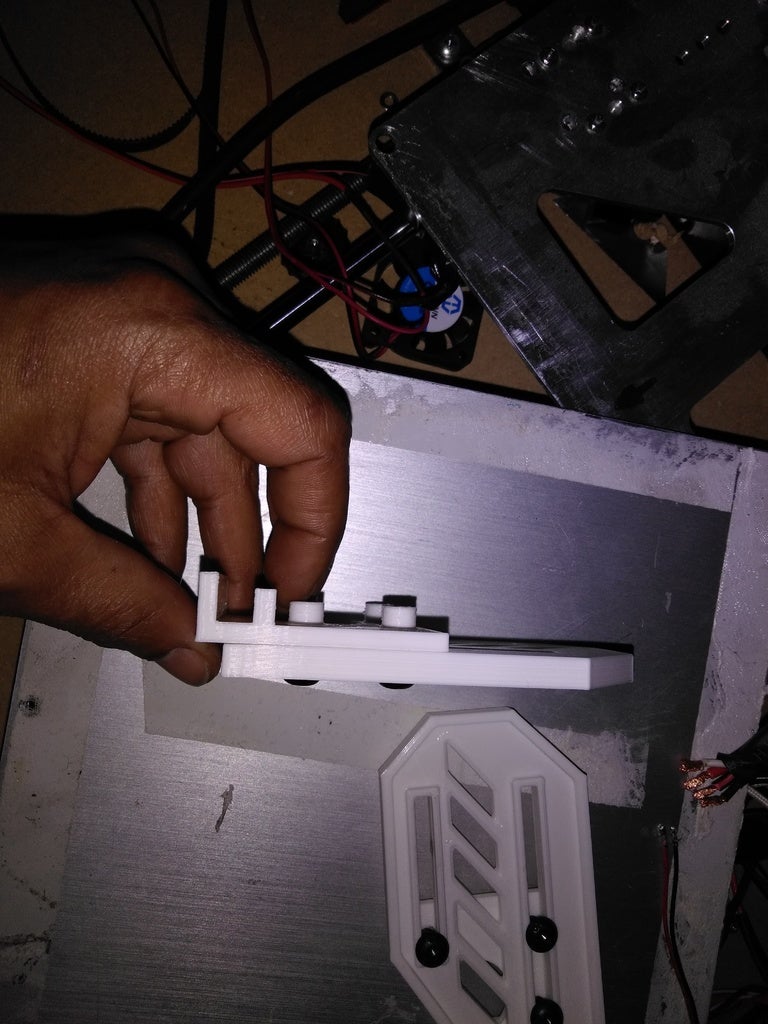
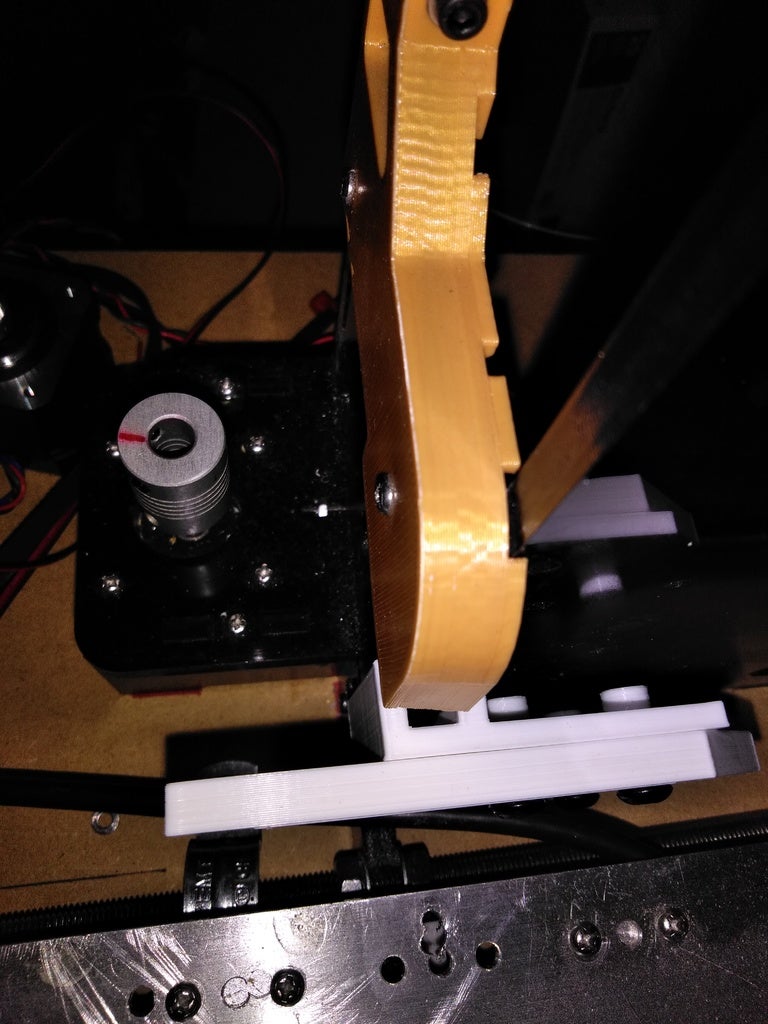
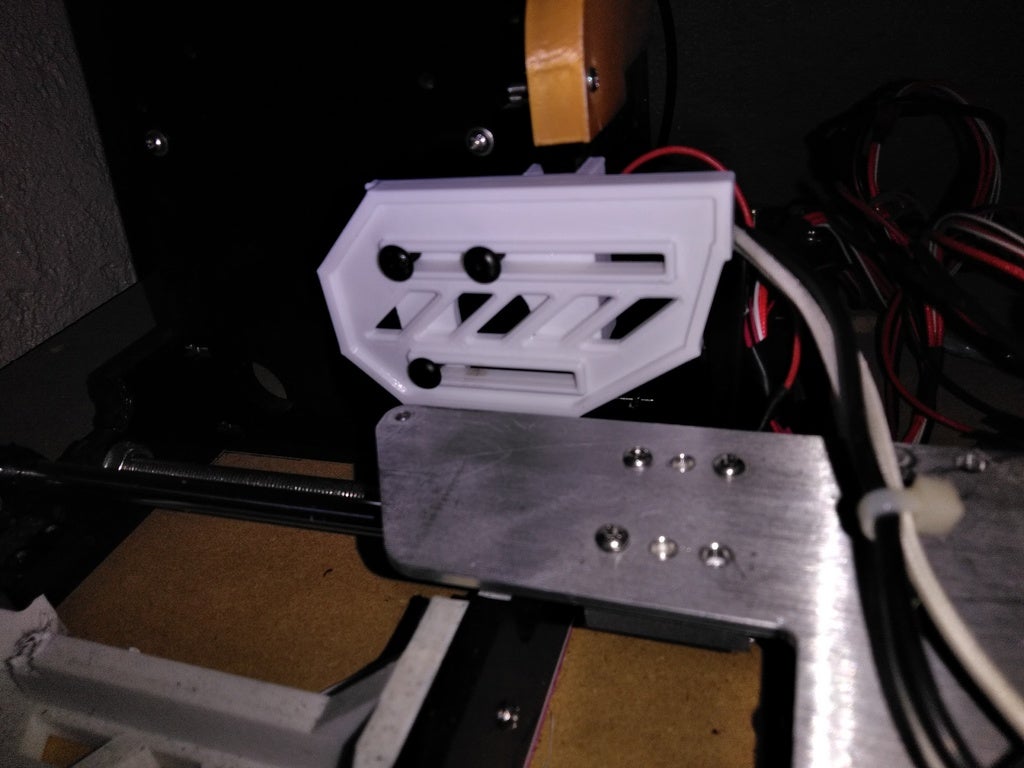
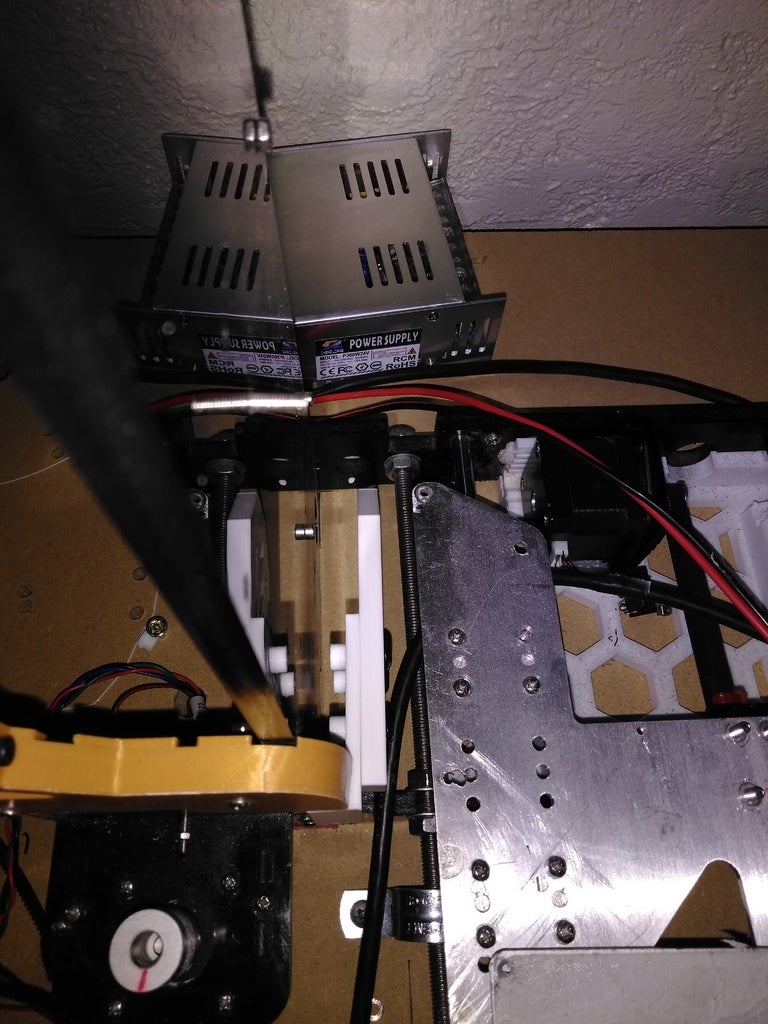
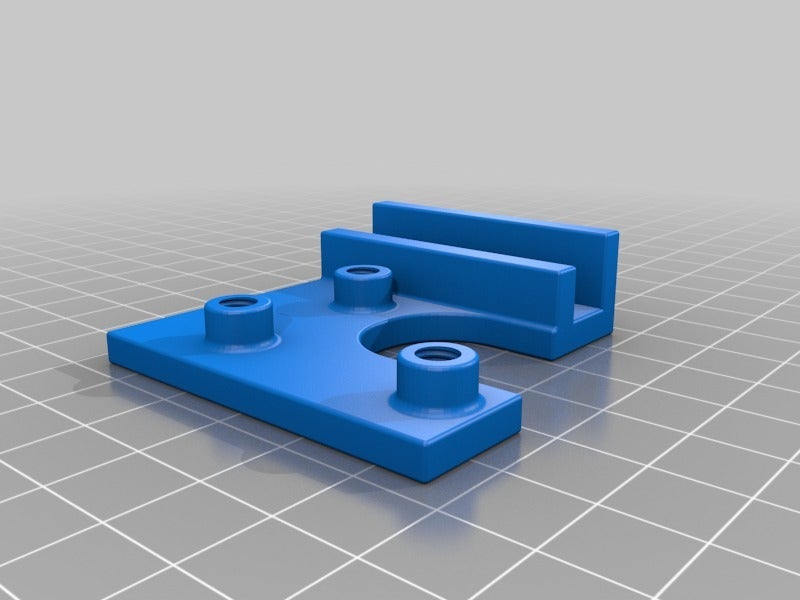
During the design process I accidently designed each part for seperate sides so you will need to mirror a copy of both parts and then match them up accordingly. They should be paired in a way that the part the was printed on the bed (the smoothest flatest side) when assembled ride along each other (see photos).
#HOW
TO ASSEMBLE
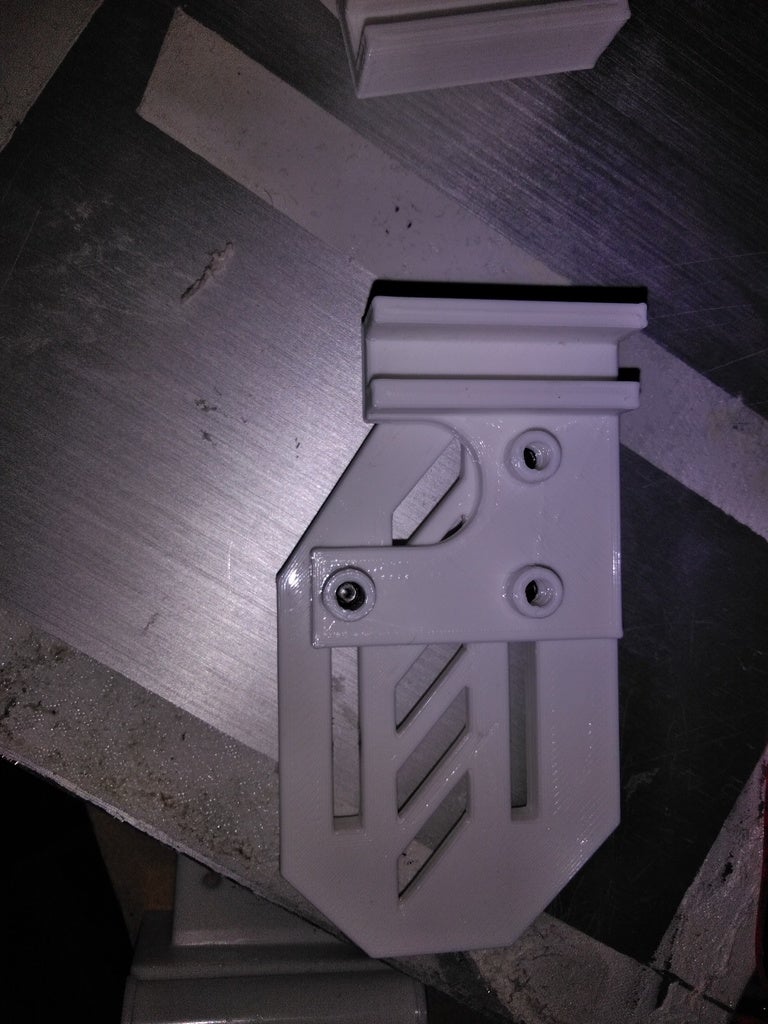
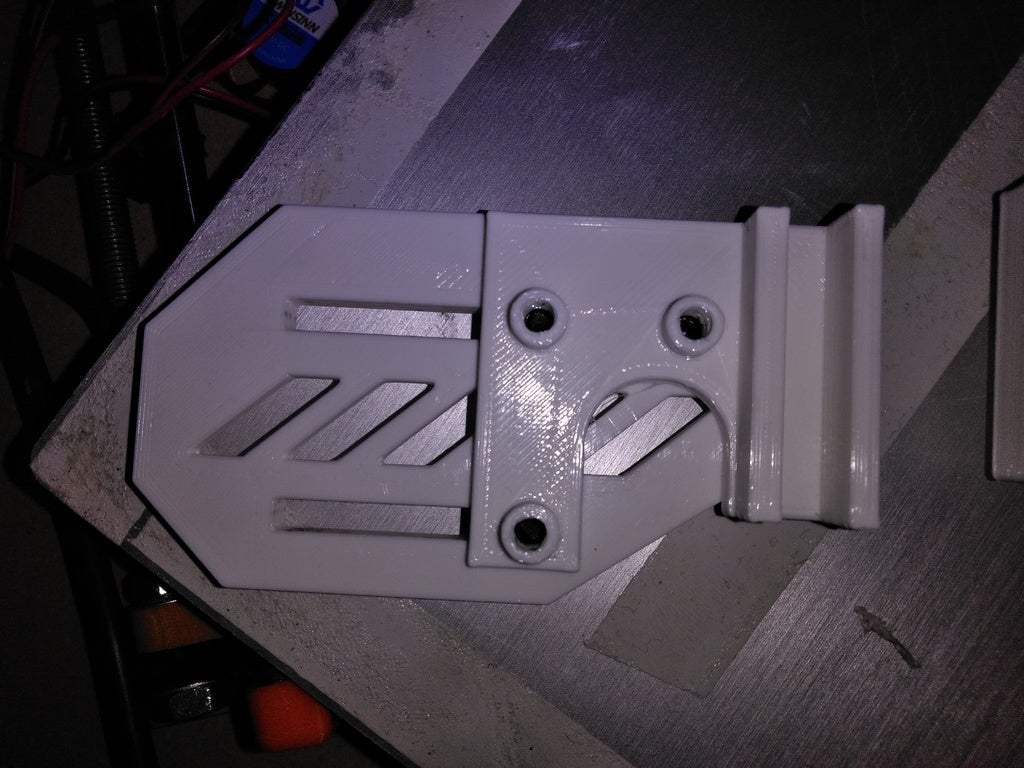
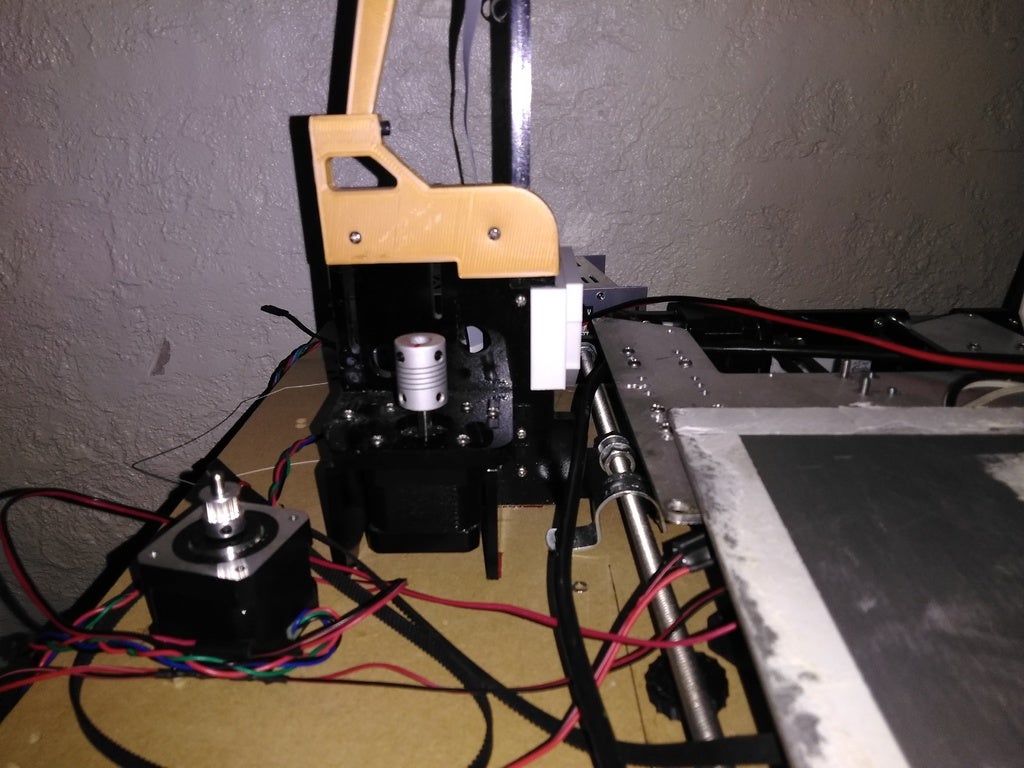
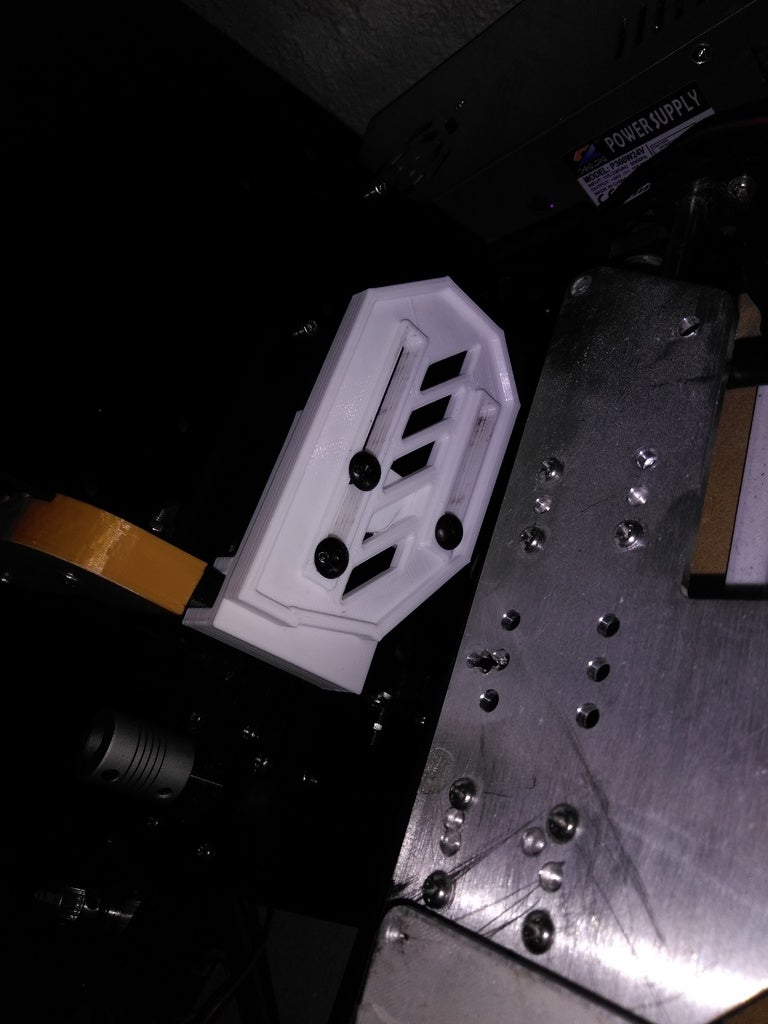
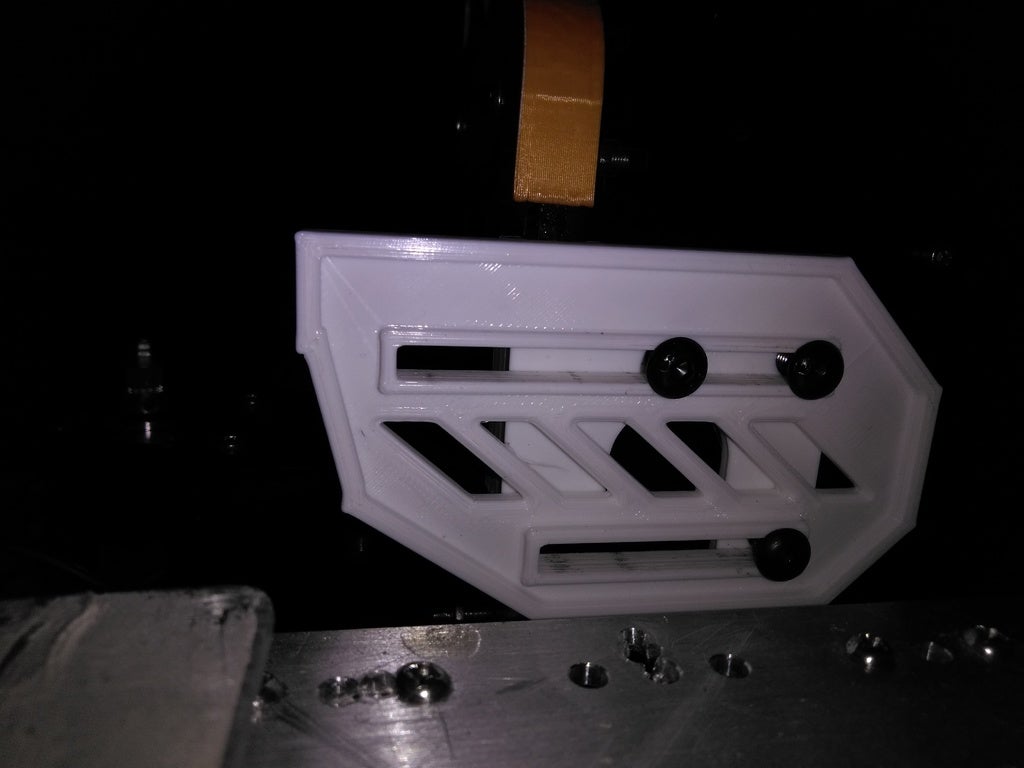
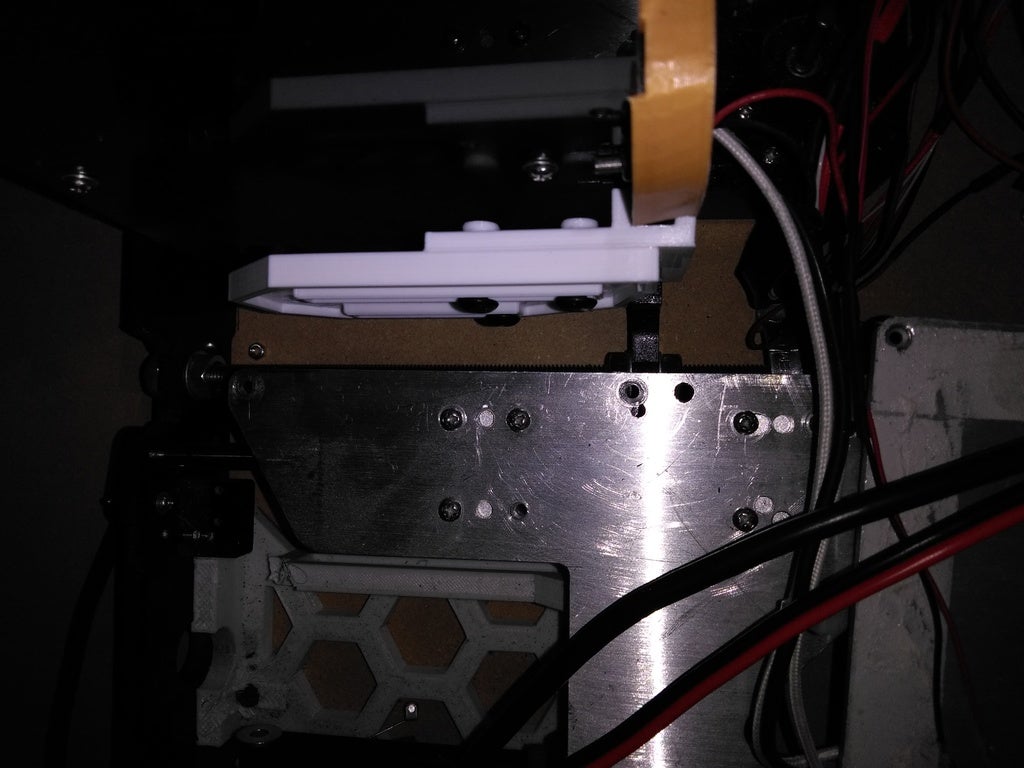
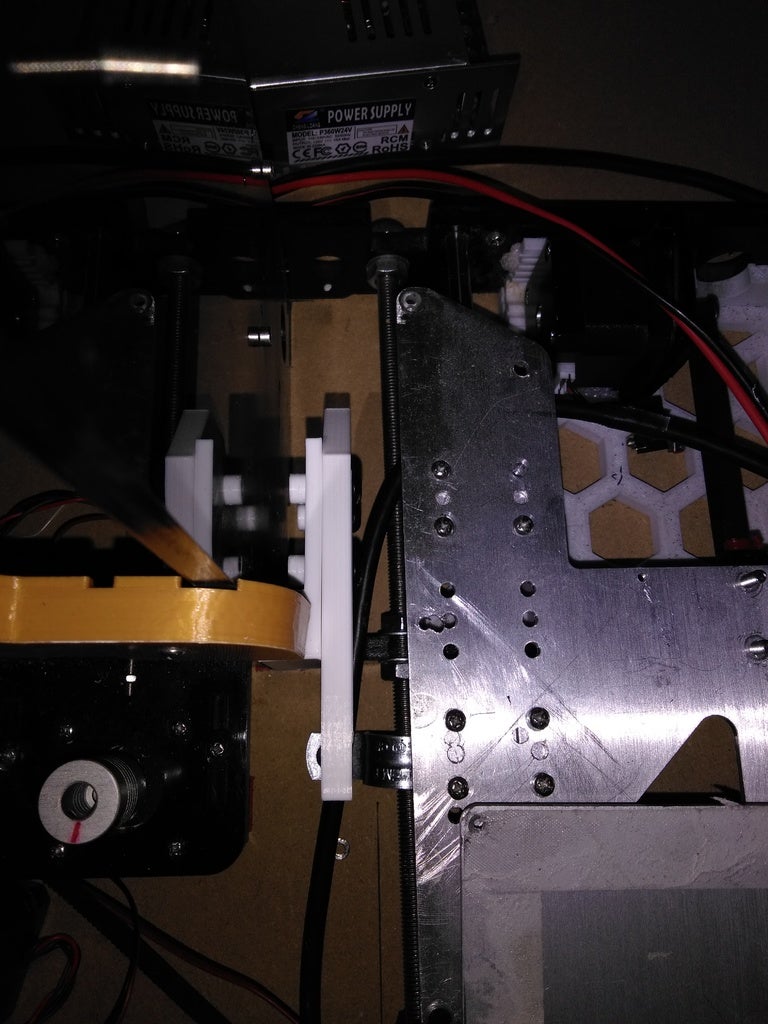
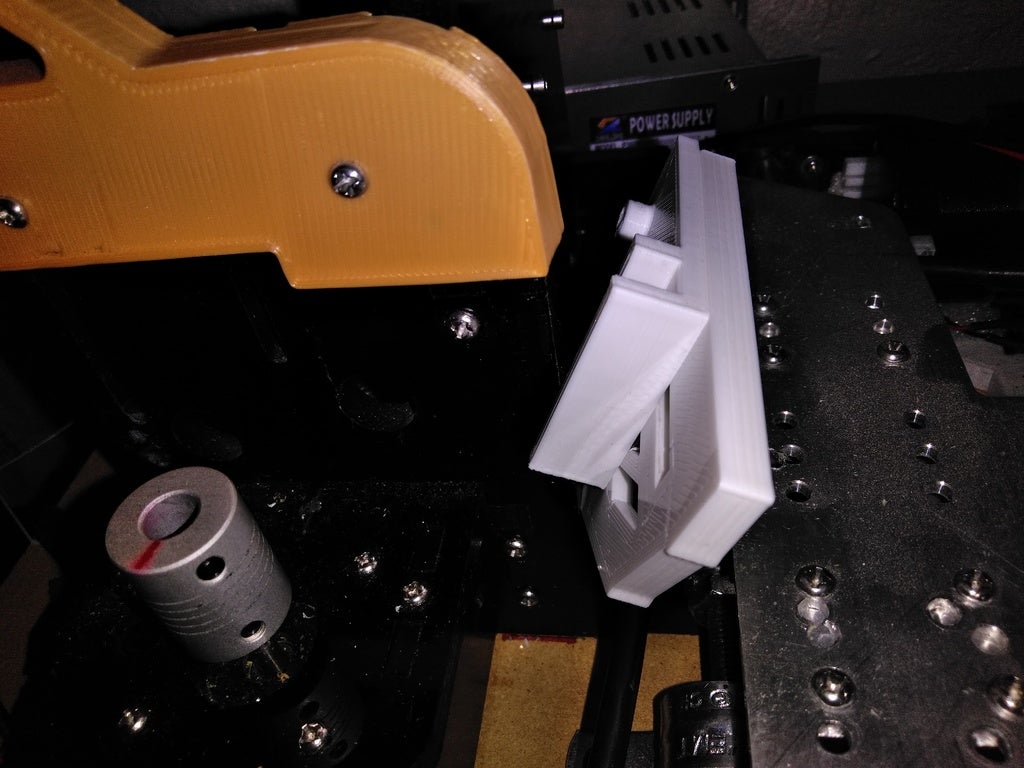
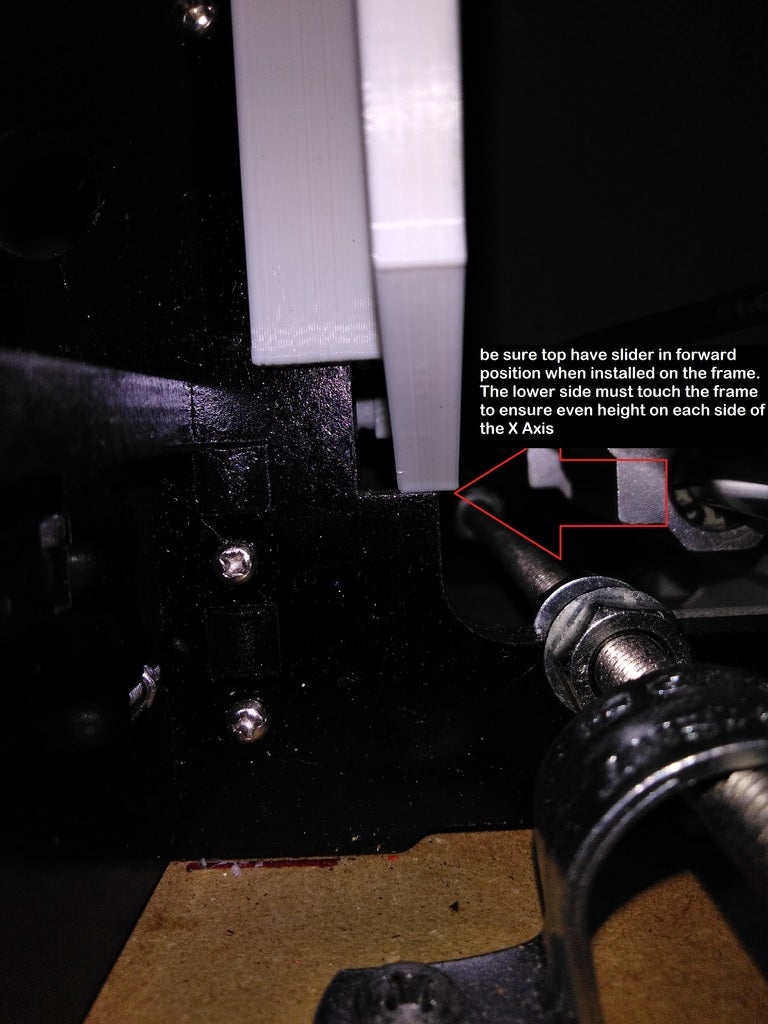
They mounting bracket should be placed on the frame in a way that orients them so that the shorter sides presses on to the frame with the long flat side heading towards the back of the Y axis ( the part with the 3 mounting holes for the slider.) The slider has one "flat" end and one Angled end. The angled end should face the front of the printer (see photos), with flat side facing the frame (away from bed).
The Slider is then attached to the mount using M5x.8 bolts (bolt length should be no less that 12mm I would goes as far to say no shorter than 16mm in length, head style does not matter. I personally use M5 socket head bolts because that is what I have on hand. You can use M3 or M4 if that is your preference. Just post a comment or send me a message if you need the holes resized. Also the holes a threaded completely through with reduced tolerance to remove the need for a nut to hold them in place. The holes thread perfectly and hold firm, and allow for easy adjusting of the sliders tension to the mounting plate. As there is no really tension on the threads they should last quite a long time.
After bolting the 2 parts together you are going to want to work the slide back and forth. The slides are a perfect fit for M5 bolts. Also when tightening the bolts, tighten them down (you only need to tighten enough enough that it stops it self, then back the bolt out 1/4 turn before working the slide too reduce the tolerance.)
#MACHINE
LIMITS
Now I mention the holes print perfectly, but this is with my printer. Depending on how accurately your machine is printing, you may need to reduce outer wall width or increase it. Some slicers have x/y compensation, use if you are familiar and know how to correct these issues with your own machine. As mine prints within .02-.04mm, I have no issues printing the holes for the design. *Disclaimer.. First may print smaller than the threaded hole was designed to be, due to the Squishing of the first layer. So thread the bolt through from the other side to open it up. To install as normal*
#Third
Disclaimer
I am printing this on my Ender3 (E3), my A8 is off to the side partially dismantled and being put in a 500x500x500mm aluminium frame. As the bed and other parts are removed the pictures added are for mounting and assembly reference. The part works, I just cannot use it and the E3 has no need for it. Again reference the steps in *https://www.thingiverse.com/thing:3415460* and you will be all set.
I will be including the STLs, the design files, and gcodes for Cura 3.6 and Slic3r PE. I can even provided my cura and/or slic3r pe profile settings upon request, say you have issues printing the exact dimensions.
:format(webp)/https://fbi.cults3d.com/uploaders/15045028/illustration-file/2822f797-3a22-4541-83e8-2d75181852e7/IMG_20190410_223514.jpg)


/https://preview3d-images.cults3d.com/j820c84lvl82p9y1og267xckn2el)
/https://preview3d-images.cults3d.com/42aqtu6sdmqny4rr7z4fexskz63x)


