Skip to content

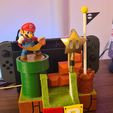
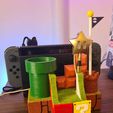
Nintendo Switch Pro Controller Charging & Amiibo Dock holder Mario theme with star

Advertising
Advertising
?
Creation quality: 5.0/5 (2 votes)
Evaluation of members on the printability, utility, level of detail, etc.

  • 8.4k views
  • 41 likes
  • 313 downloads
  • 1 collection
  • 1 make

License
3D design format
STL Folder details Close
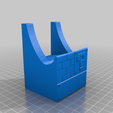
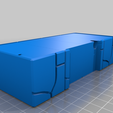
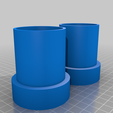
  • dock_.stl
  • dock_base_final.stl
  • final_pipes_.stl
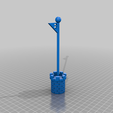
  • flag_.stl
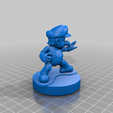
  • mario.stl
  • star_eyes_covers.stl
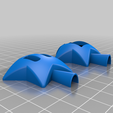
  • star_with_holes_v2_.stl
  • star_with_square_hole.stl
  • stone_stairs_.stl

Learn more about the formats

Publication date 2021-09-17 at 23:14
?
Published to Thingiverse on: 2021-09-17 at 10:45
Design number 522560

3D printer file info

3D model description

Video of how it's made:

https://vm.tiktok.com/ZSJoBCwyx/

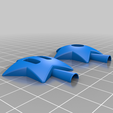
took previous designs of super Mario world and created this pro controller charging dock and Amiibo holder with a magnetic charger inserted through a lighting star. Links are at the bottom

how i did it:

  • print all items in white PLA (except the star, print it in transparent PLA)
  • paint all (Except star) in acrylic colorers or any PLA friendly color.
  • got a fake grass paper used for architecture modeling that i found in the arts and crafts store (in the architecture modeling section).
  • cut the grass paper and glued it to the base and dock using hot glue.
  • pass through the charging cable through the whole. the cable is magnetic and has multiple heads for different devices. i took a head i wont use and glued it to the dock's right side. this will give the star a resting place when the controller is not on the dock.

  • pass the cable through the star's back side. i used cheap LED lights that i took out of a bracelet i got at a concert and inserted it after the cable. however you can also use a charing cable that lights up. i will link one i found on amazon.

  • for the star color: only paint the front side after coving the eyes with the eyes cover STL file above. i used gold spray paint but i waited a week for it to dry cuz i sprayed A LOT to make it super shiny.

  • after making sure the length of the cable end is perfect. i used super glue to glue the star shut. do not use hot-glue its so messy and will create gaps.

all the links for the items above are in this link tree:

https://linktr.ee/Zeebeplayin

3D printing settings

-

Tags

Advertising


Issue with this design? Report a problem.

Would you like to support Cults?

You like Cults and you want to help us continue the adventure independently? Please note that we are a small team of 3 people, therefore it is very simple to support us to maintain the activity and create future developments. Here are 4 solutions accessible to all:

  • ADVERTISING: Disable your banner blocker (AdBlock, …) and click on our banner ads.

  • AFFILIATION: Make your purchases online by clicking on our affiliate links here Amazon.

  • DONATE: If you want, you can make a donation via Ko-Fi 💜.

  • WORD OF MOUTH: Invite your friends to come, discover the platform and the magnificent 3D files shared by the community!


Sharing and downloading on Cults3D guarantees that designs remain in makers community hands! And not in the hands of the 3D printing or software giants who own the competing platforms and exploit the designs for their own commercial interests.

Cults3D is an independent, self-financed site that is not accountable to any investor or brand. Almost all of the site's revenues are paid back to the platform's makers. The content published on the site serves only the interests of its authors and not those of 3D printer brands who also wish to control the 3D modeling market.

100% secure payment by credit card, PayPal, Apple Pay, Google Pay, etc.
View all payment options.