Skip to content

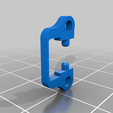
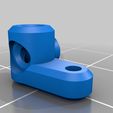
Zero Ballstud Front Suspension for Rockracer's Open Z V5 Drift Chassis

Advertising
?
Creation quality: 5.0/5 (1 vote)
Evaluation of members on the printability, utility, level of detail, etc.

  • 3.5k views
  • 4 likes
  • 68 downloads

License
3D design format
STEP and STL Folder details Close
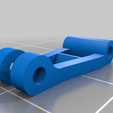
  • Front_Left_Lower_Arm.stl
  • Front_Left_Upper_Arm_Rubberband.stl
  • Front_Left_Upper_Arm_Spring.stl
  • Front_Right_Lower_Arm.stl
  • Front_Right_Upper_Arm_Rubberband.stl
  • Front_Right_Upper_Arm_Spring.stl
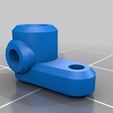
  • Left_C_Hub.stl
  • Left_Wheel_Hub.stl
  • Right_C_Hub.stl
  • Right_Wheel_Hub.stl
  • Some_Assholes_Suspension_for_Rockracers_Open_Z_V5_chassis.step
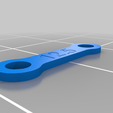
  • Steering_Link2_-_125.stl
  • Steering_Link2_-_135.stl
  • Steering_Link_-_125.stl

Learn more about the formats

Publication date 2021-09-23 at 23:21
?
Published to Thingiverse on: 2020-05-27 at 03:58
Design number 527448

3D printer file info

3D model description

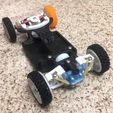
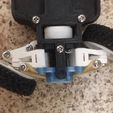
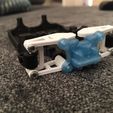
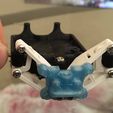
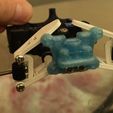
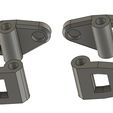
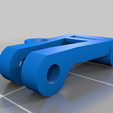
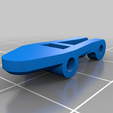
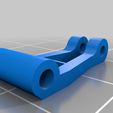
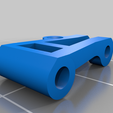
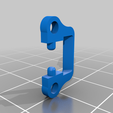
This is a suspension designed to work with Rockracer's V5 chassis for Open Z rc cars.

It does not require ball studs, which is the reason i made this in the first place: i'm too lazy to source the correct hardware. =P

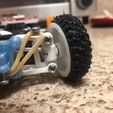
The suspension works using a rubber band (again, too lazy to source the right stuff), however i have included a set of upper arms that should work with the springs originally intended for Rockracer's design.

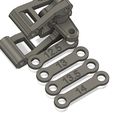
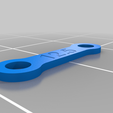
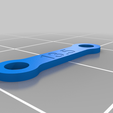
There are 2 sets of steering links in the STLs: "Steering Link - 125.stl" and "Steering Link - 135.stl".
125 = 12.5mm
135 = 13.5mm
I'm using the 12.5mm, but some builds may require the longer ones.

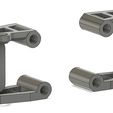
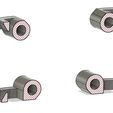
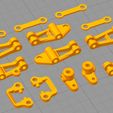
One of the images shows the best print orientation for each part.

You will need:
-FOUR (x4) 6mm M2 screws to attach the upper and lower arms to the steering hub;
-FOUR (x4) 4mm M2 for the steering link;
-TWO (x2) 16mm M2 to act as wheel shafts;
-FOUR (x4) 12mm long pieces cut from 1.75mm filament to connect the arms to Rockracer's chassis.

If you go the rubber band route:
-Rubber band - i kind of eyeballed this until i found one that suited my needs;
-TWO (x2) 4mm M2 to act as hooks for the rubber band on the upper arms;

I've been locking the lower side of the rubber band in place with TWO (x2) 6mm M2 screws on the bottom, but your solution may vary.

If you go the spring route:

-3mm diameter springs? To be honest, i'm not entirely sure on the specs used for this, since i went the rubber band route.

I have included a STEP file so that you may open and modify the suspension as you see fit.

Good luck!

3D printing settings

-

Advertising


Issue with this design? Report a problem.

Would you like to support Cults?

You like Cults and you want to help us continue the adventure independently? Please note that we are a small team of 3 people, therefore it is very simple to support us to maintain the activity and create future developments. Here are 4 solutions accessible to all:

  • ADVERTISING: Disable your banner blocker (AdBlock, …) and click on our banner ads.

  • AFFILIATION: Make your purchases online by clicking on our affiliate links here Amazon.

  • DONATE: If you want, you can make a donation via Ko-Fi πŸ’œ.

  • WORD OF MOUTH: Invite your friends to come, discover the platform and the magnificent 3D files shared by the community!


Sharing and downloading on Cults3D guarantees that designs remain in makers community hands! And not in the hands of the 3D printing or software giants who own the competing platforms and exploit the designs for their own commercial interests.

Cults3D is an independent, self-financed site that is not accountable to any investor or brand. Almost all of the site's revenues are paid back to the platform's makers. The content published on the site serves only the interests of its authors and not those of 3D printer brands who also wish to control the 3D modeling market.

100% secure payment by credit card, PayPal, Apple Pay, Google Pay, etc.
View all payment options.