3D model description
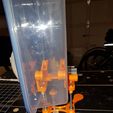
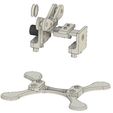
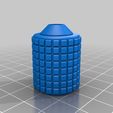
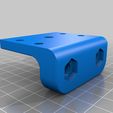
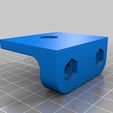
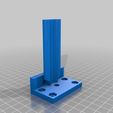
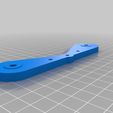
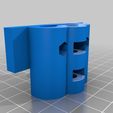
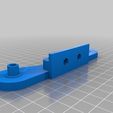
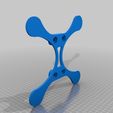
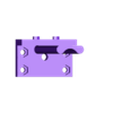
This is my over complicated / over engineered solution to prevent humidity from ruining my filament while it prints in my garage. The spool sits on the rollers inside the container and feeds out a tube on the bottom. The roller assembly has an adjustment knob on the outside to adjust the width of the rollers in order to accommodate different spool widths. The slider/carriage width is adjusted using a 1/4" carriage bolt with two 1/4" nuts in the carriage in order to align it as well as control spacing. At the end of the adjustment carriage bolt I have a custom made lock nut which I tapped afterwards to make a tight fit. This prevents the adjustment knob from moving in and out. The side opposite from the adjustment knob is flat so that it will be flush with the container lid. The entire roller assembly can either sit directly on the base stand or, using the Slider-Carriage Bracket Spacer and four 1/4" carriage bolts, it can be raised up as is shown in the photo. I used m3 and m4 bolts and nuts for the rest of the assembly (I will update the full list of sizes later, including the length of the carriage bolts).
Issues with putting this together:
- The hex shaped holes for the nuts are not necessarily the best fit. I sometimes would have to wedge a small flat head screw driver in to hold the nuts steady while I tightened the bolts.
- The two m3 bolts in that hold the roller assembly to the carriage had to be cut to a custom length in order to prevent them from interfering with the slider assembly, while at the same time being long enough to bite into the nuts. The length was between 11 and 12 mm.
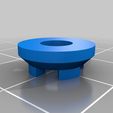
- The adjustment knob plug is extremely tight. I had to sand down the locking ridge in order to get it to fit. But now it's never moving.
- The alignment nuts in the carriage can lock while threading the carriage bolt through. In order to fix this, thread the bolt through one and either pull or push while threading through the second until the bolt travels without resistance.
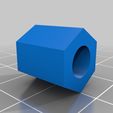
- The spindle lock nuts are a delicate and tight fit, a tiny bit of sanding might be required to get them to fit together. I also used a bit of superglue to lock them to the threads of the carriage bolt, this was delicate work. I test fitted them together, used the tap, separated them and put one on each side of the carriage bracket. Started threading the carriage bolt through then just before the last turn, I put a drop of crazy glue on each side.
The Container is the cheapest container I could find that would fit my filament. I bought it from Dollarama (a Canadian dollar store chain). It is held in place with the slider and slider bracket as well as the two carriage bolts on the carriage side of the stand. In all I drilled 8 holes in the container, 4 for the bolts on the slider bracket, 1 for the carriage bolt that adjusts the width of the slider/carriage, 2 for the carriage bolts that go from the slider in to the base stand and 1 for the brass pressuring fitting. I tried to keep all holes at the minimum size required for them to fit, the adjustment carriage bolt hole required a bit of sanding so that the adjustment knob would turn freely.
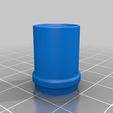
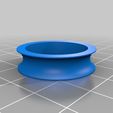
The connector at the bottom of the container is a brass pressure fit for 1/4 PVC tubing. I made a simple two piece washer with the correct angle to hold it level in my container.
In the end I am very happy with this project. I placed a humidity sensor inside with a couple of packets of silica gel. The inside of the container is currently at 19% (the minimum for the sensor), while the rest of my garage is currently at 82% humidity.
If you have any questions please feel free to ask. If my instructions are unclear, also feel free to ask.
This build was complicated on purpose as I was super bored last week and just kept adding and adding all while trying not to revamp any of the previous parts because I was also being lazy (bored and lazy go together).

/https://fbi.cults3d.com/uploaders/13839398/illustration-file/02bf2c1a-fedf-4533-bc7f-641dcb295cdd/20180624_203614.jpg)
