Skip to content

Ghastly Eyes

Advertising
Advertising
?
Creation quality: 0.0/5 (0 votes)
Evaluation of members on the printability, utility, level of detail, etc.

  • 827 views
  • 3 downloads

License
3D design format
STL Folder details Close
  • Ghastly_eyes.stl

Learn more about the formats

3D model size X 34.2 Γ— Y 34.2 Γ— Z 31.5 mm
Publication date 2021-09-28 at 23:20
?
Published to Thingiverse on: 2021-09-28 at 22:20
Design number 530969

3D printer file info

3D model description

Hello all,

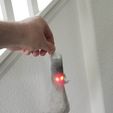
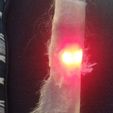
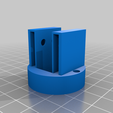
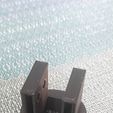
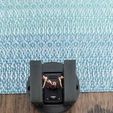
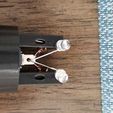
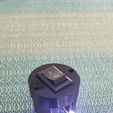
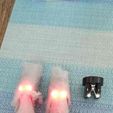
I designed this little battery/LED light holder to create some spooky eyes for Halloween.
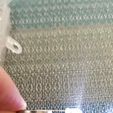
I have a lot of gardening weed barrier stuff left over, so that's what I used as 'cloth' to decorate it and give it that ghoulish look, it tears nicely too.

I have a hobbyist understanding of electronics, so if you know more then me feel free to change things up.

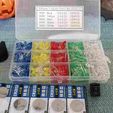
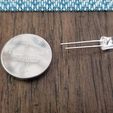
In addition to the 3D print, you will need
-wire, any (I happened to use extra doorbell wire)
-CR2032 coin batteries
-LED lights
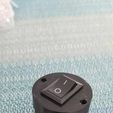
-toggle switch (optional)

Helpful Tools
-soldering iron
-needle nose pliers
-wire strippers
-hot glue gun w/ low setting
-glue
-Any cloth for decorating
-String, to hang it up.

Here are some links to amazon to the stuff I purchased, as reference at least.

--toggle switches--https://smile.amazon.com/gp/product/B0817QGXL2/ref=ppx_yo_dt_b_asin_title_o01_s00?ie=UTF8&psc=1

--LED lights--https://smile.amazon.com/gp/product/B07DQQCXV9/ref=ppx_yo_dt_b_asin_title_o01_s00?ie=UTF8&psc=1

--coin batteries-- https://smile.amazon.com/gp/product/B071D4DKTZ/ref=ppx_yo_dt_b_asin_title_o01_s00?ie=UTF8&psc=1

Notes:
-The oval looking hole in the front is there so you can poke the battery with something to push it out.
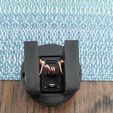
-Bend the positive LED connector down after installing it (there's a hole for where it goes)
-The positive side of the batteries (when inserted) are facing outward with the negative side inward, this is important.
-The LED lights work one way, the longer connector of the LED needs to be on the positive side. It will not work if switched around.
-You don't NEED the toggle switch. Just route the negative LED connector to the battery, it will turn on as soon as you insert the battery.
-If using the toggle switch, make sure to inset it with the metal connections closet to the front, this way you can solder the negative points directly to the switch connection. Otherwise it will be too far, so you'll just need to add a bit of extra wire to reach.
-The toggle switch is a tight fit, use extra muscles or some pliers to get it in all the way.
-Depending on the thickness of the wire used for the negative battery connection, the battery itself should stay in place due to the tight fit, otherwise just add a little tape to the back end.

3D printing settings

-

Advertising


Issue with this design? Report a problem.

Would you like to support Cults?

You like Cults and you want to help us continue the adventure independently? Please note that we are a small team of 3 people, therefore it is very simple to support us to maintain the activity and create future developments. Here are 4 solutions accessible to all:

  • ADVERTISING: Disable your banner blocker (AdBlock, …) and click on our banner ads.

  • AFFILIATION: Make your purchases online by clicking on our affiliate links here Amazon.

  • DONATE: If you want, you can make a donation via Ko-Fi πŸ’œ.

  • WORD OF MOUTH: Invite your friends to come, discover the platform and the magnificent 3D files shared by the community!


Sharing and downloading on Cults3D guarantees that designs remain in makers community hands! And not in the hands of the 3D printing or software giants who own the competing platforms and exploit the designs for their own commercial interests.

Cults3D is an independent, self-financed site that is not accountable to any investor or brand. Almost all of the site's revenues are paid back to the platform's makers. The content published on the site serves only the interests of its authors and not those of 3D printer brands who also wish to control the 3D modeling market.

100% secure payment by credit card, PayPal, Apple Pay, Google Pay, etc.
View all payment options.