Updated: 02-21-22 Change Title. Since I've gotten more involved in designing items I've lost a lot of interest on working on this. I had hoped by taking an AutoCAD class that I could redesign the lift system (separate postings) to be better but that might now happen for some time with so many other projects that I'm working on.
Feel free to create your own add-ons, if you can think of any and share them with others. Just remember to have fun.
Updated: 12-30-21 I didn't realize that version 1.1 was not copied over from another site that I no longer suppport over censorship.
I'm updating this version 1.0 with version 1.1 and version 1.2.
All pieces from previous versions are compatible, just not as easy to use as the newer ones. I have removed some pieces that were not used. I don't know or remember why I posted them. I suppose that I added them in the event that someone wanted to do something on their own but since it is confusing to have them I removed them.
Differences between version 1.1 and 1.2:
I have added two variances of the trusses to allow the marble to roll higher up on the track. My original thoughts were to keep the marble low so as to be able to take turns faster. But that isn't great for maintaining speed and not everyone wants the marble to travel at faster speeds.
And you can can use any of these trusses with any version as it only effects how the marble rides on the rails.
Differences between Version 1.1 and 1.0:
I can't remember them all but I've replaced the plate connectors with a simpler quick connection piece. No more screws.
I reduced the number of screws to just two. One to join the posts and one to use connecting the posts to the plates. The differences are in the length and the shorter post connectors can be used to connect the posts to the plates in some instances.
I cleaned up the tolerances a bit on the screws and the thread on the posts and plates.
Separate projects have not been ported to Cults3D. I don't know why but I'll add them shortly. This includes a AA battery holder with mounted switch as well as the lift system.
The AA battery holder works nicely even if not using it for this project and is designed for flexibility when runnning wires and connecting them, as well as what you want to use as battery posts.
The lift system is still a bit crude. I won't be working on that until I can get a CAD class started in January as it is needs precision that I can't get otherwise.
Updated: 12-20-21 This version is now being maintained. Version 1.1 is available on Thingverse and is the final posting of version 1.1 but I hope to be updating this version within the next few weeks.
October 7th, 2021 NOTE: Version 1.1 will be coming out by the end of the month.
All of these items in this version will still be compatible.
I'll list some of the enhancements that are coming to avoid wasting print material and time.
- Plate connectors are back to my original design and do NOT use screws or pegs.
- Plates have more tolerance for screws.
- There are only two types of screws; One for connecting poles and one for connecting the poles to the plates. They only vary in size by about 3mm.
- The splitter/converger mounting method has been cleaned up. Version 1 was left over from pre-release and was poorly designed.
- A lift system will be included along with a AA battery pack with a three-way switch.
I promise to do a lot more pictures, as well as I printed many of the parts (not the lift) in Turquoise. While the Natural color is nice to hide them from the viewer it isn't very nice when one is trying to examine the pieces themselves.
This is a work in progress as it is my main hobby. I am always tweaking pieces for easy of printing or ease of use. The pictures are of items that make up the system. You can make your marble roller as big or as small as you like given the pieces shown. The one picture was that of a beta build that shows older versions of pieces and the progression to the current. The leaning pieces are caused by the usage of obsolete methods of connecting pieces as well as using obsolete pieces.
Design your own marble roller without the need to plan ahead. Just have fun.. Simply start building from the ground up. Pick a spot where your run will end and work backwards to your starting point. Rip it apart and change things up with little to no difficulties. You can build a nice roller within a half an hour once you get experienced.
The Funtime Marble Roller (FMR) is a work in progress. FMR is designed to be sturdy, quick to assemble, and easy enough for children to use. Whether you want to screw everything together for a more permanent roller or use the Quick Connections (QC) to quickly connect the pieces, (preferred by some children as they don't have to screw things together).
The design philosophy of FMR was to make a system that is mimimalistic as well as
aesthetically pleasing. The objective is to not create bulky pieces of plastic that distract from the model with the exception of when it is necessary to do so, such as a lift system and a track splitter/track combiner, motor and battery mounts, etc.
I will be adding a printing guide for each of the pieces as this becomes more complex. I have oriented the pieces as to how to print. Screws are properly oriented so as not to break. I use tree supports on the screws and QC that have knobs. All others do not require any supports or brims.
Usage Recommendation.
When designing your roller keep this in mind. I think that a good practice is to first determine the most common viewing angle. Your design won't be very good if it looks great from the side view but most people will be looking down on it, or vice versa. Also, have your starting position in the back corner and have the marble roll towards the viewer. This will help minimize obstruction of view from posts that may only be used for the top most layers of your run.
The only parts that you cannot print are standard 1/2" marbles and vinyl tubing. Be aware that cheap modern marbles may not be a full 1/2".
This system using 1/4" vinyl tubing (1/8" Inner diameter) that can be very cheaply bought at your Ace Hardware Store or Lowes in 50 foot rolls or by the foot (about 25 cents a foot). You do not need to straighten the tubing but if you wish there are videos on the net to show you how to do this.
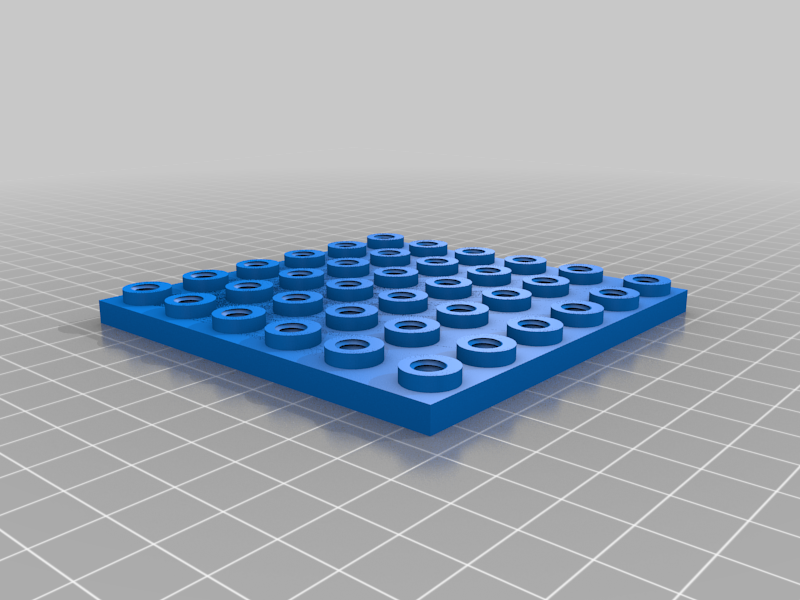
Plates: These are 89mmx/89mm, well plates. They contain 36 threaded holes so as to insert post connectors. There is a connector piece to connect upto four plates together using screws or the quick connectors.
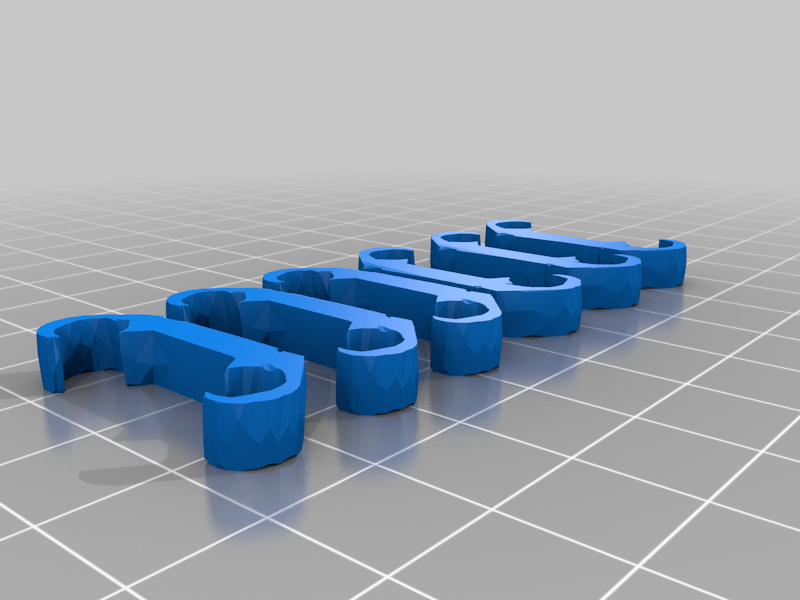
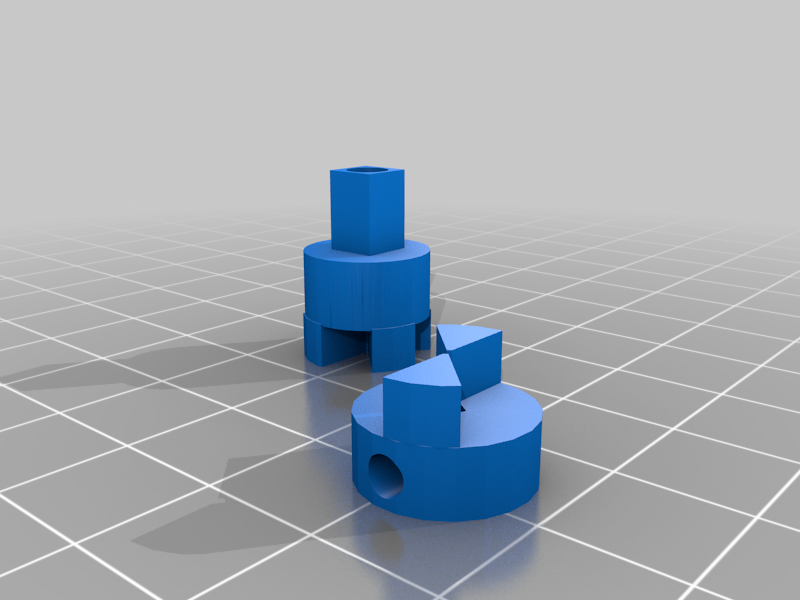
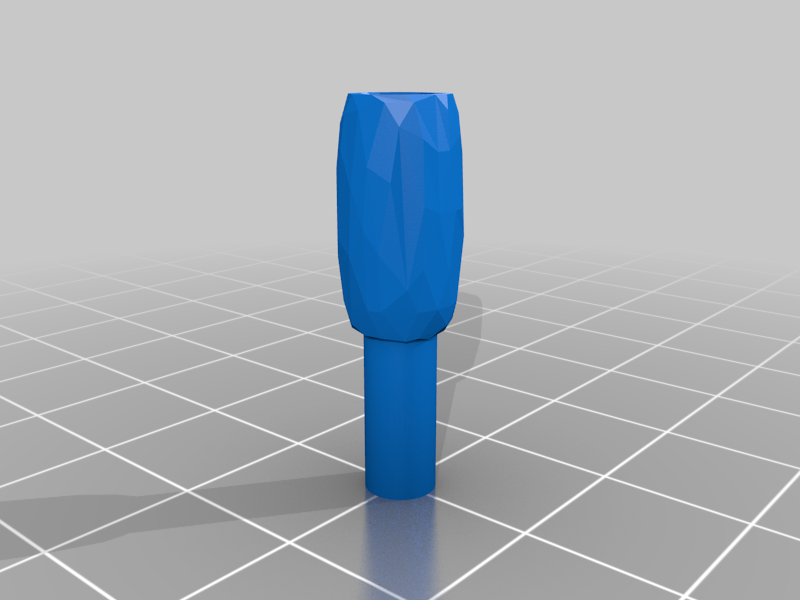
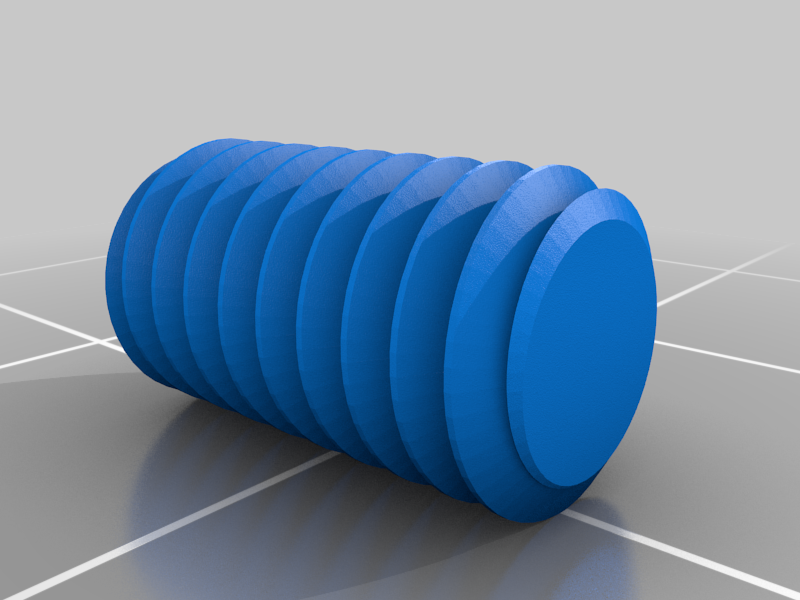
Post Connectors: There are two types of post connectors, threaded and quick connect.
Threaded connectors on the plates and posts allow them to be screwed together for a firmer build. Quick connects are simply posts without threads and allows the user to quickly connect items. This is better for young children or prototyping a roller as the screws are a tight fit and require post-processing to clean up of the plates and posts.
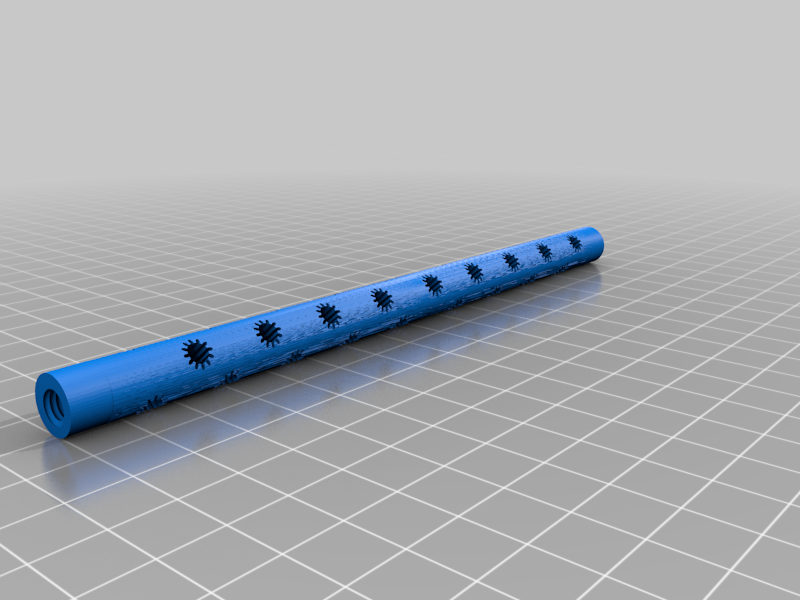
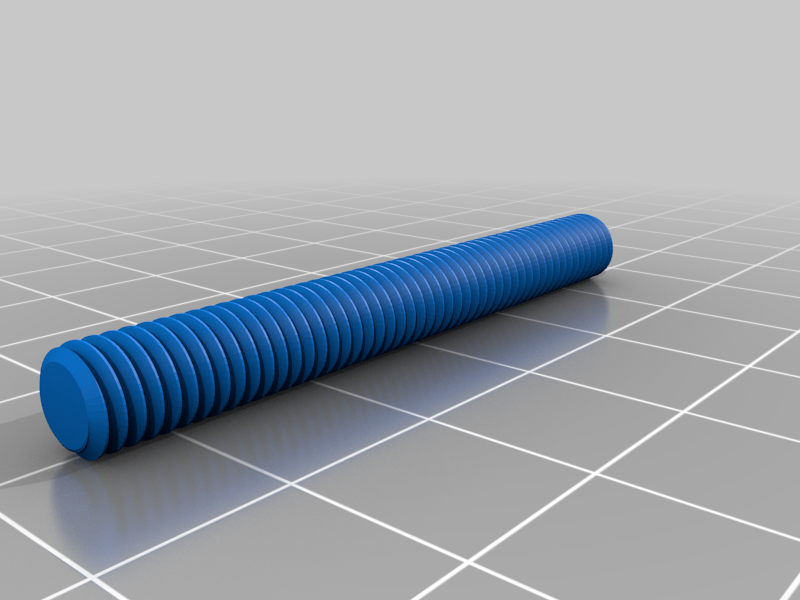
Posts: The posts are used to build your track and contain star-shaped holes where trusses are inserted in order to hold the track, make turns or loops, etc. These posts have threaded ends so that using the screws can be screwed into the plates or each other to extend the height. There are four different size posts at present. They are:
48mm, 89mm, 159mm, and 227mm. Yes, they are all short and supposed to be 1mm shorter than a whole number. The differences of a few millimeters won't affect a build.
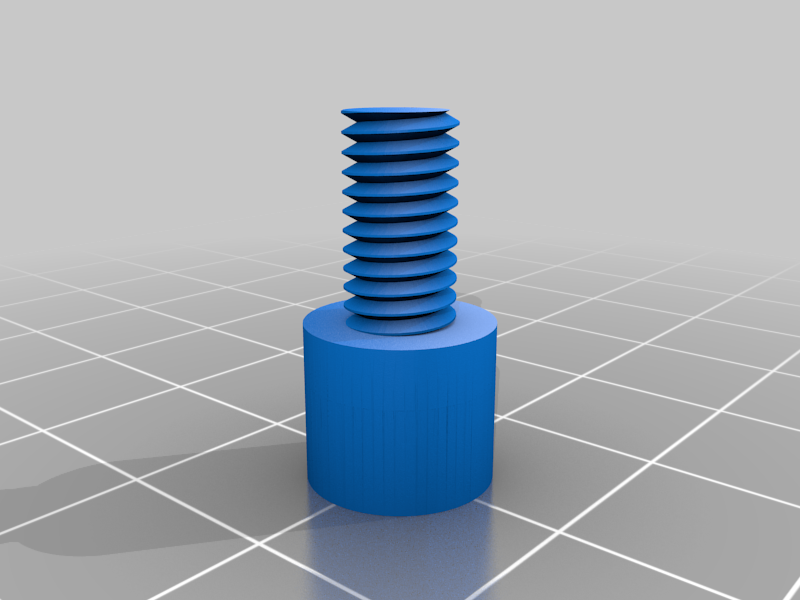
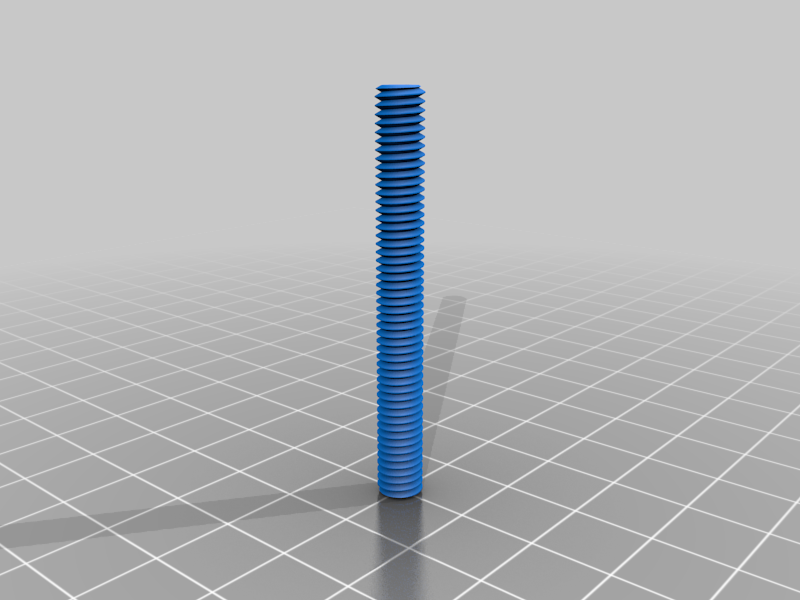
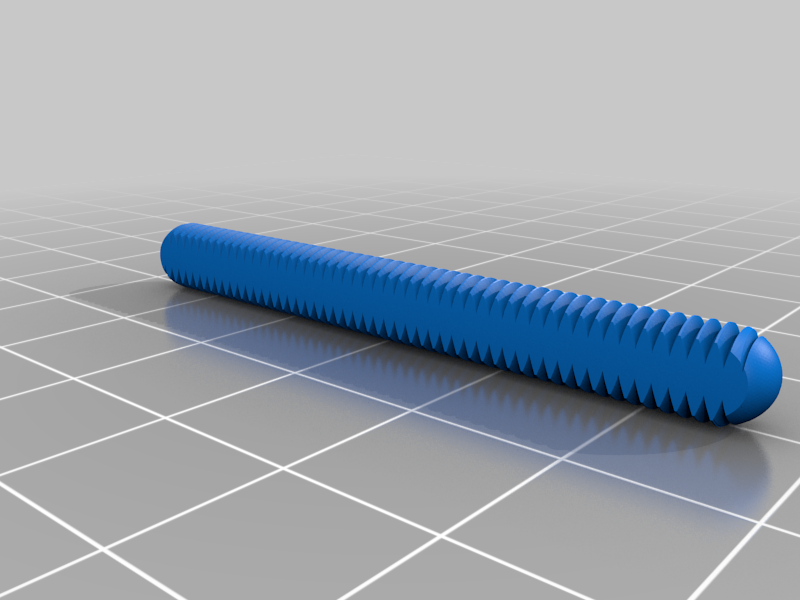
Screws and Misc. These are 6mm x 12mm screws in order to connect posts to each other or to the plates. There are also the quick connectors, with and without knobs.
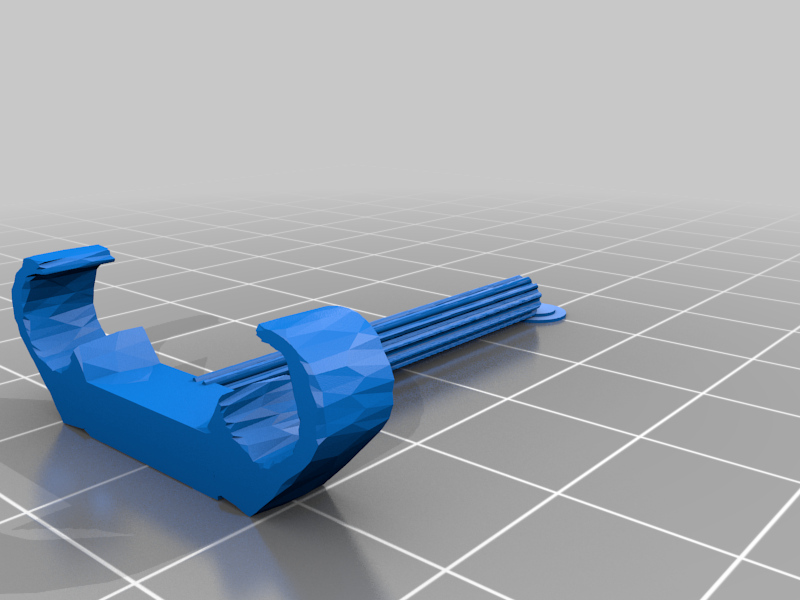
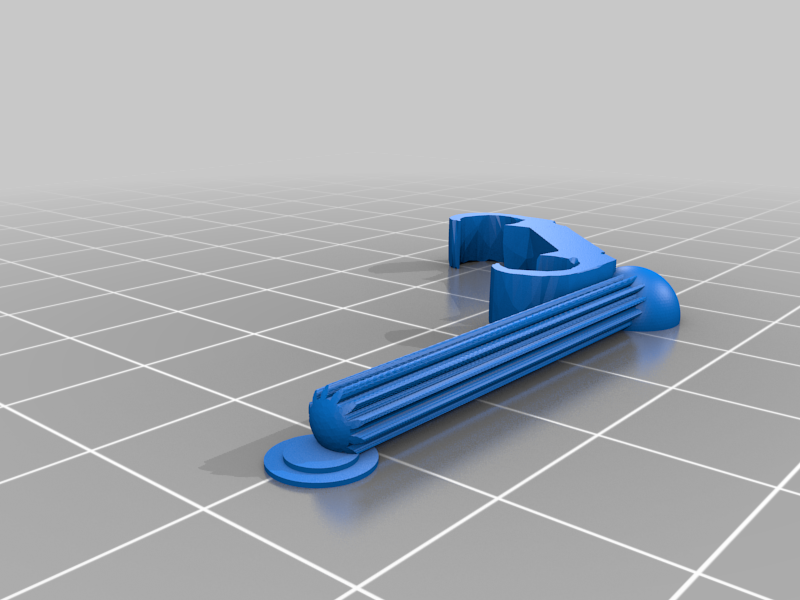
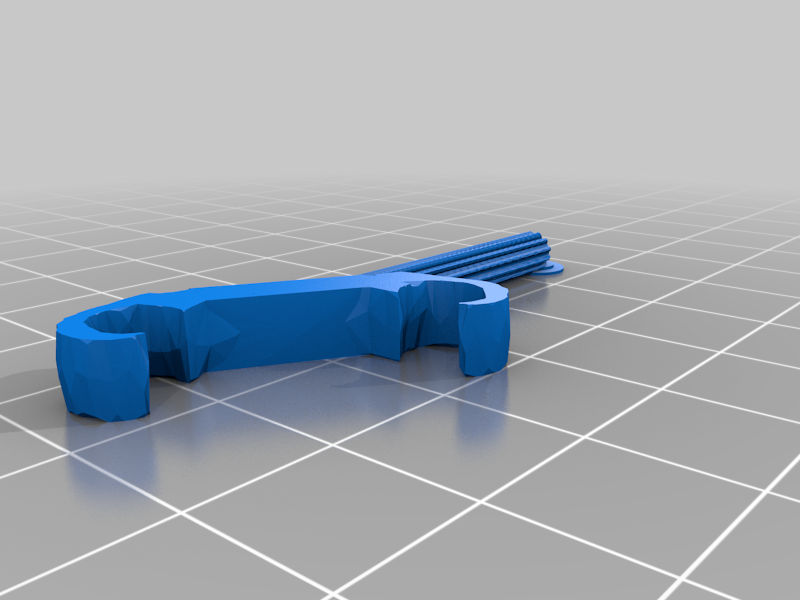
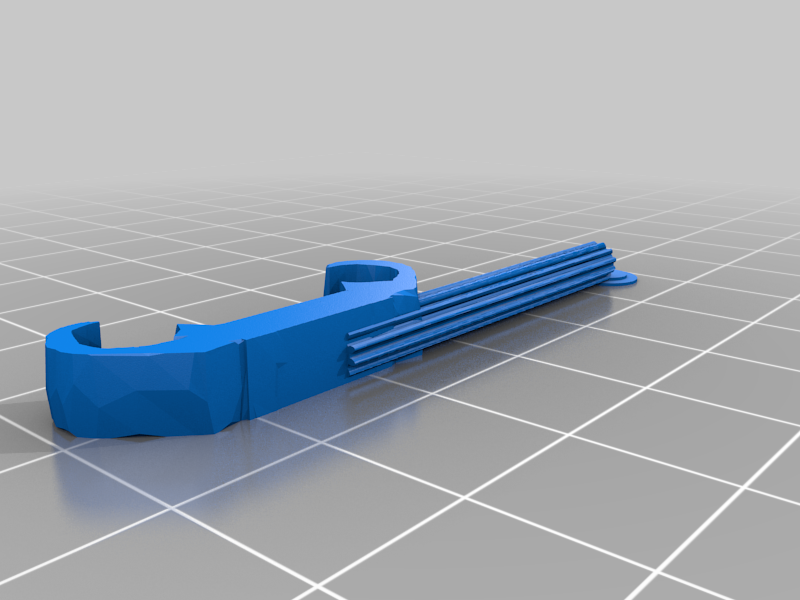
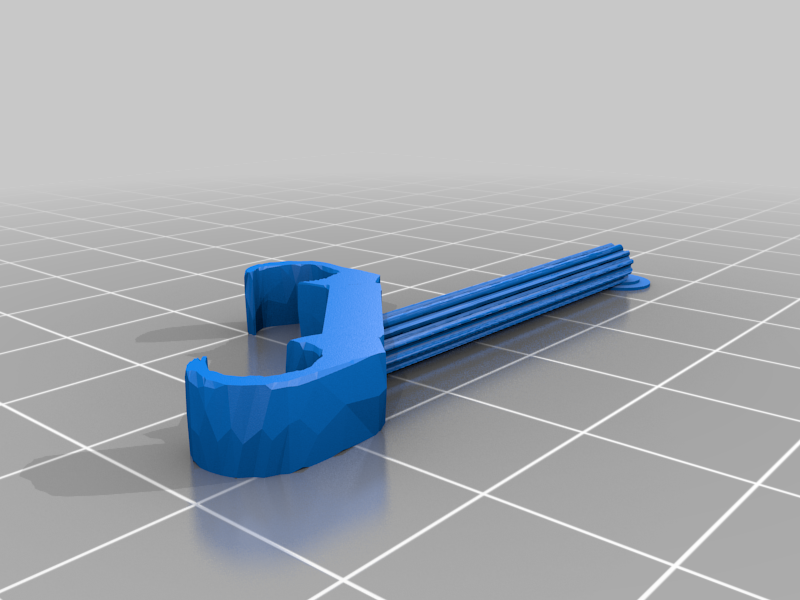
Trusses: Trusses are used to connect your rails. This assures that the spacing is proper between the rails. Should a marble fall through simply add a truss.
Trusses come simply as connectors or spacers as well as having post-connectors so as to connect them to a post to hold your rails in place. There are a few different connectors. Straight, 30 degree and 45 degree angles in order to make turns, inner-mounting - these are to be able to connect the trusses from the inside of radius of a turn and are distinquished by having a semi-ball where the truss and the post join together.
I will also include truss connectors and simply straight connectors so as to be able to use a post that is not near the rails. In time you'll learn to minimalize the number of posts by using them for multiple levels and multiple tracks.
Rail connectors: These are used to connect two pieces of vinyl tubing together. As you cut your tubing you'll find that future builds require different lengths of track. There are straight and curved connectors, the later are better when connecting rails in a turn. I find it better not to connect rails in a sharp turn and I haven't included those connectors at this time.
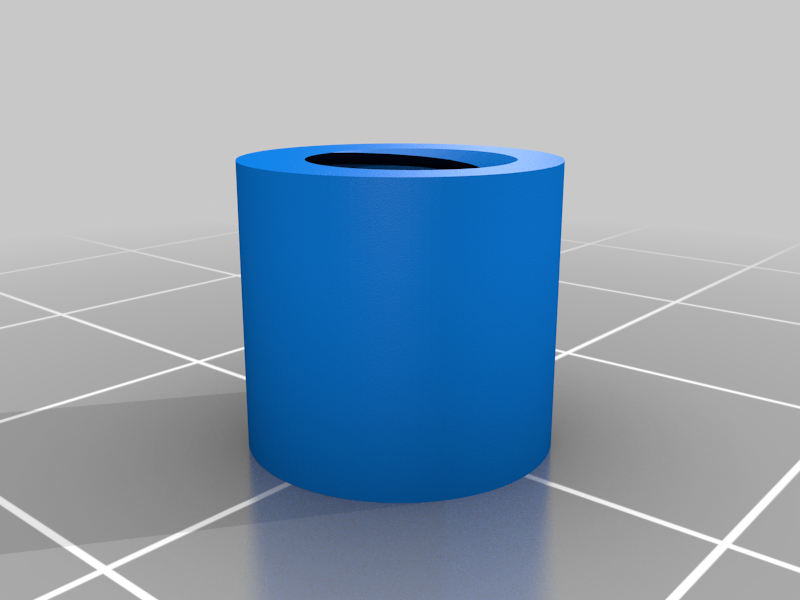
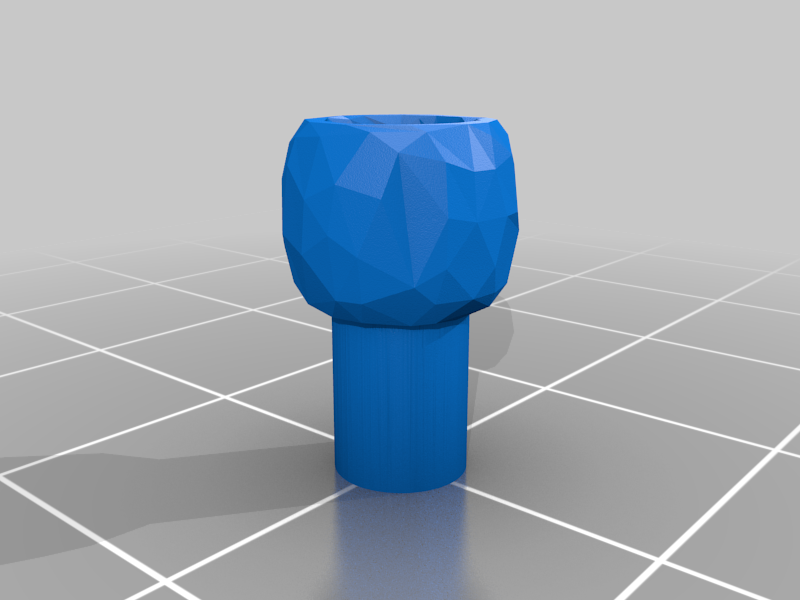
Mounting Ring: This is one of those pieces that adds a bit of flexibility to connecting trusses. Simply slide it over the post and put a peg under it in order to keep it in place and maximize usage of the mounting holes or slide a truss through the ring and the post to hold it in place for a more sturdier fixture. Other than keeping the ring level either method works just fine.
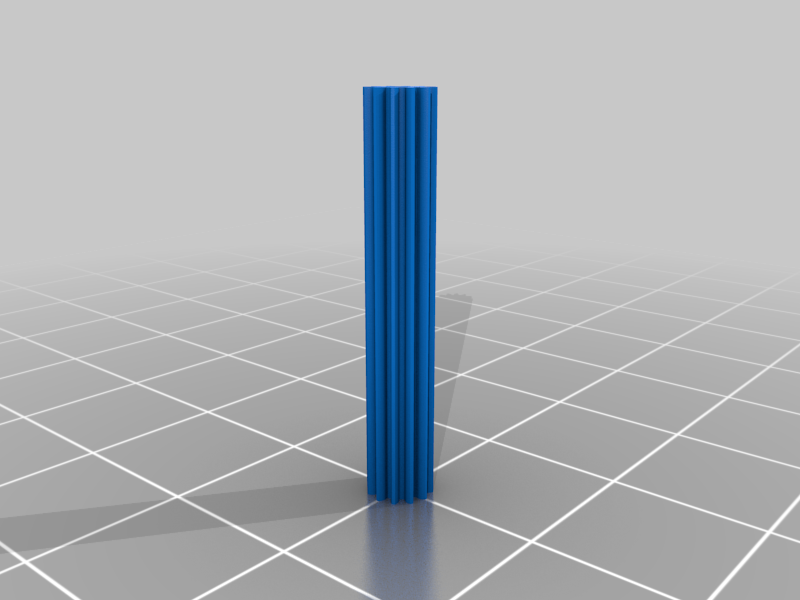
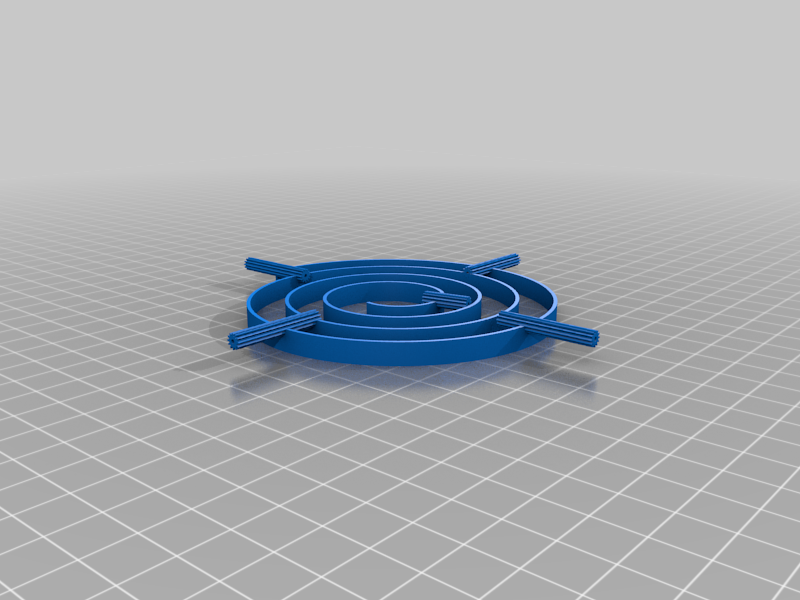
Misc. These are extras that I may have used or still haven't tested. At present they is a spiral tree, a non-hole post, and a Start-X crossing for multiple intersecting rails. it doesn't sound like a good idea unless you can regulate when marbles pass through the intersection as they will collide and be knocked off of the rails. This is probably my most disliked pieces as it is big and bulky. I try to make pieces that are less interfering to the observer.
The non-hole post simply doesn't have holes to attach trusses to but is used solely as an extender. I use this is my lift system as well as a the starting position in the back of the build.
The Splitter or combiner: This piece can be used to split your rails into two paths or to combine two paths into one by simply removing the the splitter in the middle of the piece. I've tried to minimize the size and distraction but I haven't found a better design for when using rails. All other splitters have the marble rolling in a track and not on the track.
BTW, because of the star patterns used on the truss posts and the posts they won't turn when inserted. This also makes print times longer and more difficult to get bed adhesion than plain round rods.
Of special note: for the purists out there that this was designed the old fashioned way, by cutting and pasting and not CAD software. The pieces therefore have intersecting meshes. Therefore in your splicing software be sure to have the option in "Mesh Fixes" (in Cura) "Remove Mesh Intersections". It is not necessary to have the option to "Alternate mesh removal" as none of these pieces will hold much weight.
I print at 200 microns at about 40mm/sec with my first layers being very slow and my initial travel speed being no more than 40mm/sec to avoid bad adhesion to the bed.
I use PLA as PETG just wasn't working out for me with these small parts. There is no need for strength as all of the pieces are exceptional light.
Final note. If anyone would want to redo this in CAD software I would be tickled to see it done right.
UPDATES:
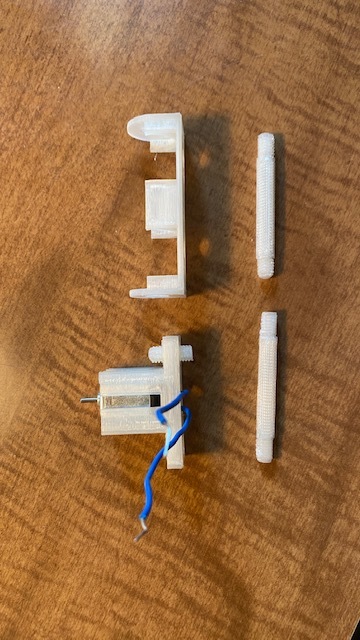
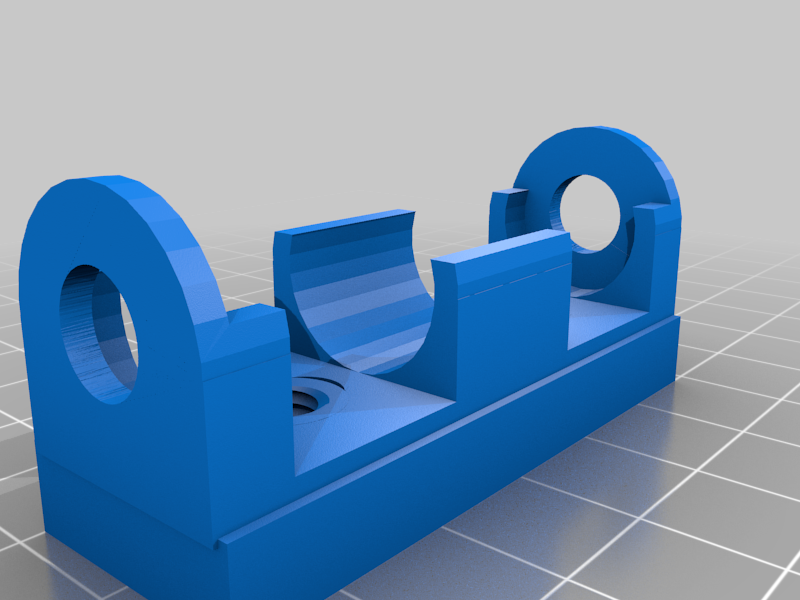
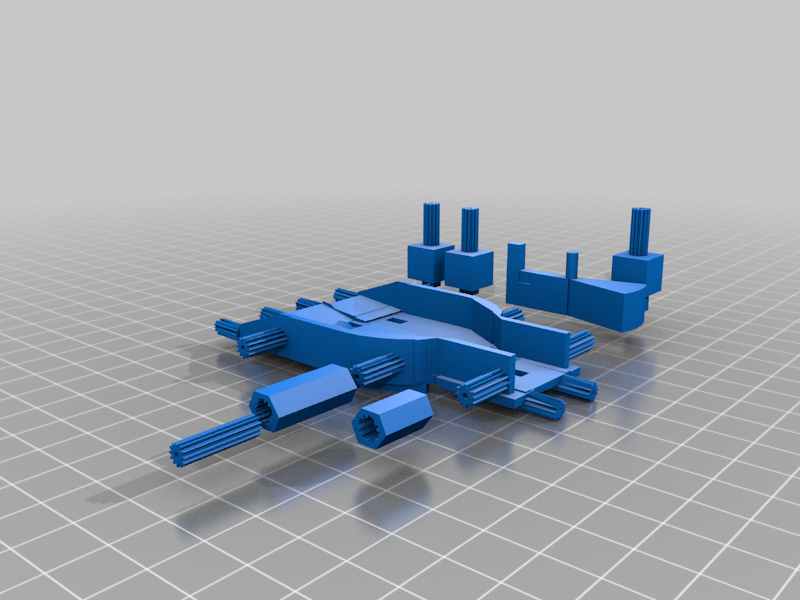
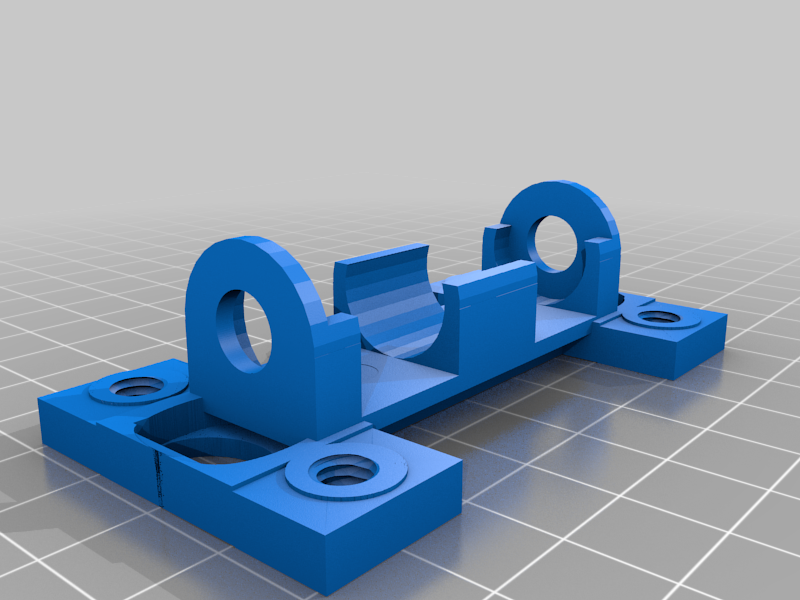
07/27/21 I turned the posts 45 degrees as this is the best way to print them. Otherwise the holes are filled with plastic waste. Also, I added the motor mount for a 15mm Solarworks motor for the upcoming redesigned lift system that I'm working on. I'm getting rid of the Archimedes' screw (not uploaded).
And finally, I reduced the size of these just a small amount and tapered the ends for easier insertion.
07/28/21 Re-uploaded the posts as the ones I uploaded yesterday were the same that I originally uploaded. Added anti-warp tab to truss posts.
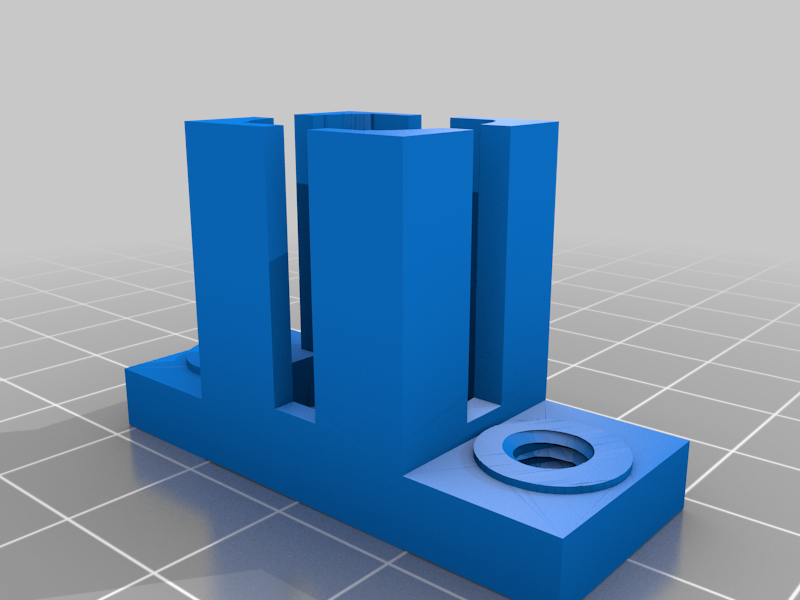
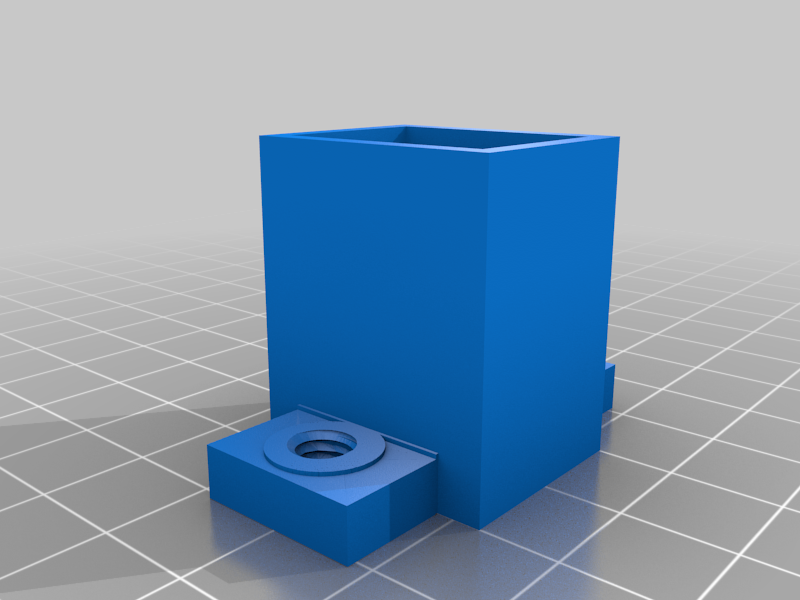
07/31/21 Added AA Battery Mount for future use with lift system. Increased hole sizes and length in order to use a 1/4" washer as an anode. These changes were to make things simpler to work with.
Modified the motor mount for easier access to wiring and correct slightly misaligned nuts.
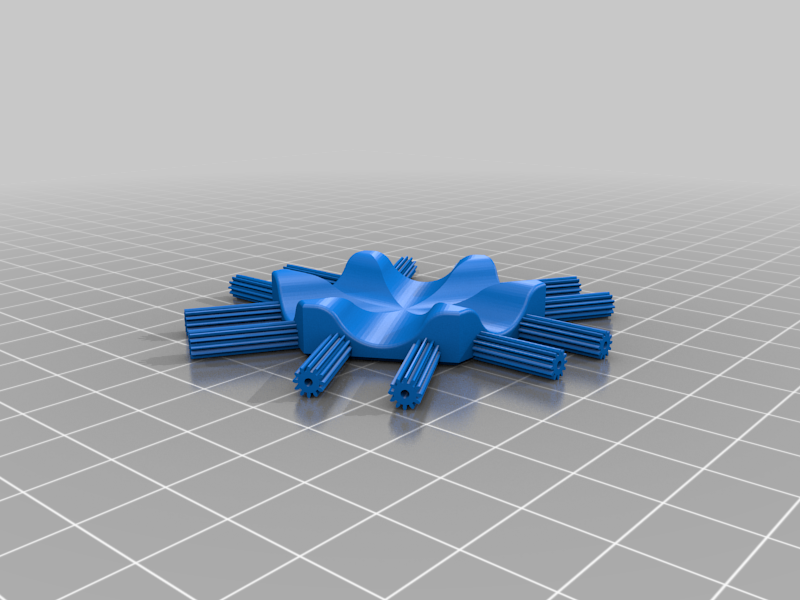
Added spider couplings for 12mm x 15mm motor with what I believe is 2mm shaft.
I'll be making more motor mounts of various sizes once the lift system is working as I have quite a few different motors that I want to try out. This means that more gear boxes and ratios as well as the motor mounts. :)
08/06/21 Absentminded I left out the screws. Also, added a second style of battery mount and motor mount that have only 2 connectors in order to fasten to plates.
08-09-21 Re-bevelled the trusses on posts. I was not thinking before and did and quick and dirty job of it.
08-28-21
Back from Holiday. I gave more tolarence to the plates. What I was blaming myself for as elephant feet wasn't as the holes were misaligned by .1 of a mm. Much easier to screw things in from the bottom of the plates now.
Added a motor mount that was offset by 7.5mm(half the distance between holes of the plates so as to be able to center the motor for a lift. I'm no longer using these mounts for my lift system but you may wish to have them for anything you design.
I'm still working on the lift going through iteration #9. Using other peoples gears has turned out to be a waste of time as the worm drive doesn't work not did the gear box. Redesigning is going to take some time.
:format(webp)/https://fbi.cults3d.com/uploaders/17330127/illustration-file/7528e621-79d3-42b4-afa8-5339746ddb52/thumbnail_IMG_0883.jpg)


/https://preview3d-images.cults3d.com/variants/obpnvmpo0fj6b3g70bmak3q3a4qb/740653c6971db8cfdca21475487b95b09ce19114e42428007af25545a7f8a383)
/https://preview3d-images.cults3d.com/variants/w1n3ieao4clu2s6gloo6w2azemrt/740653c6971db8cfdca21475487b95b09ce19114e42428007af25545a7f8a383)
/https://preview3d-images.cults3d.com/variants/kc5i8msy83jy2rn8pqqz2baazb5k/740653c6971db8cfdca21475487b95b09ce19114e42428007af25545a7f8a383)
/https://preview3d-images.cults3d.com/variants/72yfapfgvodyjpzf701gteiehbm4/740653c6971db8cfdca21475487b95b09ce19114e42428007af25545a7f8a383)
/https://preview3d-images.cults3d.com/variants/iu50qktdy52dn5ibzvqm026tn7gv/740653c6971db8cfdca21475487b95b09ce19114e42428007af25545a7f8a383)
/https://preview3d-images.cults3d.com/variants/qgnbi5lqrkxmci5gz9hy43sf3w4r/740653c6971db8cfdca21475487b95b09ce19114e42428007af25545a7f8a383)
/https://preview3d-images.cults3d.com/variants/se7xf1g9w1gnuu7bjgoex86f7kdn/740653c6971db8cfdca21475487b95b09ce19114e42428007af25545a7f8a383)
/https://preview3d-images.cults3d.com/variants/ne960ijufqichr9xt0iczy5whkwm/740653c6971db8cfdca21475487b95b09ce19114e42428007af25545a7f8a383)
/https://preview3d-images.cults3d.com/variants/p887dnzg3xkuob4er08202mltlj1/740653c6971db8cfdca21475487b95b09ce19114e42428007af25545a7f8a383)
/https://preview3d-images.cults3d.com/variants/1se05re8keo36gk42gthh9rg9jg0/740653c6971db8cfdca21475487b95b09ce19114e42428007af25545a7f8a383)
/https://preview3d-images.cults3d.com/variants/nrmyypl5e53ifergpnp3c5dhc9t2/740653c6971db8cfdca21475487b95b09ce19114e42428007af25545a7f8a383)
/https://preview3d-images.cults3d.com/variants/y9f5sipjo11zmv4w50acmb5nnuq1/740653c6971db8cfdca21475487b95b09ce19114e42428007af25545a7f8a383)
/https://preview3d-images.cults3d.com/variants/hjbk1fwcon87vu3uo6v3aeo1eno0/740653c6971db8cfdca21475487b95b09ce19114e42428007af25545a7f8a383)
/https://preview3d-images.cults3d.com/variants/v1idbeyz3xogybfenrhbohp35w0o/740653c6971db8cfdca21475487b95b09ce19114e42428007af25545a7f8a383)
/https://preview3d-images.cults3d.com/variants/f8vuazddya3r829ft9ebgubt1bh8/740653c6971db8cfdca21475487b95b09ce19114e42428007af25545a7f8a383)
/https://preview3d-images.cults3d.com/variants/yhxdtmxhtu6y2yrt405r8veyu56s/740653c6971db8cfdca21475487b95b09ce19114e42428007af25545a7f8a383)
/https://preview3d-images.cults3d.com/variants/wnxh2k81i55bnz08j7ge3tz336qv/740653c6971db8cfdca21475487b95b09ce19114e42428007af25545a7f8a383)
/https://preview3d-images.cults3d.com/variants/qxfoocbmc70z26uxwmccu90y05j9/740653c6971db8cfdca21475487b95b09ce19114e42428007af25545a7f8a383)
/https://preview3d-images.cults3d.com/variants/c1irdyhwjx5cre184vmbqptth12g/740653c6971db8cfdca21475487b95b09ce19114e42428007af25545a7f8a383)
/https://preview3d-images.cults3d.com/variants/t63ucifp18yx758u04aeonqmq3w0/740653c6971db8cfdca21475487b95b09ce19114e42428007af25545a7f8a383)
/https://preview3d-images.cults3d.com/variants/vb0rmqm6dsjt7udic49tnp210szx/740653c6971db8cfdca21475487b95b09ce19114e42428007af25545a7f8a383)
/https://preview3d-images.cults3d.com/variants/9xdc8h55lb812yf0ah48hl3a9yuu/740653c6971db8cfdca21475487b95b09ce19114e42428007af25545a7f8a383)
/https://preview3d-images.cults3d.com/variants/qkqwl9biod8p5ckz9rjvxn721rse/740653c6971db8cfdca21475487b95b09ce19114e42428007af25545a7f8a383)
/https://preview3d-images.cults3d.com/variants/v10i0hc4dfcbl42iflcak4musuzn/740653c6971db8cfdca21475487b95b09ce19114e42428007af25545a7f8a383)
/https://preview3d-images.cults3d.com/variants/ehnl4c89v2l0au4f61gjrlf3gn9s/740653c6971db8cfdca21475487b95b09ce19114e42428007af25545a7f8a383)
/https://preview3d-images.cults3d.com/variants/bzuw9u0gd1b3w1who5lq353v8jgr/740653c6971db8cfdca21475487b95b09ce19114e42428007af25545a7f8a383)
/https://preview3d-images.cults3d.com/variants/a6962bh5qrr7coy4zgahfp3acnnv/77d3f3b93f425080e8527932a83b54282f99f31ca9700de02f554c0ba0d78731)
/https://preview3d-images.cults3d.com/variants/o4qsimghv71u48w91tf7nwqpty6y/77d3f3b93f425080e8527932a83b54282f99f31ca9700de02f554c0ba0d78731)
/https://preview3d-images.cults3d.com/variants/vdvavgfqbpxls63exb3top4mxowp/77d3f3b93f425080e8527932a83b54282f99f31ca9700de02f554c0ba0d78731)
/https://preview3d-images.cults3d.com/variants/61ia5zmvchpz5t78acgjrbylf5ow/77d3f3b93f425080e8527932a83b54282f99f31ca9700de02f554c0ba0d78731)
/https://preview3d-images.cults3d.com/variants/qhuddgkvzelqylm3at7v89hrfrow/77d3f3b93f425080e8527932a83b54282f99f31ca9700de02f554c0ba0d78731)
/https://preview3d-images.cults3d.com/variants/wk0xm3ldm61w27w57mtxe0hk4aeh/77d3f3b93f425080e8527932a83b54282f99f31ca9700de02f554c0ba0d78731)
/https://preview3d-images.cults3d.com/variants/hekvjxu181zu71pvum59z42jakwd/77d3f3b93f425080e8527932a83b54282f99f31ca9700de02f554c0ba0d78731)
/https://preview3d-images.cults3d.com/variants/41ow88nqzxp1vrteu06nauzxfxtr/77d3f3b93f425080e8527932a83b54282f99f31ca9700de02f554c0ba0d78731)
/https://preview3d-images.cults3d.com/variants/jhz839y6q7da507uhjej8jskfuyh/77d3f3b93f425080e8527932a83b54282f99f31ca9700de02f554c0ba0d78731)
/https://preview3d-images.cults3d.com/variants/62m08bhm7fbf9q6125mcxleg08of/77d3f3b93f425080e8527932a83b54282f99f31ca9700de02f554c0ba0d78731)
/https://preview3d-images.cults3d.com/variants/wcbxkkdv8f6boropzjgz1e6dy4iw/77d3f3b93f425080e8527932a83b54282f99f31ca9700de02f554c0ba0d78731)
/https://preview3d-images.cults3d.com/variants/b6m0g6nk99lgdcfutar9znv0sp91/77d3f3b93f425080e8527932a83b54282f99f31ca9700de02f554c0ba0d78731)
/https://preview3d-images.cults3d.com/variants/bhzomibo4j5acfzhrf0fz5qfxlhs/77d3f3b93f425080e8527932a83b54282f99f31ca9700de02f554c0ba0d78731)
/https://preview3d-images.cults3d.com/variants/rr7mstkqsefu85hdsrm74n72c59n/77d3f3b93f425080e8527932a83b54282f99f31ca9700de02f554c0ba0d78731)
/https://preview3d-images.cults3d.com/variants/6pzbni63cfpau6v63t1ev5bgjrbn/77d3f3b93f425080e8527932a83b54282f99f31ca9700de02f554c0ba0d78731)
/https://preview3d-images.cults3d.com/variants/mnam78g8b40xow3nuafjyxupp4rc/77d3f3b93f425080e8527932a83b54282f99f31ca9700de02f554c0ba0d78731)
/https://preview3d-images.cults3d.com/variants/gegbbc7e9klx1hmi3gxl5hny802c/77d3f3b93f425080e8527932a83b54282f99f31ca9700de02f554c0ba0d78731)
/https://preview3d-images.cults3d.com/variants/t27apnr8f3j88o1ckfmkfwu3wp6v/77d3f3b93f425080e8527932a83b54282f99f31ca9700de02f554c0ba0d78731)
/https://preview3d-images.cults3d.com/variants/24fvhogxqzb00od28x5pcu9vyijh/77d3f3b93f425080e8527932a83b54282f99f31ca9700de02f554c0ba0d78731)
/https://preview3d-images.cults3d.com/variants/aknzk7b5qrfj93cv5pfb43kyoacf/77d3f3b93f425080e8527932a83b54282f99f31ca9700de02f554c0ba0d78731)
/https://preview3d-images.cults3d.com/variants/ov3wlq2d8gtnsjrloos8tsduwq20/77d3f3b93f425080e8527932a83b54282f99f31ca9700de02f554c0ba0d78731)
/https://preview3d-images.cults3d.com/variants/f8is8fdcvsf2g9btgpeo34m8pdcw/77d3f3b93f425080e8527932a83b54282f99f31ca9700de02f554c0ba0d78731)
/https://preview3d-images.cults3d.com/variants/pb0phhnbfaee05b16lrapcdljzkl/77d3f3b93f425080e8527932a83b54282f99f31ca9700de02f554c0ba0d78731)
/https://preview3d-images.cults3d.com/variants/1pyetp75rptnf8wunpbdrdhuymry/77d3f3b93f425080e8527932a83b54282f99f31ca9700de02f554c0ba0d78731)
/https://preview3d-images.cults3d.com/variants/yh6zznauxymws157j9kawtb5wsi7/77d3f3b93f425080e8527932a83b54282f99f31ca9700de02f554c0ba0d78731)
/https://preview3d-images.cults3d.com/variants/0zft09bdgm5ep4z61kmrfvxjq2hb/77d3f3b93f425080e8527932a83b54282f99f31ca9700de02f554c0ba0d78731)


