


This should take overall.

This 3D model consists of files in StereoLithography (.Stl) format that have been optimized for 3D printing.
Before printing the files, we strongly recommend reading the PRINTING DETAILS section.

|
|||||
|---|---|---|---|---|---|
| File Name | File Size | Time / Filament | Object Size (x/y/z mm) |
||
|
1_gun_2 (repaired).stl |
1.44 MiB | 10 h 41 min 6 m | 62 x 102 x 36 | Download | |
|
2_gun_3 (repaired).stl |
1.81 MiB | 5 h 4 min 3 m | 49 x 88 x 28 | Download | |
|
3_gun_4 (repaired).stl |
2.80 MiB | 5 h 7 min 3 m | 49 x 89 x 28 | Download | |
|
4_gun_4_L (Shell 2).stl |
2.61 MiB | 3 h 38 min 2 m | 49 x 73 x 28 | Download | |
This should take overall.
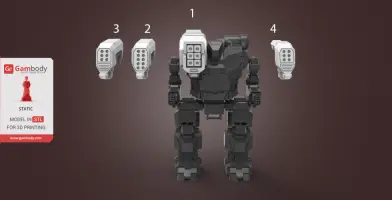
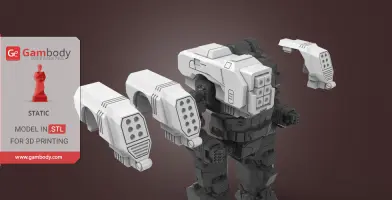
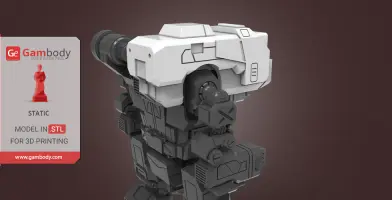
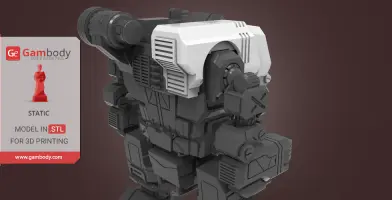
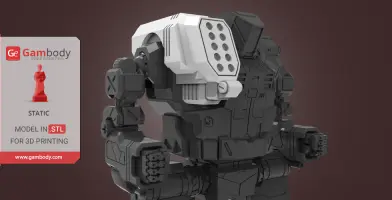
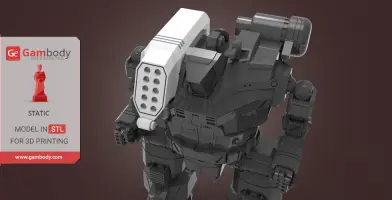
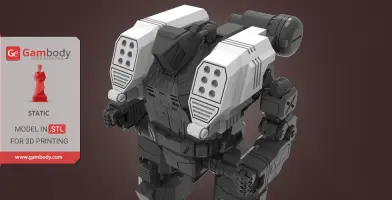
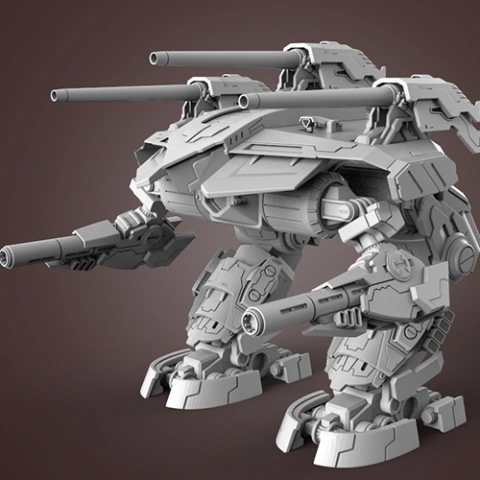
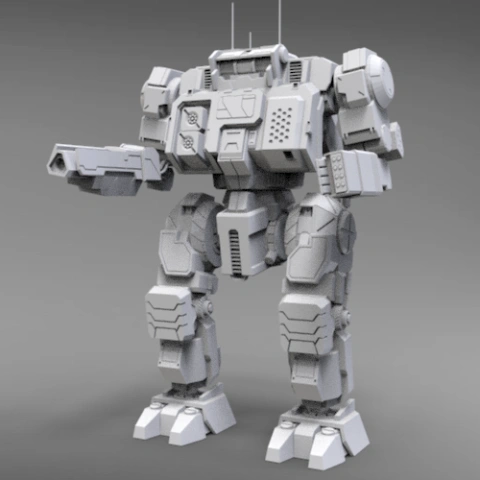
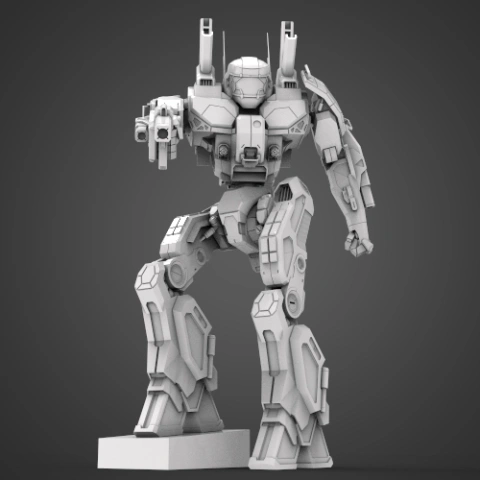
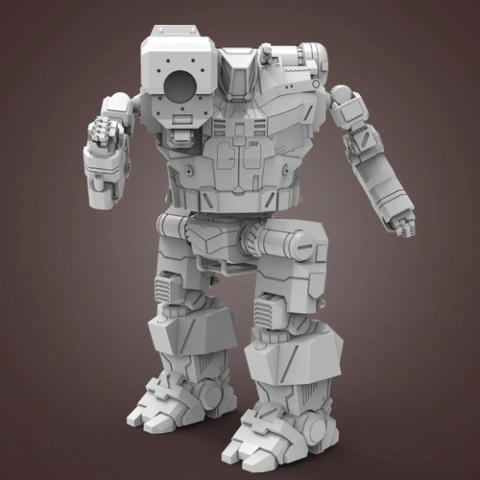
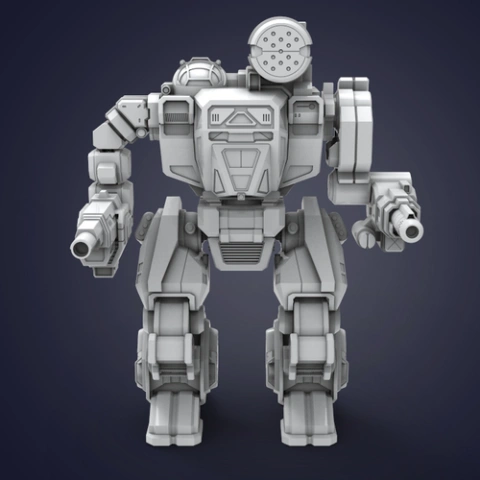
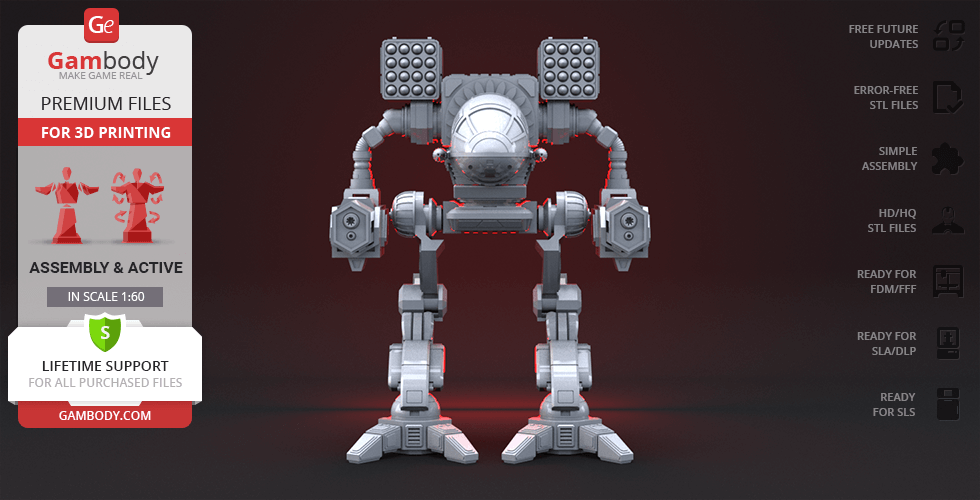
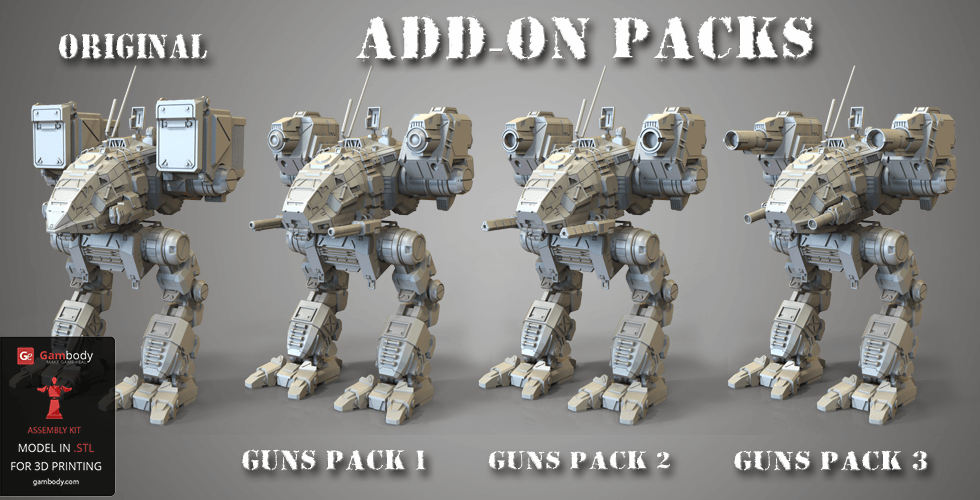
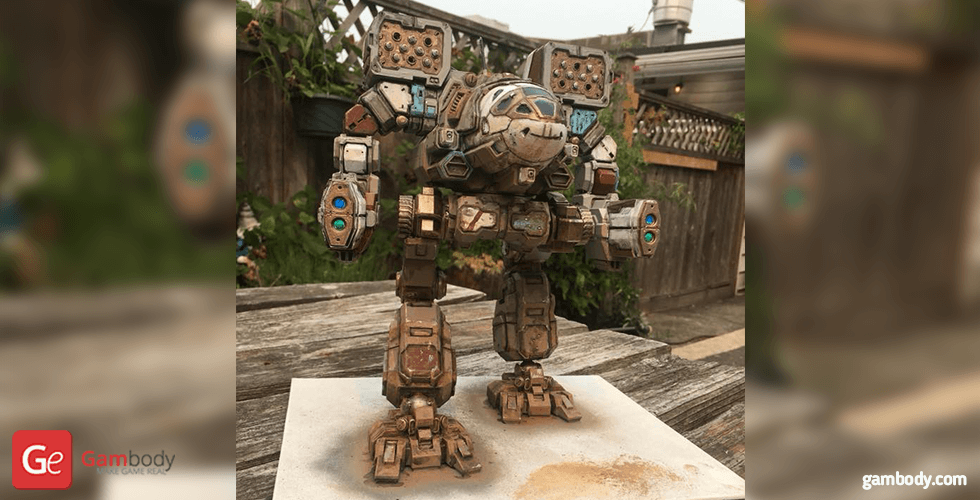
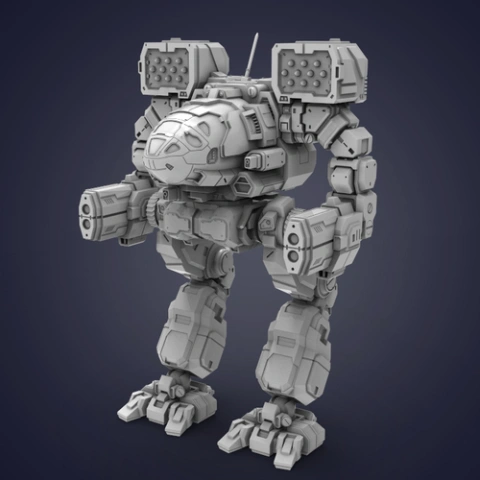
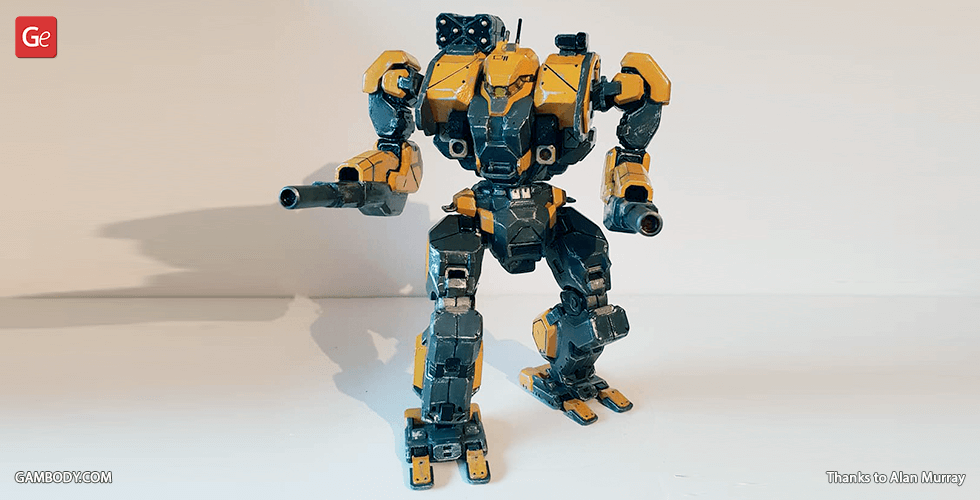
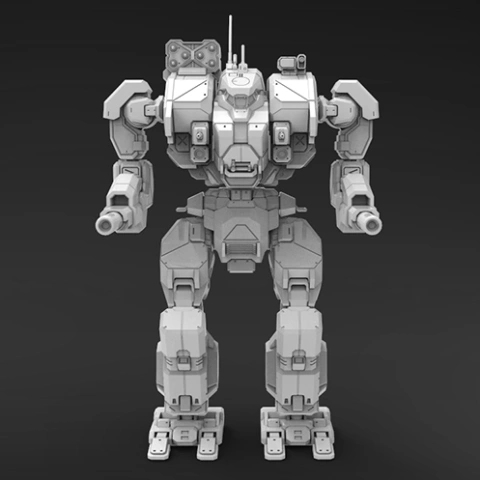
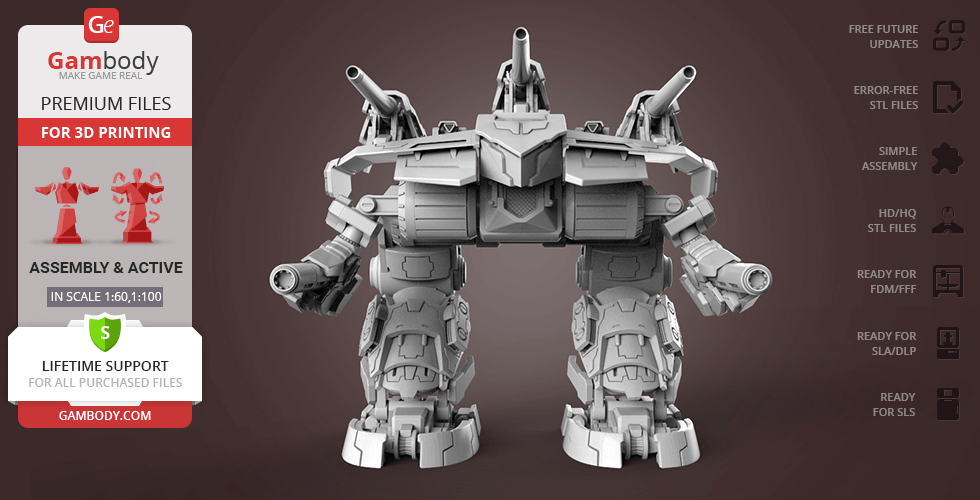
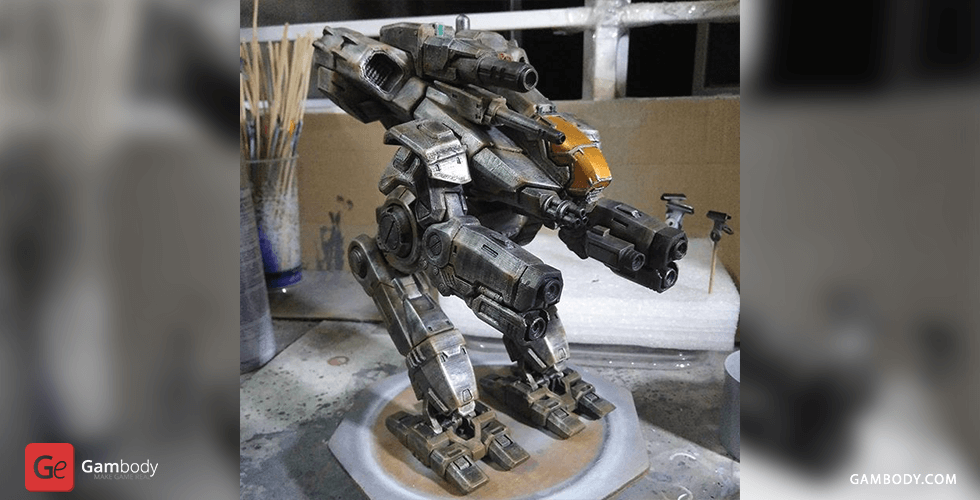
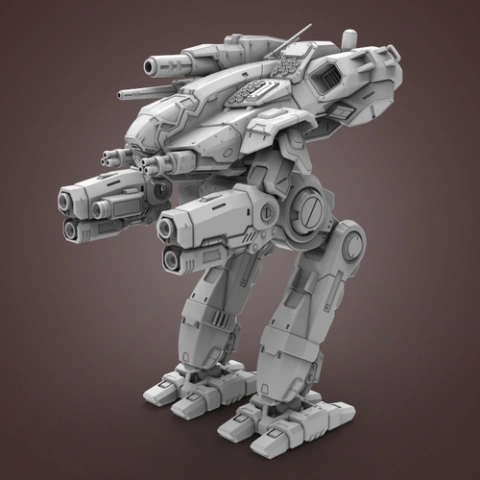
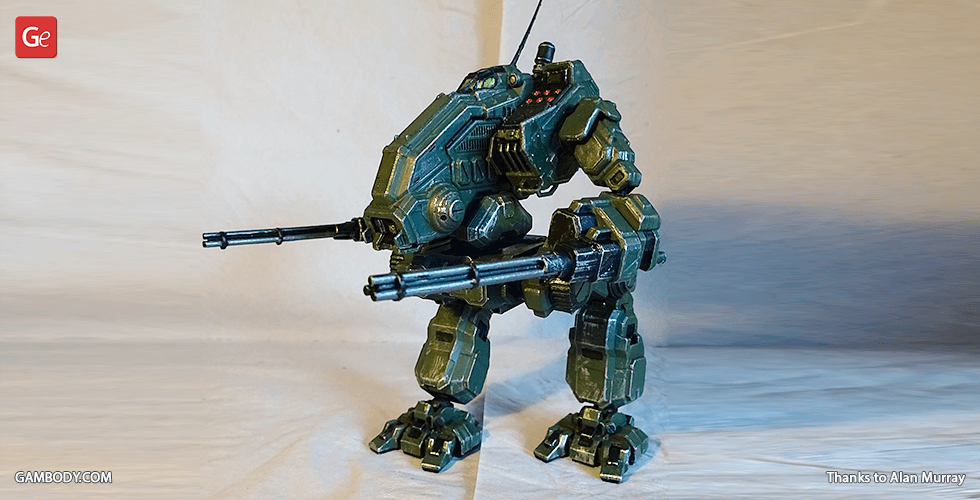
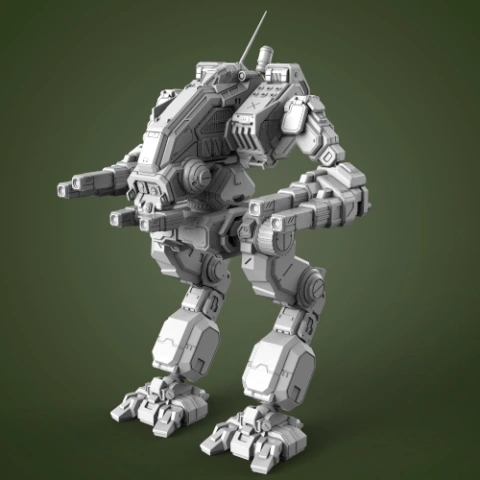
How do you find new Hunchback BattleMech 3D Printing Miniature? Have you already printed one? Here are Extra Weapon Kit for 3D printing that will be a perfect addition to your mech. They were designed inspired by the riffles different variants of Hunchback have.
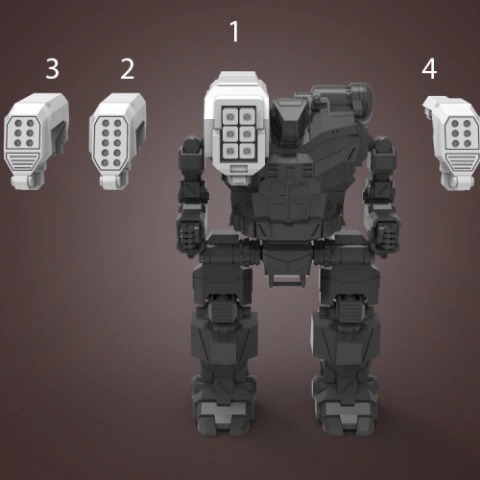
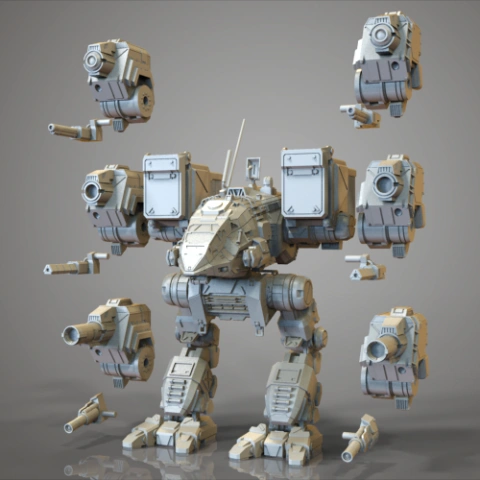
The weapons in the set are:
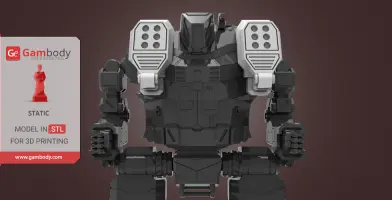
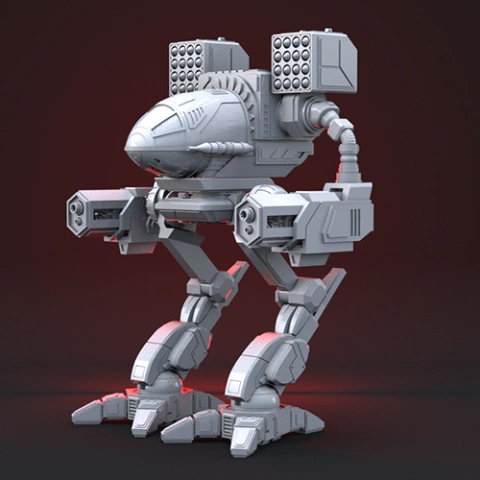
Note that HBK-4SP SRM launchers will differ from the other three ones. The difference is that this model has weapons on both shoulders. Splitting the weapons and lasers to both arms allowed to increase Hunchback’s damage capability at close range.
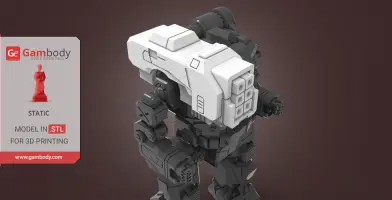
Another riffles are placed on the right shoulder of the mech. They all are the replacement of Autocannon/20 which the first released Hunchback had. They weigh less and they increase machine’s striking capability.
The weapons are designed so that they could be easily attached to your Hunchback 3D printing miniature. It is possible thanks to specially designed slots.
Watch the presentation video that will show you Extra Weapon Kits for Hunchback BattleMech 3D Printing Miniature from all sides at Gambody YouTube channel.
Buy right now Extra Weapon Kit for Hunchback BattleMech 3D Printing Miniature! Just click the green Buy button in the top-right corner of the model’s page. You can pay with PayPal or your credit card.
Haven’t already purchased the Hunchback BattleMech itself? Do not hesitate to do that! Click here and get one of the deadliest mech of BattleTech universe. And if you want to buy other items inspired by MechWarrior Online video game, click here and choose the ones according to your taste.
_______
FAQ:
Where can I print a model if I have no printer?
How to get started with 3D printing?
How to set up my 3D printer?
How to choose right 3D model print bed positioning?
How to paint printed figurine?
This model was tested in Cura 2.3.1. To avoid printing problems, we recommend the following settings:
Quality
Layer Height: 0.1 mm
Initial Layer Height: 0.3 mm
Line Width: 0.4 mm
Wall Line Width: 0.4 mm
Outer Wall Line Width: 0.4 mm
Inner Wall(s) Line Width: 0.4 mm
Top/Bottom Line Width: 0.4 mm
Infill Line Width: 0.4 mm
Skirt/Brim Line Width: 0.4 mm
Support Line Width: 0.4 mm
Shell
Wall Thickness: 0.8 mm
Wall Line Count: 2
Top/Bottom Thickness: 0.8 mm
Top Thickness: 0.8 mm
Top Layers: 8
Bottom Thickness: 0.8 mm
Bottom Layers: 8
Top/Bottom Pattern: Lines
Outer Wall Inset: 0 mm
Compensate Wall Overlaps: Check
Compensate Outer Wall Overlaps: Check
Compensate Inner Wall Overlaps: Check
Horizontal Expansion: 0 mm
Z Seam Alignment: Shortest
Infill
Infill Density: 25%
Infill Line Distance: 3.2 mm
Infill Pattern: Grid
Infill Overlap Percentage: 10%
Infill Overlap: 0.04 mm
Skin Overlap Percentage: 5%
Skin Overlap: 0.02 mm
Infill Wipe Distance: 0.1 mm
Infill Layer Thickness: 0.1 mm
Gradual Infill Steps: 0
Infill Before Walls: Check
Material
Enable Retraction: Check
Retraction Extra Prime Amount: 0 mm3
Retraction Minimum Travel: 0.8 mm
Maximum Retraction Count: 90
Minimum Extrusion Distance Window: 6.5 mm
Standby Temperature: 175°C
Nozzle Switch Retraction Distance: 16 mm
Nozzle Switch Retraction Speed: 20 mm/s
Nozzle Switch Retract Speed: 20 mm/s
Nozzle Switch Prime Speed: 20 mm/s
Speed
Print Speed: 60 mm/s
Infill Speed: 80 mm/s
Wall Speed: 30 mm/s
Outer Wall Speed: 30 mm/s
Inner Wall Speed: 60 mm/s
Top/Bottom Speed 15 mm/s
Support Speed: 60 mm/s
Support Infill Speed: 60 mm/s
Travel Speed: 120 mm/s
Initial Layer Speed: 15 mm/s
Initial Layer Print Speed: 15 mm/s
Initial Layer Travel Speed: 30 mm/s
Skirt/Brim Speed 15 mm/s
Maximum Z Speed: 0 mm/s
Travel
Combing Mode: All
Avoid Printed Parts when Traveling: Check
Travel Avoid Distance: 0.625 mm
Cooling
Enable Print Cooling: Check
Fan Speed: 100%
Regular Fan Speed: 100%
Maximum Fan Speed: 100%
Regular/Maximum Fan Speed Threshold: 10 s
Regular Fan Speed at Height: 0.3 mm
Regular Fan Speed at Layer: 2
Minimum Layer Time: 5 s
Minimum Speed: 10 mm/s
Support
Enable Support: Check
Support Placement: Everywhere
Support Overhang Angle: 50°
Support Pattern: Zig Zag
Connect Support ZigZags: Check
Support Density: 30 %
Support Line Distance: 1.3333 mm
Support Z Distance: 0.1 mm
Support Top Distance: 0.1 mm
Support Bottom Distance: 0.1 mm
Support X/Y Distance: 0.7 mm
Support Distance Priority: Z overrides X/Y
Minimum Support X/Y Distance: 0.2 mm
Support Stair Step Height: 0.3 mm
Support Join Distance: 2.0 mm
Support Horizontal Expansion: 0.2 mm
Use Towers: Check
Tower Diameter: 3.0 mm
Minimum Diameter: 3.0 mm
Tower Roof Angle: 65°
Build Plate Adhesion
Build Plate Adhesion Type: Brim
Skirt/Brim Minimum Length: 250 mm
Brim Width: 8.0 mm
Brim Line Count: 20
Brim Only on Outside: Check
Mesh Fixes
Union Overlapping Volumes: Check
Special Modes
Print Sequence: All at Once
Surface Mode: Normal
Experimental
Extra Skin Wall Count: 0
Disclaimer: This model will look outstanding if printed on SLA/SLS 3D printer. The accuracy of the model printed on FFF printer can vary from the result shown in the pictures.
You are about to report Extra Weapon Kit for Hunchback FDM version | Static for violating our Terms and Conditions. Please take a few moments to fill in the following information.

Comments
comments powered by Disqus