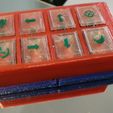
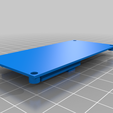
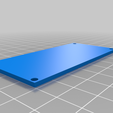
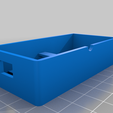
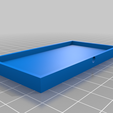
ButtonBox v2
This is an update to the ButtonBox (https://www.thingiverse.com/thing:4942661) but I post it as it'sd own thing in order to limit the number of files in the download zip.
There is also ButtonBox mini (https://www.thingiverse.com/thing:4982446) if you want it one size smaller.
The changes are evolutionary rather than radical.
- rounded corners
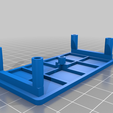
- improved holder for the d1 mini mcu
- better adapted for available tactile buttons
It is optimized for tactile buttons with 2 Pin DIP 6 x 6 x 5 mm (2 pins much easier to solder than the shorter 4 pin types)
The icons
As to the icons on the buttons, well it's complicated. Basically there are 2 ways:
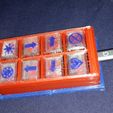
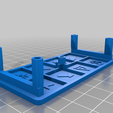
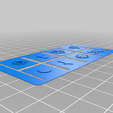
- either they are printed - on transparent ground, in a high contrast color - directly on the top part. Which involves defining filament change points in the slicer (both cura and prusa-slicer support that, I assume other slicer do so as well). With blue or black it was okish, with red a bit hard to see. (you can see the difference on the pic, red icons underneath that made me try it the other way)
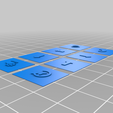
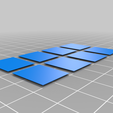
- or they get printed extra on a very thin base (0,1mm) get glued on top in the end. Which adds haptic feedback (you may be able to feel the icon in the dark)
- ok, I lied. The third option is to print labels with a label printer and stick them on top. Works best on white and when the labels look dirty after some use, just print them again.
Update: I added a new version of the legende, which has the frame and the buttons on a 0,15 mm layer and icons printed on top of that. It's easier and looks cleaner to add this to the plain top.
The bottom, mcu, soldering
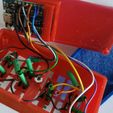
The bottom has a mount for a d1 mini mcu. They usually come with no pins soldered in which is good cause it won't fit together otherwise. I soldered all the ground pins at first with just 1 cable to connect them to the mcu ground point. Then all the eight contacts to the eight usable GPIO on the d1 mini: (GPIO 0 2 3 4 5 12 13 14). If you are really not good at soldering, ask your buddy.
A warning here: GPIO 3, RX, will give false alarms later when there is data connected on the usb cable. No surprise as RX is the Receiving eXtension for serial connection. So, when you test it later and you see that pin clicking and clicking, remove the cable from your computer and plug it into a dump usb loading adapter.
If you don't want a mcu print the plain bottom which prints faster and doesn't have the mcu mount.The body has a small opening at the side if you supply power with just a pair of cables (but stll want the usb port accessible for updates).
PLA & optionally TPU
The thing has been designed for PLA but should work with ABS or PET as well. But one element is meant for flex filament: the untersetzer (coaster, mat) that shields the potentially sharp edges of screws at the bottom from vulnerable surfaces. It's optional. And it you put a 4mm diameter magnet into the socket of the bottom to fix the box on a metallic base the mat will probably be too much for the magnet.
Check the orientation
When you print it, please check in the slicer that the parts have the right orientation. Some come out just the wrong way and will make your printer create little spaghetti monsters if you fail to turn them 180° around x- or y-axis.
Screw it
Screw holes are for small to middle M3 screws, sinkhead works best. A little primeing of the holes does wonders. (no pun intended)
and what does it do?
"The one on the pic is in my bedroom, on the big bed. The X icon turns the lights on/off, the heart switches to a rather intimate lighting. Left/right change colors from arctic aqua/green to cozy red/yelloworange. Up/dn make it brighter or less so. The top row has say which time it is and say outside temperatures and other meterological data. Those last 2 buttons start my day.
Almost every room has it's own ButtonBox by now, home automation."
and the mcu, how to program it?
Send me a message if you need help here.

/https://fbi.cults3d.com/uploaders/14815293/illustration-file/41944fb4-88c1-42d1-9a6d-5bb61637ba6d/IMG_20211011_152359.jpg)
