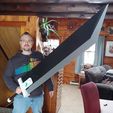
First off, thank you ohman74 for posting this fantastic Buster Sword
What a great model to work with!!
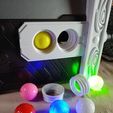
I wanted to make the materia in the sword light up and be replaceable. After searching for LED balls on Amazon I came up with this perfect solution.
https://www.amazon.com/gp/product/B0798KTK7R?pf_rd_r=BXG91HABQ5MTEMSAPF09&pf_rd_p=5ae2c7f8-e0c6-4f35-9071-dc3240e894a8&pd_rd_r=f957dffc-a9db-460b-9c27-1792bdda6af0&pd_rd_w=FAwbU&pd_rd_wg=Bg4Be&ref_=pd_gw_unk
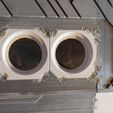
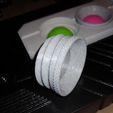
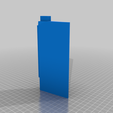
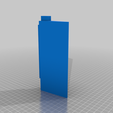
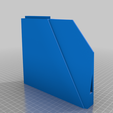
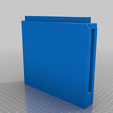
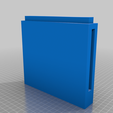
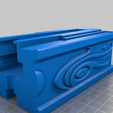
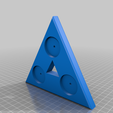
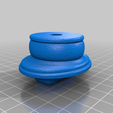
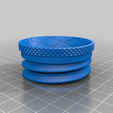
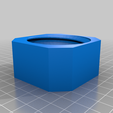
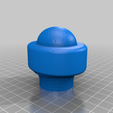
Of course some modifications needed made. I designed a center nut to be printed out apart from the original blade 1 file then be inserted into the blade piece. The center nut will hold the ball in place, but will need the center nut caps to screw into it to keep the ball secure.
I posted some pics of the center nut welded into the blade piece, as well as the center nut cap outside the sword.
The caps can be removed once the sword is finished and different materia inserted into the sword.
I re-designed and printed both the nut and the cap too many times to count. The cap prints out great with the threads facing upwards with no supports.
The center nut prints out well enough to work, not 100% awesome, but with some minor sanding will fit just fine into the sword blade. I did use some normal supports for this, but removal was a breeze.
Both were printed in .2 res with .4mm nozzle
e-sun PLA PRO
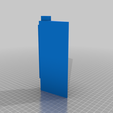
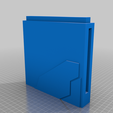
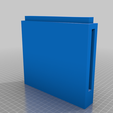
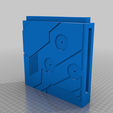
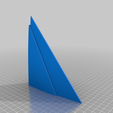
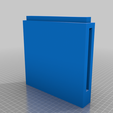
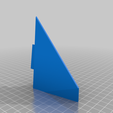
Obviously the Blade 1 file had to be altered to allow the center nut to be inserted into it. It was printed out on its side with supports, .28 res I believe. The center nut fit snugly into it and could have been glued, but i was already welding the other pieces in place anyway.
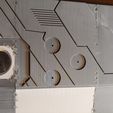
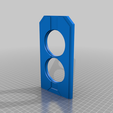
The materia plate opening had to be widened to allow the cap to be inserted through to the nut.
I can dig the original blade guard, but figured what the heck, lets kick it up a notch too. It was Remixed to look more like Zack's Buster Sword. Either guards will work and other than aesthetics they're basically the same.
I thought the original handle was a bit small when swinging the sword around, so made it a bit longer, The file included, I believe I actually printed it out at 103%, enlarging the file in Cura. It wont fit on an ender 3 because both handle pieces are meshed as one, and lets face it the handle should be printed on its side for better structural stability. Printed on its side made it look like crap though, so i wrapped it in black leather found on Amazon yet again.
https://www.amazon.com/gp/product/B07BR5RSS3/ref=ppx_yo_dt_b_asin_title_o04_s01?ie=UTF8&psc=1
( You could still print the original handle on the ender 3, and be just fine....maybe. )
I also enlarged the handle end and handle guard mount, the original seemed a little small once again.
Ohh yeah almost forgot..
I ordered these magnets.
https://www.amazon.com/gp/product/B072K586ZW/ref=ppx_yo_dt_b_asin_image_o06_s00?ie=UTF8&psc=1
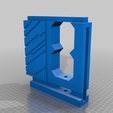
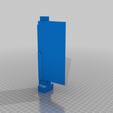
Because of Course you need to have a way to mount this on your back and just pop it on or off. I haven't designed a back plate with magnets yet, but hope to in the near future. You could just find a metal plate and strap it to your back under your shirt. I did though include a wall mount with the magnets cut outs in the files as well.
8mm all thread to be inserted in the blade, guard and handle
https://www.amazon.com/gp/product/B00G3R7OX0/ref=ppx_yo_dt_b_asin_title_o04_s00?ie=UTF8&psc=1
8mm locknuts, were a pain to get to work, i can post the link too, but honestly i would suggest using regular nuts and some locktite 243
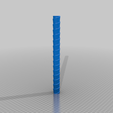
Most of the blade and edge files were printed out with 3 walls .28 res with .4mm nozzle and only 10% infill
Any questions let me know i will try and get back to you. this is my first remix posted and i and still learning how to post on this site

/https://fbi.cults3d.com/uploaders/16675644/illustration-file/8efd4bba-4d0c-4862-97ba-fc31c2eb6400/Final_view_2.jpg)
