Skip to content

Dual Z Sync Belt Tensioner

Advertising
Advertising
?
Creation quality: 5.0/5 (1 vote)
Evaluation of members on the printability, utility, level of detail, etc.

  • 6k views
  • 6 likes
  • 88 downloads

License
3D design format
STL Folder details Close
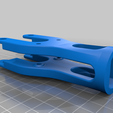
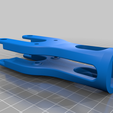
  • Body_Long.stl
  • Body_Medium.stl
  • Body_Short.stl
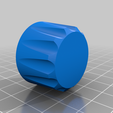
  • Knob.stl
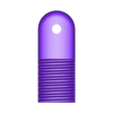
  • Screw.stl

Learn more about the formats

Publication date 2021-12-26 at 00:02
?
Published to Thingiverse on: 2021-12-25 at 20:28
Design number 592931

3D printer file info

3D model description

Hello Makers

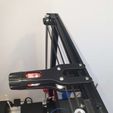
Dual lead screw for Z axis generally offer more precise motion in Z direction. However, at power off, it is quite common the Z motors go out of sync. This is especially the case for the CR-10S Pro. To counteract this, I fitted my printer with the "CR-10S Pro Dual Z Sync" from TORX1.

As I wanted better control over the belt tension (and had my issues sourcing a 720mm closed GT2 timing belt in Thailand...), I designed a Z axis sync belt tensioner inspired by Cornely_Cool's X axis mod (https://www.thingiverse.com/thing:2854971). The design has a clean belt path, allows precise belt tension and gives more options with respect to the length of the closed belt.

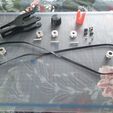
What you'll need for the entire mod:
1) 2 x Flange bearings KFL08
2) 1 x 6mm wide GT2 timing belt 840 to 880mm
3) 2 x GT2 Gear pulley with 20 teeth and 8 mm bore
4) 3 x GT2 Idler
5) 3 x M5x25 screws
6) 4 x M3x10 screws, nuts and t-nut adapters (https://www.thingiverse.com/thing:3050607)

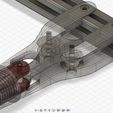
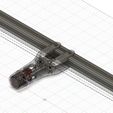
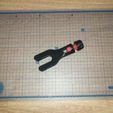
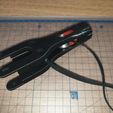
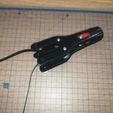
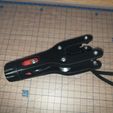
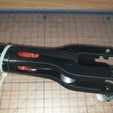
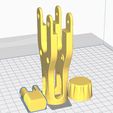
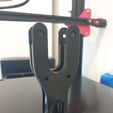
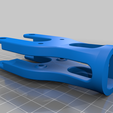
Print out the Knob, Screw and Tensioner Body. I included three sizes, depending on the length of your GT2 Belt. To install the tensioner you can follow the posted pics:
1) Put the Knob and the Screw part together
2) Insert both parts in the Tensioner Body
3) Install an idler in the Screw part including closed belt
4) Install the remaining two idlers in the Tensioner Body (the closed belt should run between the two idlers)
5) Loosely install the M3 screws and t-nuts.
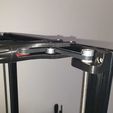
6) Mount the Tensioner to the frame of your printer and make sure the belt is nicely aligned.

For instructions how to install the TORX1's mod, please check https://www.thingiverse.com/thing:4339307.

I hope you enjoy my design...Check out my blog at https://allpro3d.com !

Cheers and keep making

PS:
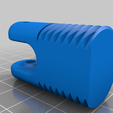
This tensioner body and the screw part print without supports. The Knob part needs supports on the inside to the thread. Check the pictures for print orientation.

3D printing settings

-

Advertising


Issue with this design? Report a problem.

Would you like to support Cults?

You like Cults and you want to help us continue the adventure independently? Please note that we are a small team of 3 people, therefore it is very simple to support us to maintain the activity and create future developments. Here are 4 solutions accessible to all:

  • ADVERTISING: Disable your banner blocker (AdBlock, …) and click on our banner ads.

  • AFFILIATION: Make your purchases online by clicking on our affiliate links here Amazon.

  • DONATE: If you want, you can make a donation via Ko-Fi πŸ’œ.

  • WORD OF MOUTH: Invite your friends to come, discover the platform and the magnificent 3D files shared by the community!


Sharing and downloading on Cults3D guarantees that designs remain in makers community hands! And not in the hands of the 3D printing or software giants who own the competing platforms and exploit the designs for their own commercial interests.

Cults3D is an independent, self-financed site that is not accountable to any investor or brand. Almost all of the site's revenues are paid back to the platform's makers. The content published on the site serves only the interests of its authors and not those of 3D printer brands who also wish to control the 3D modeling market.

100% secure payment by credit card, PayPal, Apple Pay, Google Pay, etc.
View all payment options.